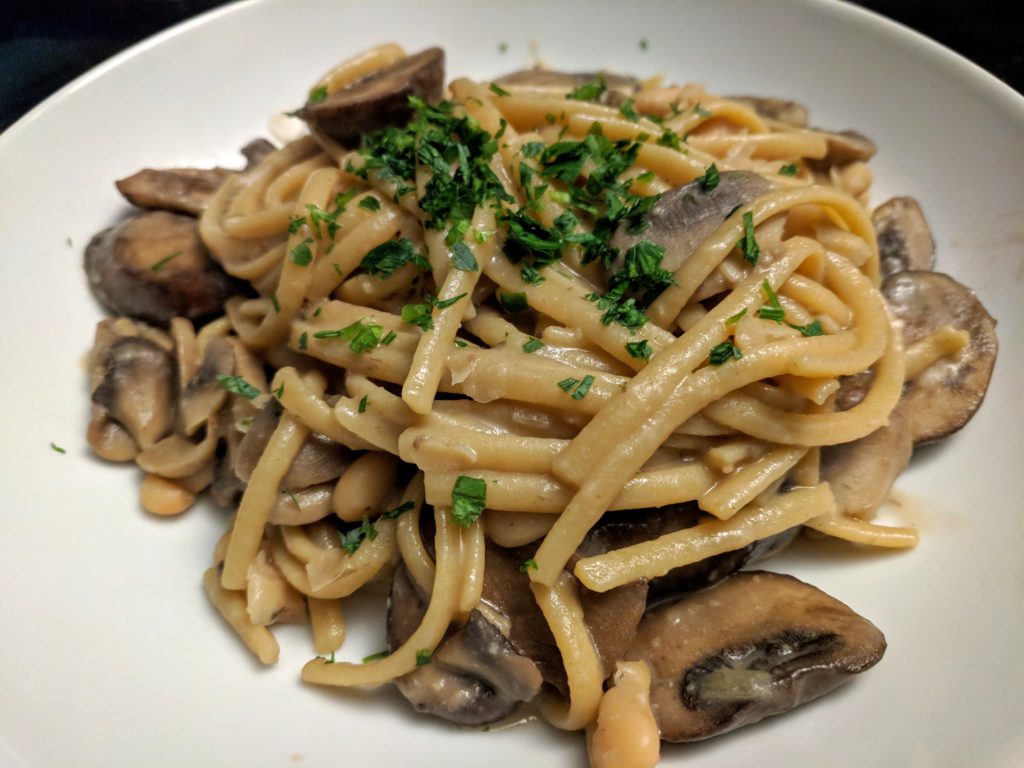
This recipe was adapted from Delicious Everyday. It is a nutritious and balanced meal that contains lots of vegetables, some protein, and whole grains. Despite its rich and creamy texture, it is completely plant-based and contains no dairy products. And to top it off, it can all be made in one pot! Cooking time varies by pasta type with thinner pasta (spaghetti) of course cooking faster than other types such as linguine.
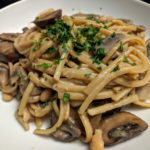
One Pot Creamy Mushroom Pasta
This hearty one pot meal is rich, creamy, and super savory, but still full of vegetables, whole grains, and protein. It also is completely plant-based!
Ingredients
- 3 tablespoons olive oil divided
- 2 pounds mushrooms, mix of white and brown sliced
- 2 shallots finely diced
- 4 cloves garlic minced
- 1 tablespoon fresh rosemary minced
- 4 cups plain, unsweetened milk alternative cashew recommended
- 1 can white beans rinsed and drained
- 2 cubes vegetable bouillon
- 2 tablespoons nutritional yeast
- 2 teaspoons white miso
- 8 ounces whole wheat spaghetti or linguine
- 1 teaspoon salt or to taste
Instructions
-
Heat a stock pot over medium high heat and add 2 tablespoons olive oil. Add half the mushrooms and cook for about 2 minutes, until they start to cook down. Add remaining olive oil and mushrooms and cook until they start to brown, about 3 minutes. Pour off any excess water that has accumulated.
-
Add shallots, garlic, and rosemary. Cook until shallots start to brown, stirring frequently to prevent burning, about 2 minutes.
-
Add milk alternative, beans, nutritional yeast, miso, and salt. Stir to combine.
-
Once it reaches a simmer, add the pasta and stir. Reduce heat to a low boil and cook according to pasta instructions, plus about 20% more time. This should be about 14 minutes for whole wheat spaghetti. If necessary, continue cooking until pasta is cooked, adding a little more water (no more than 1 cup) if necessary to prevent it from sticking to the bottom of the pan. By the time the pasta is done cooking, you want to have a thickened creamy sauce, not as thick as a gravy or alfredo sauce, but not so thin that it doesn't stick to the noodles. Serve warm.

 This recipe is not quite as simple as typical recipes on Guess Who’s Cooking, but it can be adapted/simplified in a few ways:
 Print recipe