It is not my original idea to make homemade instant noodle cups, but these are 4 flavor combinations I’ve tried and enjoyed. I’m basing the proportions in the recipes below on this recipe from the Kitchn. Serious Eats also has a great article on how to make these instant noodle cups. The 4 suggested combinations I offer below are plant-based or can be made plant-based.
There are countless combinations you could try. The general format from the Kitchn is:
1-3 teaspoons flavor base
1-3 teaspoons flavoring extras
1/4-1/2 cup filler ingredients
3/4-1 cup noodles
1/4-1/2 cup fresh ingredients
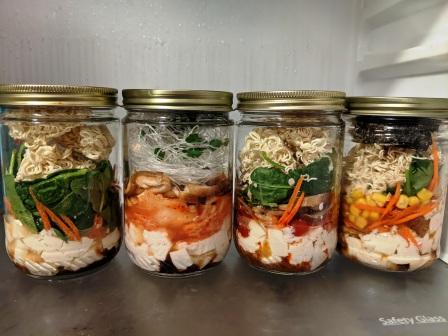
I usually reuse 16 ounce glass jars (repurposed nut butter jars), but you could use 16 ounce canning/mason jars or another heat safe container. Just be sure to use a potholder and handle it carefully because it will get very hot once you pour the hot water in.
Other advice: use soft vegetables that will soften in hot water such as thinly sliced mushrooms, shredded carrots, baby spinach, tomato, or thawed frozen vegetables. Adding hot water will not cook the vegetables, just soften slightly, so don’t add things like chunks of zucchini. The examples I share below are plant-based, but if you eat meat or eggs, you could add cooked versions (boiled egg, shredded chicken, etc.). I like to add silken tofu because it’s easy and doesn’t require cooking, but you could also add other plant proteins like edamame, cooked tofu, or other types of raw tofu (such as medium firm)
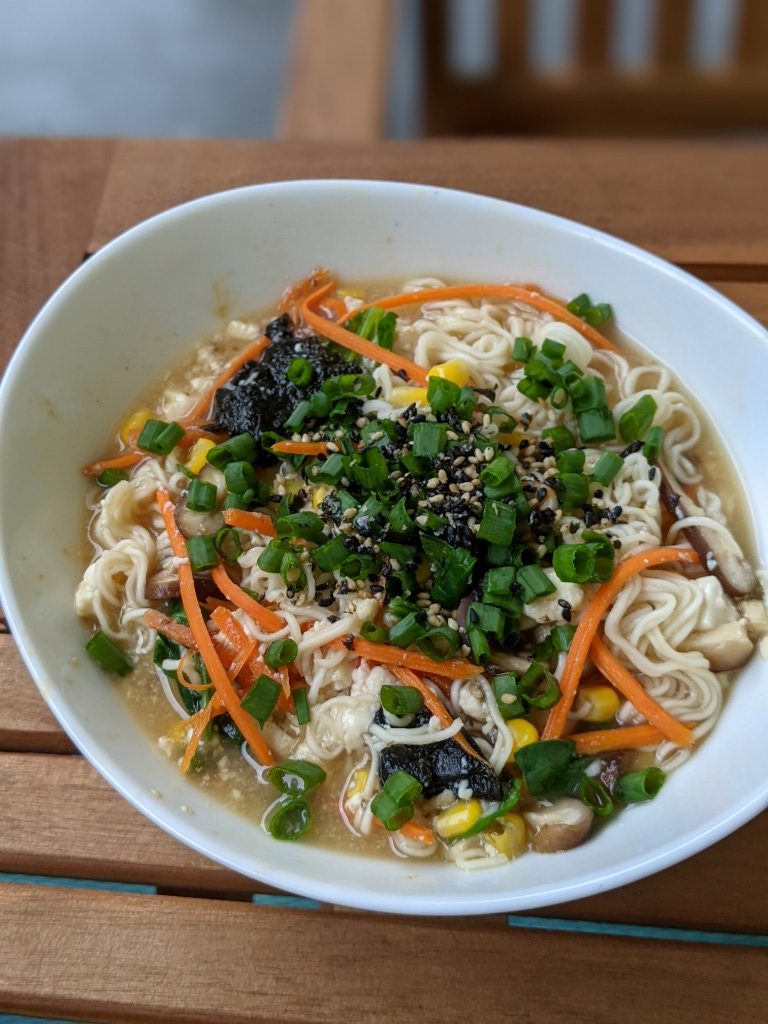
Miso Ramen Instant Noodle Cup
Using the Kitchn's format, this is one flavor combination I tried and enjoyed. Find the original recipe at https://www.thekitchn.com/how-to-make-diy-instant-noodle-cups-222560
Ingredients
- 1 teaspoon vegetable bouillon paste or vegetarian no chicken bouillon
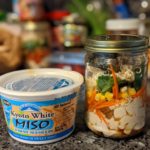
- 1 teaspoon reduced sodium miso
- 1 teaspoon reduced sodium soy sauce or tamari
- 3 ounces silken tofu or 1 soft boiled egg (1/4 of a 12 oz box tofu)
- shredded carrots
- baby spinach
- frozen corn, thawed
- 2 ounces dried ramen
- Toppings: sliced green onion, seaweed strips, and/or furikake
Instructions
-
Layer ingredients in a heat proof container such as a 16 ounce mason jar, in order of listing. Seal and refrigerate. You can keep the toppings in a separate container to keep them extra crisp if you'd like. Store the sliced green onion in the fridge.
-
To serve: Pour hot water into the jar until it is just about full and place the lid over it. Do not screw the lid on – the jar will likely be too hot. Let sit for 2-3 minutes or until noodles soften. Carefully stir everything together, holding the jar with a potholder – it will be hot! Alternatively, use a potholder to pour the jar contents into a bowl, then stir. If you'd like it to be hotter or if it needs more water, you can always add more water (if needed) and microwave it until warm enough.
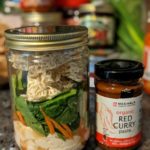
Spicy Thai Red Curry Ramen
Using the Kitchn's format, this is one flavor combination I tried and enjoyed. Find the original recipe at https://www.thekitchn.com/how-to-make-diy-instant-noodle-cups-222560
Ingredients
- 1 teaspoon vegetable bouillon paste or vegetarian no chicken bouillon
- 2 teaspoons red curry paste or other curry paste, which may be milder
- 2-3 tablespoons coconut cream
- 3 ounces silken tofu (1/4 of a 12 ounce box)
- thinly sliced shiitake mushrooms
- shredded carrot
- baby spinach
- 2 ounces dried ramen
- Topping: Thai basil
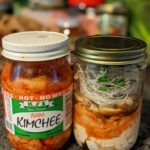
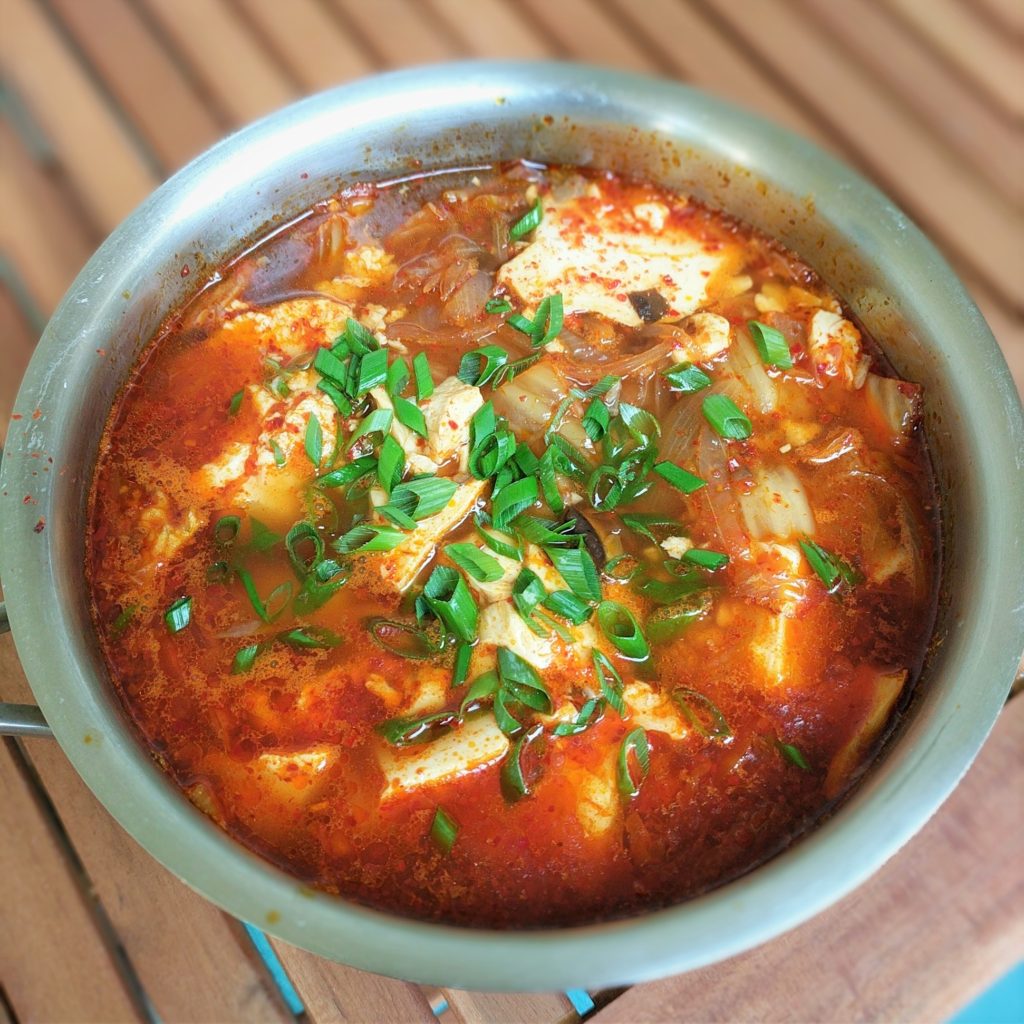
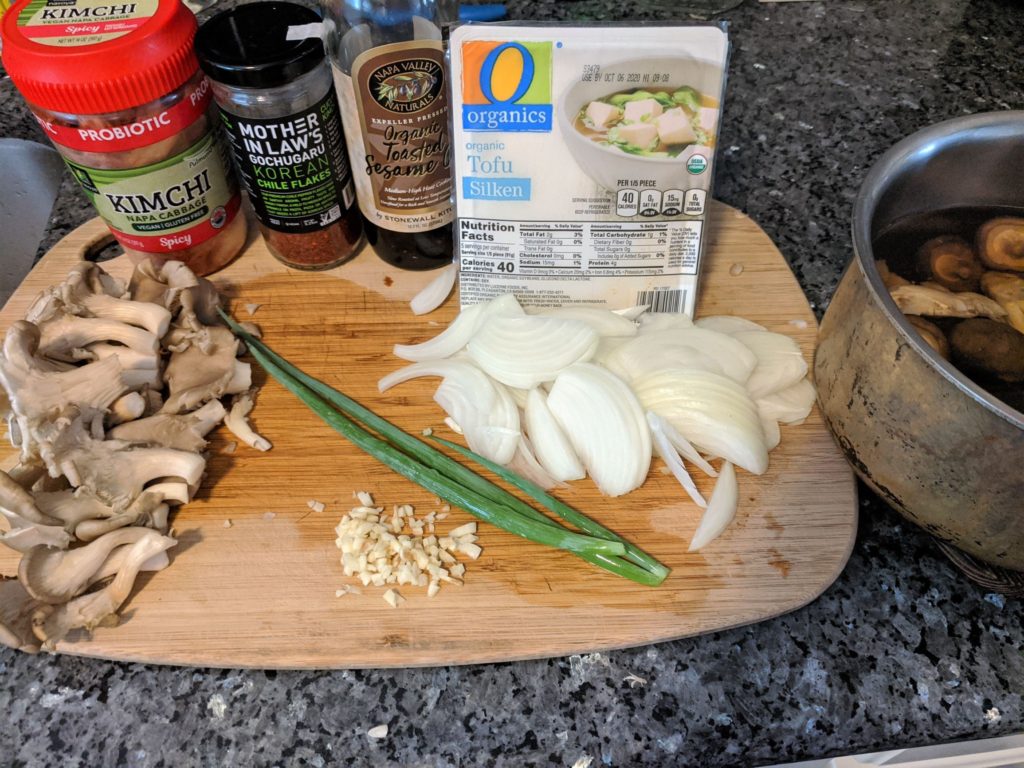
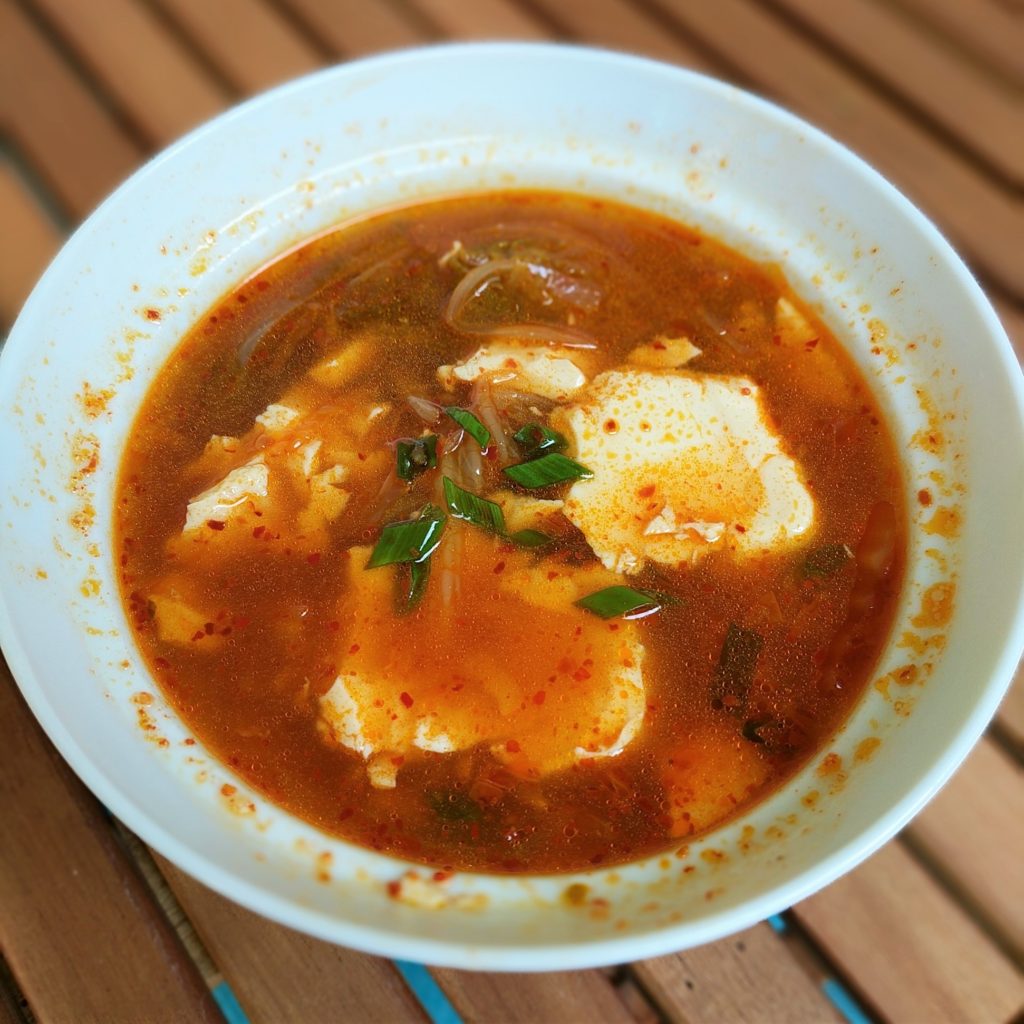
Kimchi & Vermicelli Soup
Using the Kitchn's format, this is one flavor combination I tried and enjoyed. Find the original recipe at https://www.thekitchn.com/how-to-make-diy-instant-noodle-cups-222560
Ingredients
- 1 teapoon vegetable boullion paste or vegetarian no chicken bouillon
- kimchi – use a vegan version if necessary (kimchi may contain fish)
- 3 ounces silken tofu (1/4 of a 12 ounce box)
- Thinly sliced shiitake mushrooms
- Dried bean vermicelli
- Topping: Sliced green onion
- 1 teaspoon Gochugaru (Korean chili flakes) optional
Instructions
-
Layer ingredients in a heat proof container such as a 16 ounce mason jar, in order of listing. Seal and refrigerate. You can refrigerate the sliced green onion in a separate container to keep it extra crisp if you'd like.
-
To serve: Pour hot water into the jar until it is just about full and place the lid over it. Do not screw the lid on – the jar will likely be too hot. Let sit for 2-3 minutes or until noodles soften. Carefully stir everything together, holding the jar with a potholder – it will be hot! Alternatively, use a potholder to pour the jar contents into a bowl, then stir. If you'd like it to be hotter or if it needs more water, you can always add more water (if needed) and microwave it until warm enough.
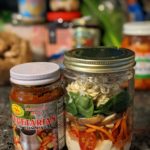
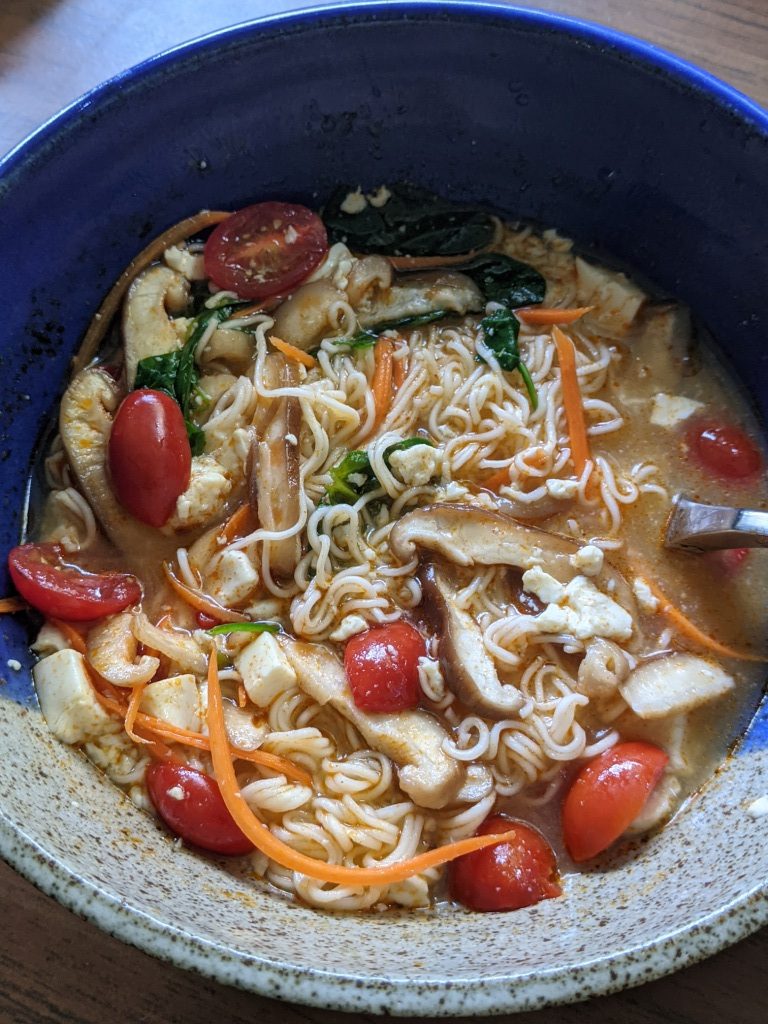
Tom Yum Ramen
Using the Kitchn's format, this is one flavor combination I tried and enjoyed. Find the original recipe at https://www.thekitchn.com/how-to-make-diy-instant-noodle-cups-222560
Ingredients
- 2 teaspoons tom yum paste vegetarian if necessary
- 3 ounces silken tofu (1/4 of a 12 ounce package)
- cherry tomatoes, halved about 8
- shiitake mushroom, thinly sliced
- shredded carrot
- baby spinach
- 2 ounces Dried ramen
- Toppings: lime wedge, cilantro (optional)
Instructions
-
Layer ingredients in a heat proof container such as a 16 ounce mason jar, in order of listing. Seal and refrigerate. You can keep the toppings in a separate container to keep them extra crisp if you'd like. Store the sliced green onion in the fridge.
-
To serve: Pour hot water into the jar until it is just about full and place the lid over it. Do not screw the lid on – the jar will likely be too hot. Let sit for 2-3 minutes or until noodles soften. Carefully stir everything together, holding the jar with a potholder – it will be hot! Alternatively, use a potholder to pour the jar contents into a bowl, then stir. If you'd like it to be hotter or if it needs more water, you can always add more water (if needed) and microwave it until warm enough.


 Print recipe
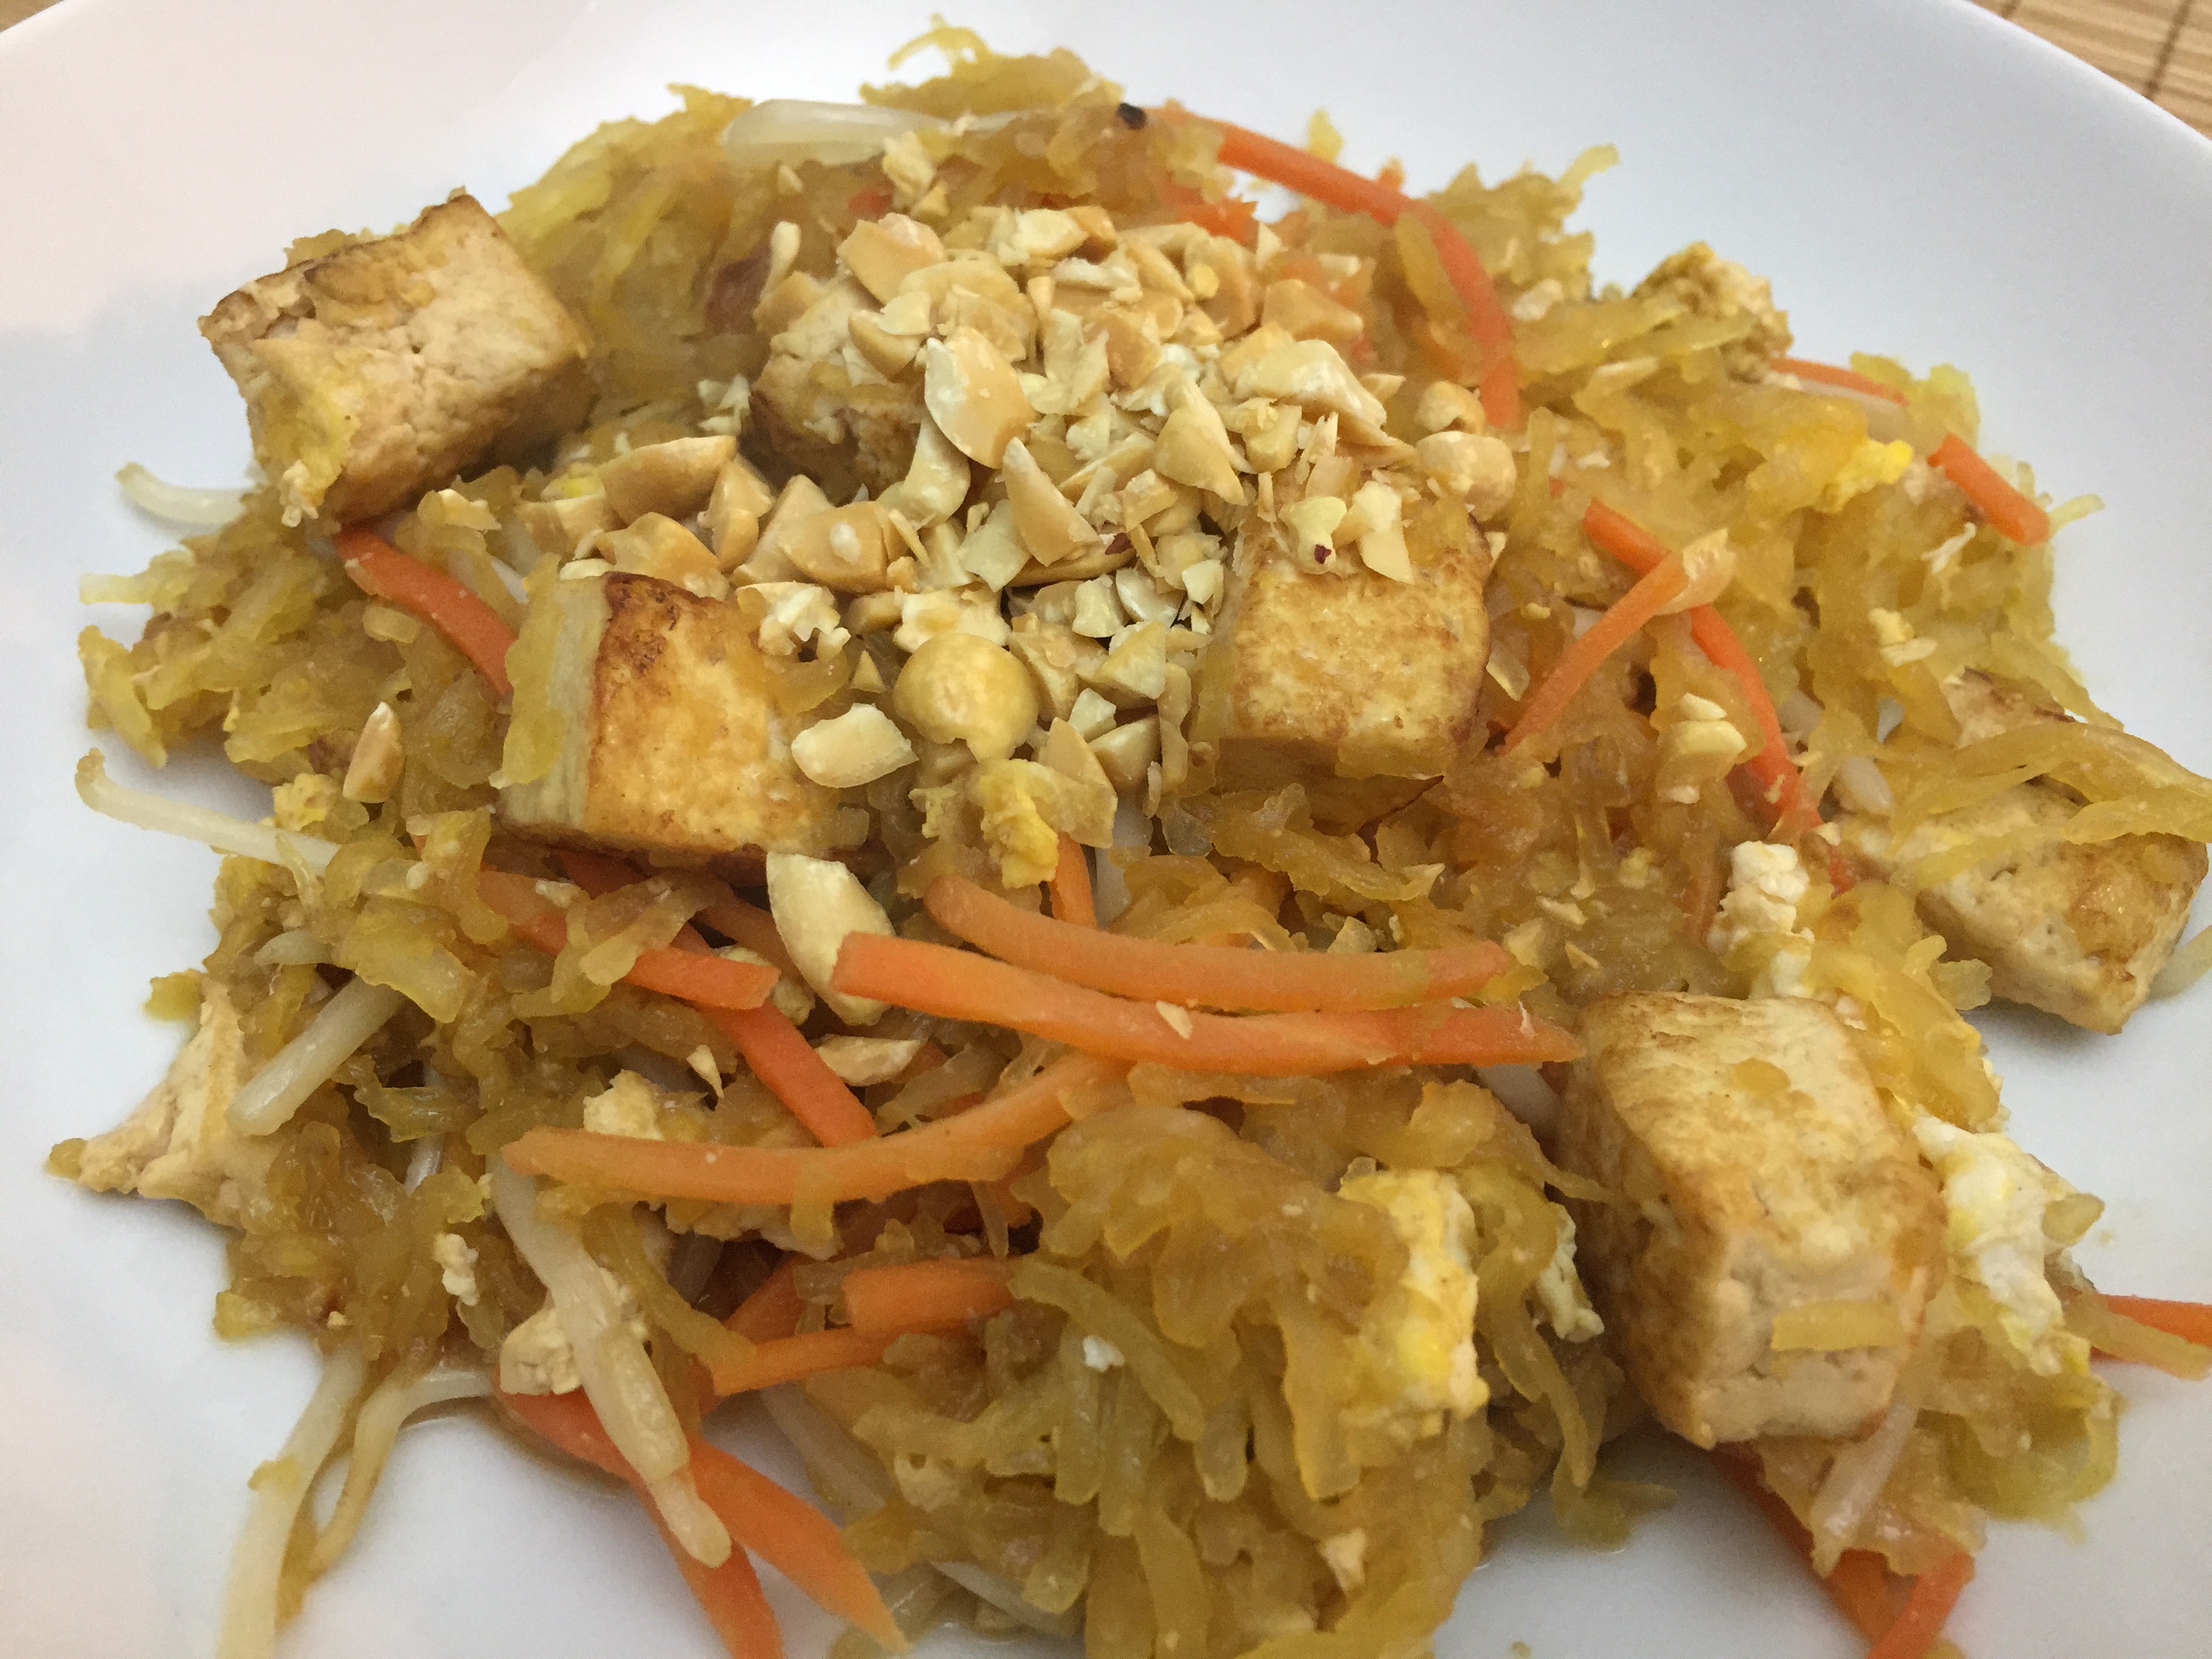
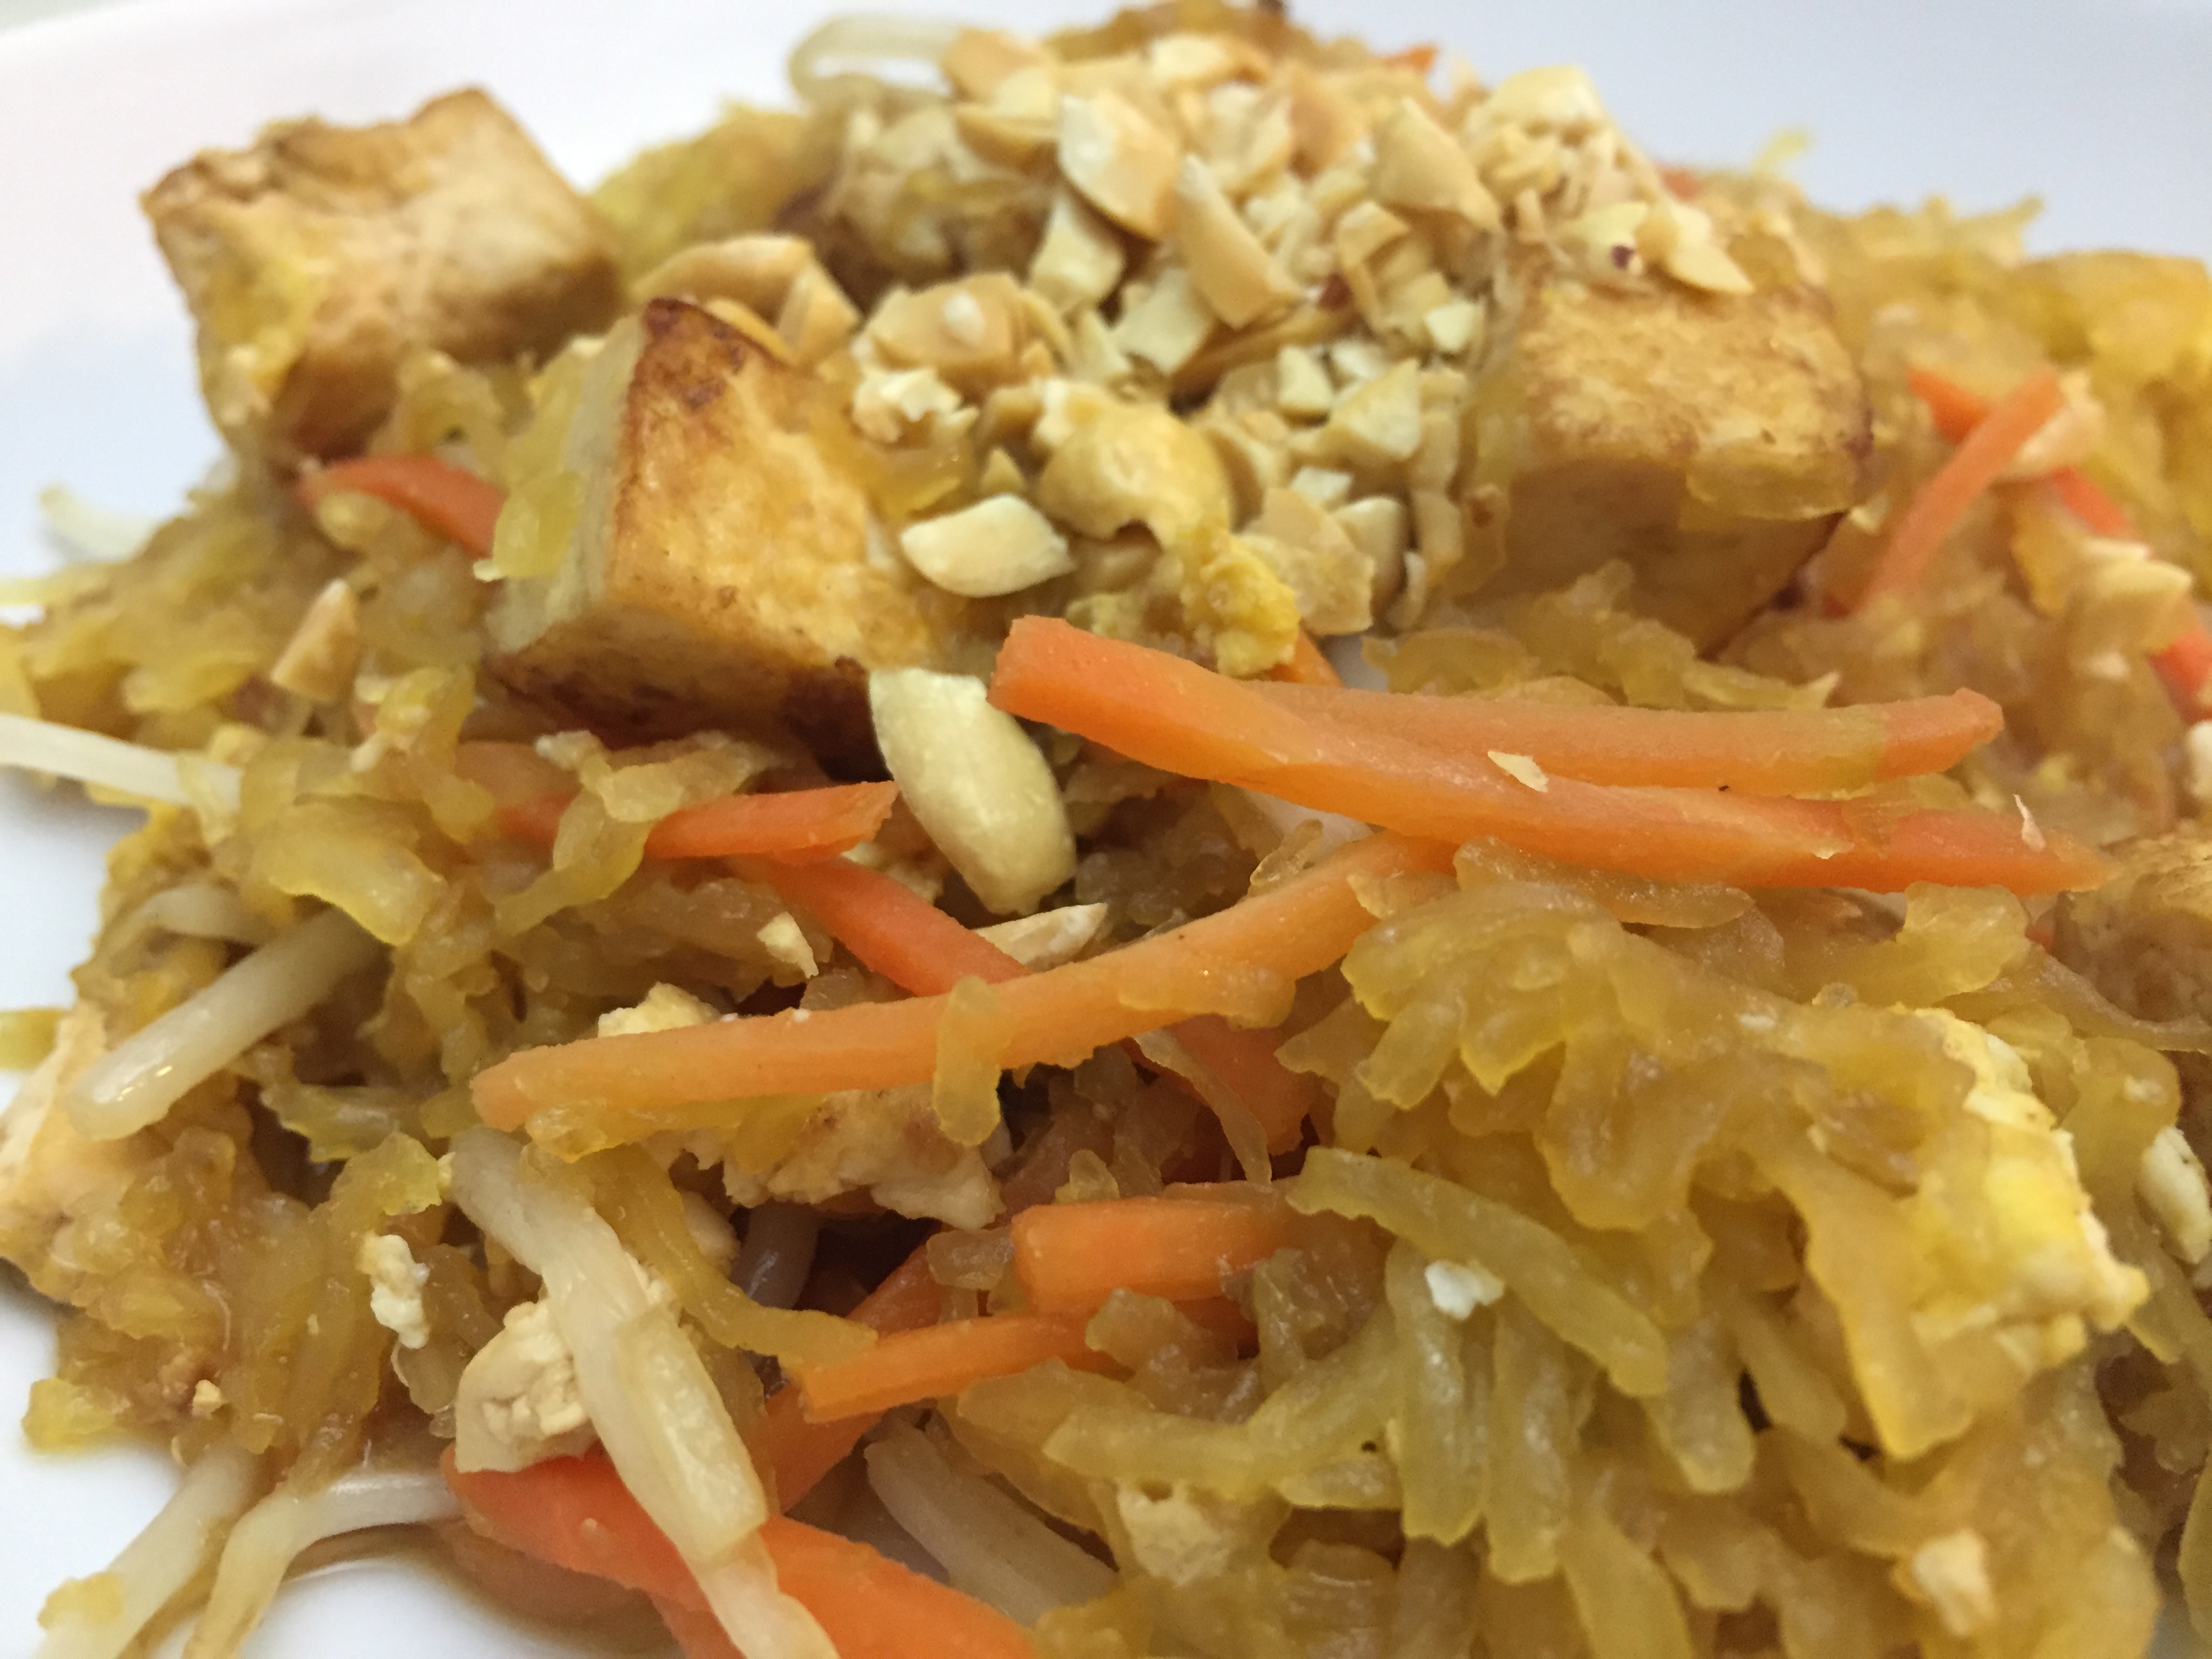

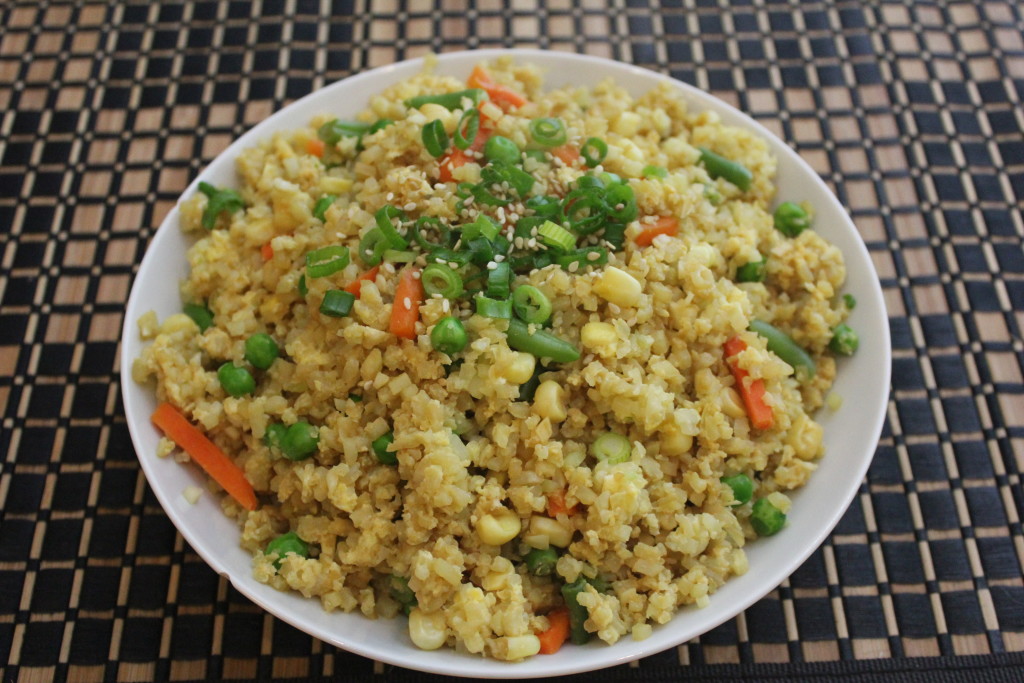
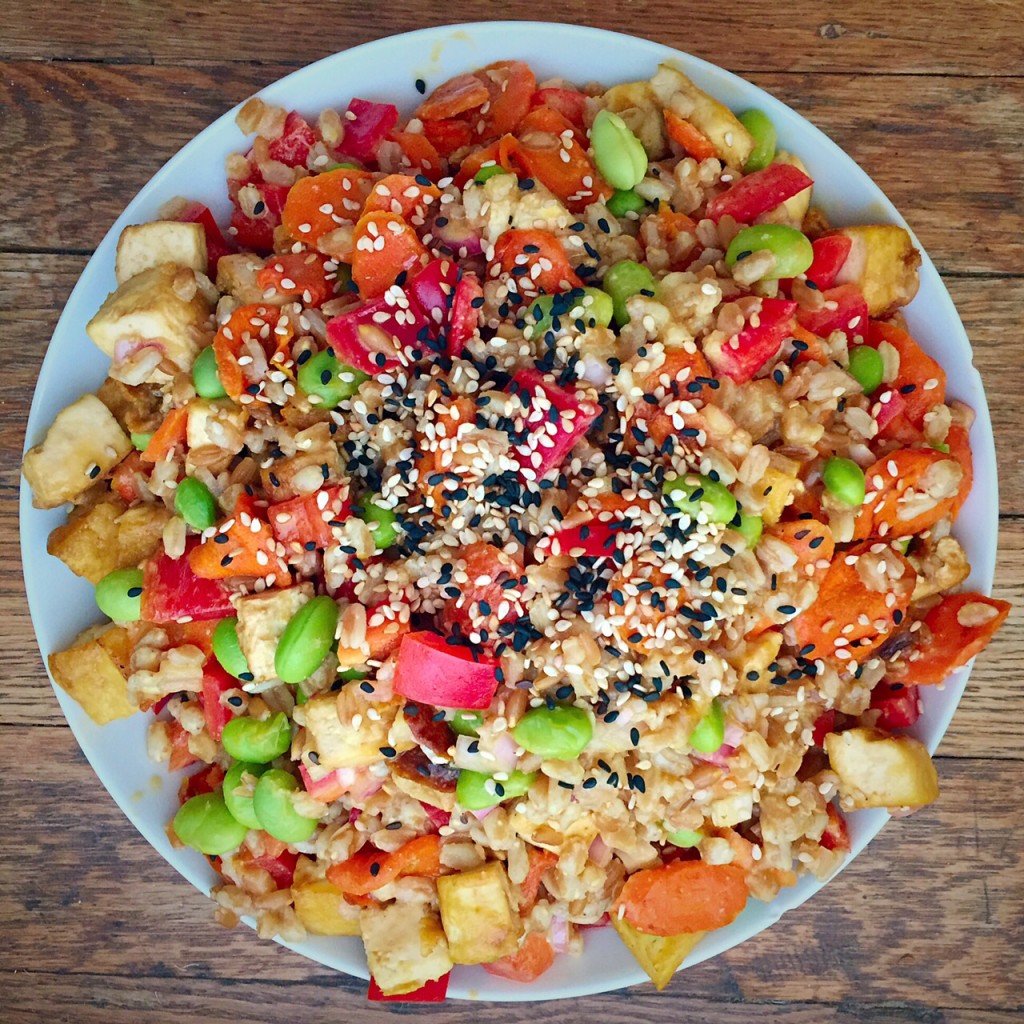
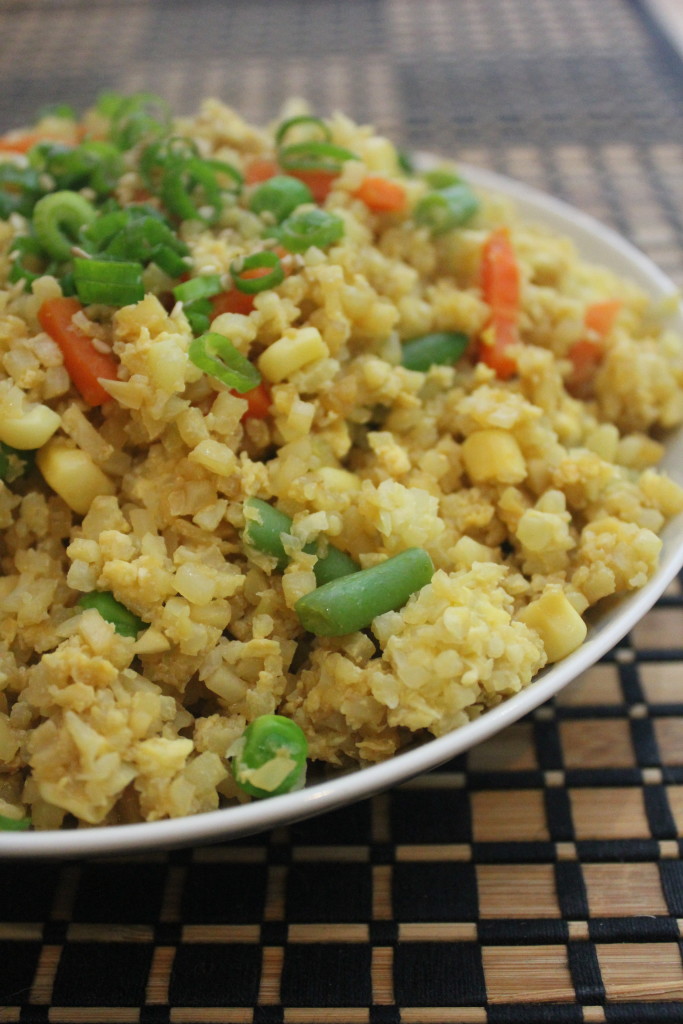 Typical fried rice is mostly refined carbohydrates with extra oil and salt but few vegetables. This recipe still has the flavor and a similar texture, but without the refined carbs, and with a little healthy fat from a healthy oil and tons of veggies! On top of that, it’s quick and easy to make, especially if you buy cauliflower that has already been “riced.” Hint: They sell it at Trader Joe’s now, plus other brands are also carrying it. To make it gluten-free, use gluten-free tamari or soy sauce. To make it vegan, leave out the eggs.