Monthly Archives: December 2018

Beeswax Wraps

Beeswax wraps are not edible, but they are an eco-friendly alternative to plastic wrap. These wraps sell in some stores for around $18 for a 3-pack. You can make many more wraps for the same cost or less, plus you can choose other fabric designs and shapes. Use these wraps to cover bowls or cups, wrap up a sandwich, or store leftover cut produce (such as a cucumber) or cheese. Use a string or rubber band to hold it together, or sew a button and thread onto one end so that the string can wrap around the button to hold it closed.

When cared for properly, they can last up to a year. Once they are worn out, you can either re-wax them, or cut them up and compost them.

Care Instructions:

  • Only wash with cold water and mild soap (such as castile soap). Hot water will melt the wax.
  • Do not use for raw meat since they cannot be washed with hot water
  • Store rolled rather than folded – folding creates more cracks

Materials Tips:

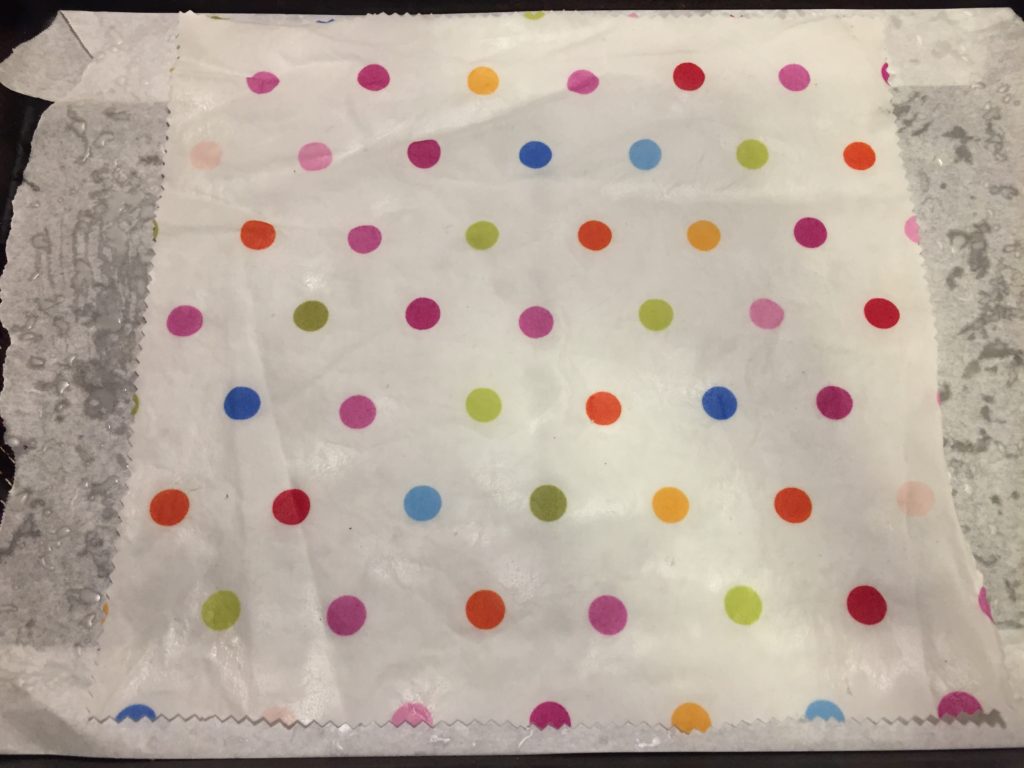
  • Fabric – You can reuse old fabric such as a t-shirt, bed sheets, or curtains, but the fabric must be thin and natural, such as cotton or linen, rather than thick or synthetic, such as polyester or canvas. Just make sure you wash it with soap and very hot water first.
  • Beeswax – You may be able to find local beeswax in a block, or you may find it at a craft store in beads.

Alternative Method:

  • You can also use an iron instead of an oven, but you may have to designate the iron and ironing board for wax projects only. If the wax sticks to the iron or ironing board, it will stick to your clothes and will not come off!
  • To use this method – place the fabric and beeswax between two sheets of parchment paper. Iron over it on low heat, moving the iron constantly, until wax melts, or about 1 minute.


5 from 1 vote
Print

Homemade Beeswax Wraps

This recipe is NOT edible - it is a plastic wrap alternative that you can make at home and reuse countless times! It makes a great gift.

Ingredients

  • Beeswax
  • Clean fabric
  • Pine rosin (optional)
  • Jojoba oil (optional)

Instructions

  1. Preheat oven to its lowest setting, or 200°F. Optional: line a baking sheet with foil to ensure that no wax sticks to it.

  2. Grate beeswax using grater unless you bought it in beads. A cheese grater with large holes works best.

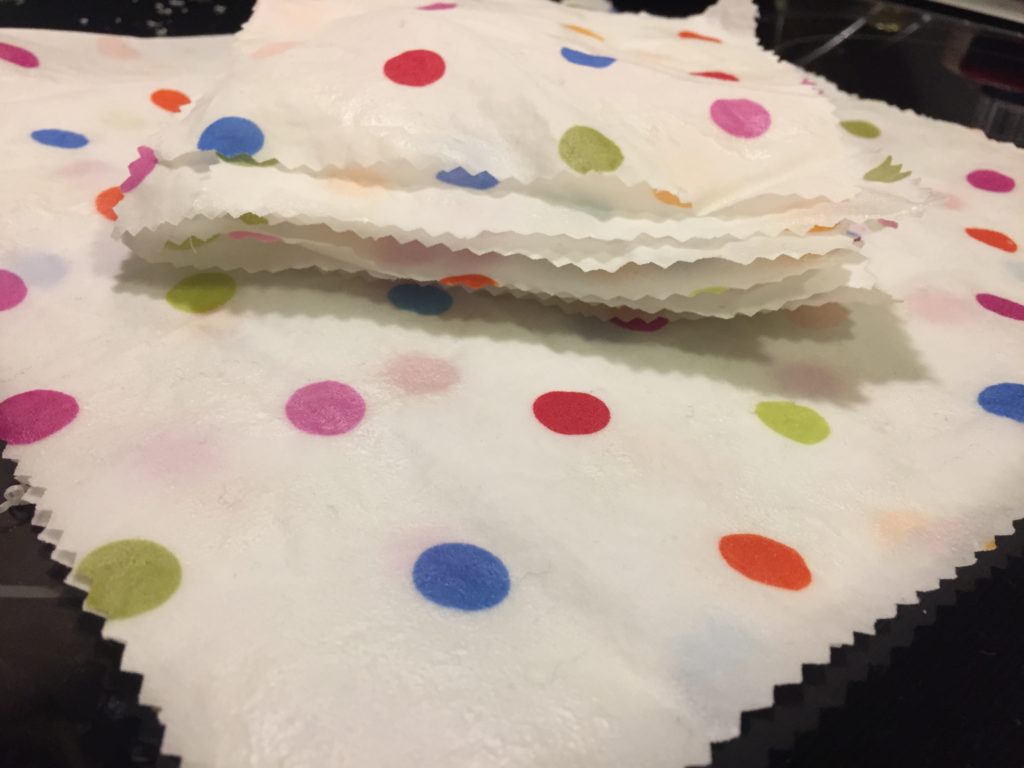
  3. Use pinking sheers to cut fabric into desired shape and size – this will reduce fraying. Try 8” or 11” squares that but make sure they fit on the baking sheet.

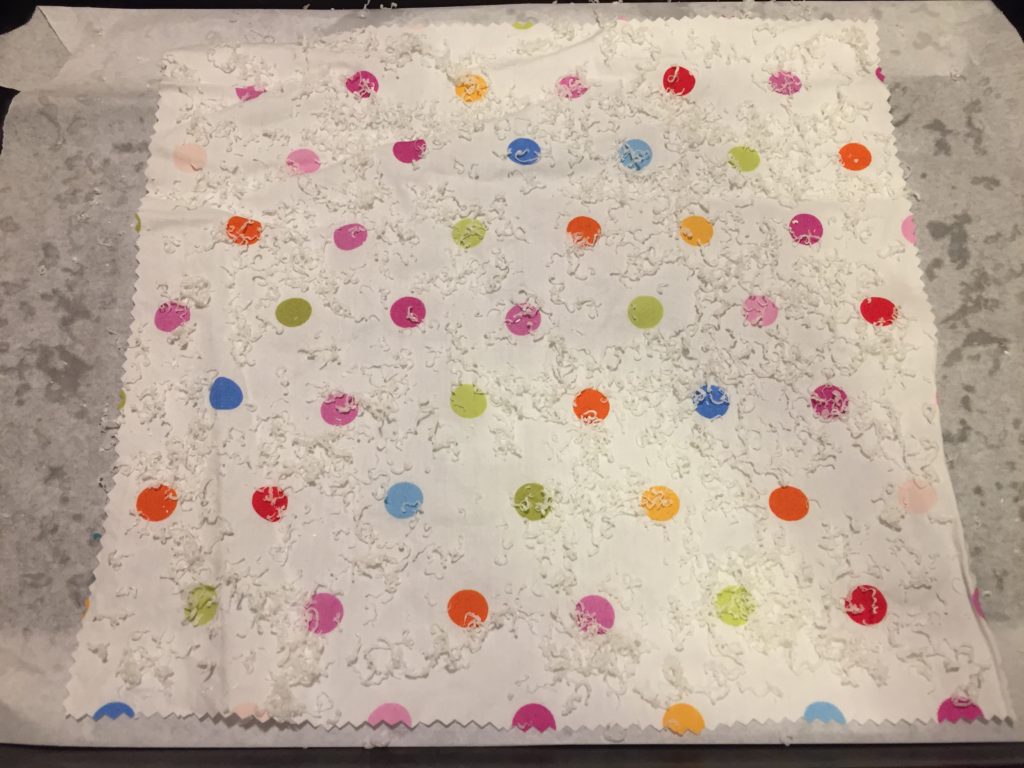
  4. Cover the baking sheet with parchment paper. Place a piece of fabric on top and sprinkle with grated beeswax. Start with a light sprinkling, about 2 teaspoons – you can always add more. If using, add a very light sprinkling (1/4 teaspoon) pine rosin and a few drops of jojoba oil.

  5. Place in the oven and let it melt for 5-10 minutes. One the wax has melted, use the brush to cover the fabric evenly. If there are any spots that aren't covered (the fabric will appear lighter in color), add more wax and repeat this step.

  6. Let fabric cool for a minute, then peel it off the parchment paper. Wave it around for a few seconds and the wax will harden. Set aside to allow to fully dry.

  7. Repeat with remaining fabric.

  8. When finished, tear up parchment paper and compost it. Dip grater into a pot of boiling water to soften wax that is stuck to it, then wipe down.

Source of information: Ecology Center

Before wax is melted
After wax is melted

Chai Tea Mix

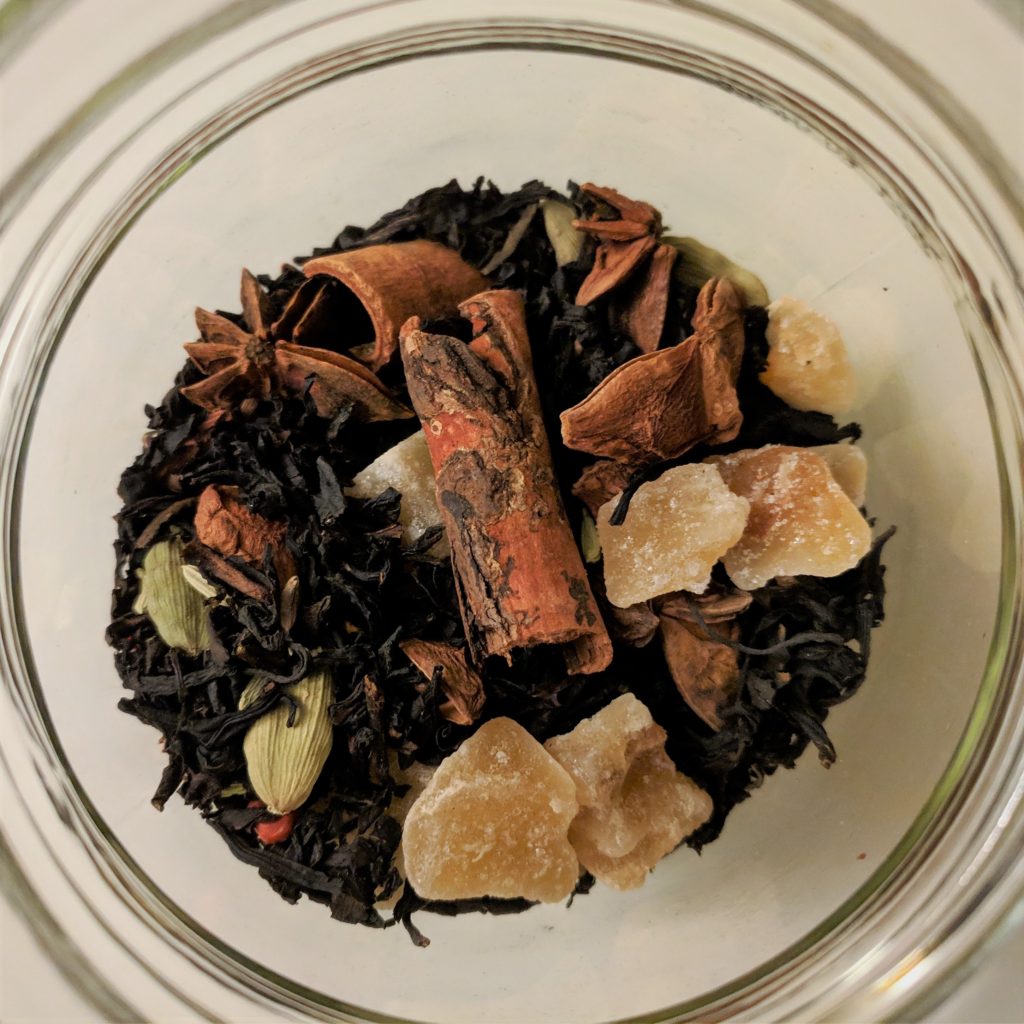
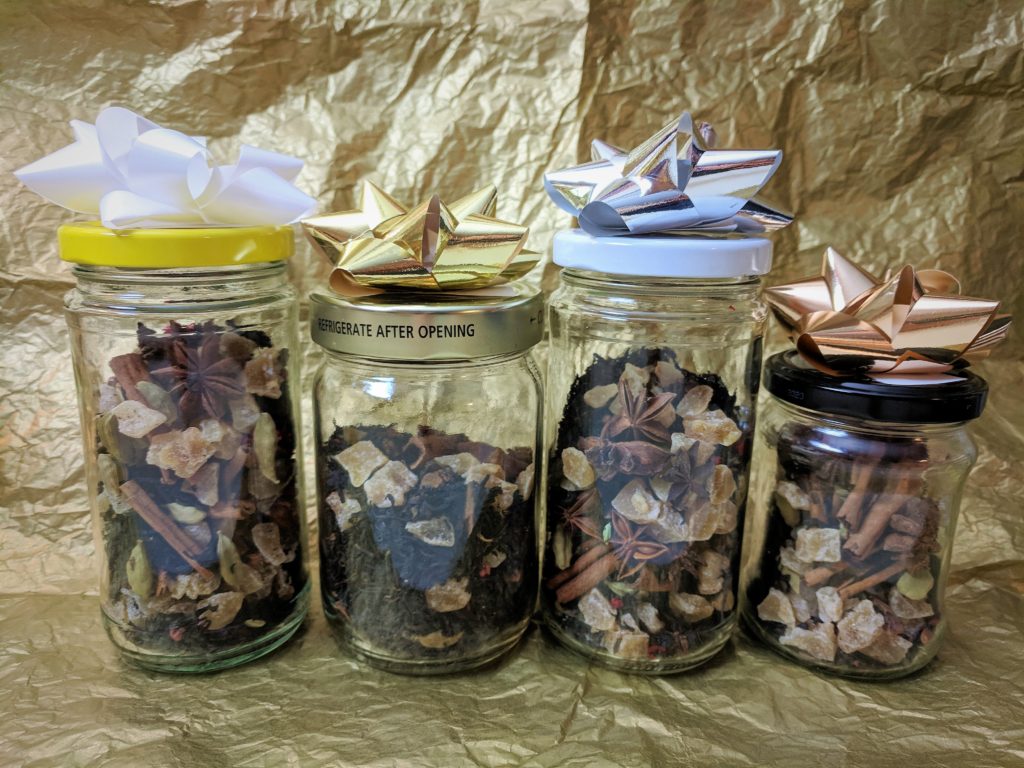
This chai tea mix makes a thoughtful homemade holiday gift. Just add the tea and spices to a jar and attach the simple brewing instructions! If available in a store near you, buy the spices in bulk to save some serious cash. For enhanced flavor, toast the spices in the oven at 350°F for about 5 minutes or until fragrant.

Chai Tea Mix

Each batch fills one small jar, about 4-8 ounces. Multiple this recipe to make as many jars as you'd like. 

Course Drinks
Prep Time 5 minutes
Servings 12 cups prepared

Ingredients

  • 1/2 cup loose black tea
  • 1/4 cup candied ginger cut into small pieces if large
  • 2 cinnamon sticks
  • 2 teaspoons cardamom pods about 20-25
  • 1 teaspoon red peppercorns
  • 1 teaspoon whole cloves
  • 8 star anise seeds optional
  • 2 teaspoons fennel seeds optional
  • 1 teaspoon black peppercorns optional
  • 1 teaspoon coriander seeds optional

Instructions

  1. If possible, lightly crush the spices – break the cinnamon stick into pieces, split the cardamom pods slightly, and lightly crush the other spices using a mortar and pestle.

    Alternatively, you can break the cinnamon stick and cardamom pods carefully using kitchen shears, a garlic press, or a nutcracker.

  2. In a small jar, combine tea, spices, and candied ginger. Close the jar and wrap.

  3. Include these instructions:

    Steep 1 tablespoon of tea mixture in 1 cup hot water for 5-10 minutes. Strain. Add ½ cup milk or milk alternative and optional sweetener to taste.

Soft Pretzels

Soft pretzels are delicious, chewy, and hearty, and hard to resist when you walk by a pretzel shop in the mall. Now you can make your own at home for a fraction of the cost, and without having to spend a lot of time and energy making the dough. Just use store-bought pizza dough!

Making pretzels at home is affordable, allows you more control over the ingredients, and is a fun activity for the holidays, for kids, or for anyone, any time of year! Some stores (Trader Joe’s) sells pizza dough for as little as $1.19 for a pound, enough to make 6 pretzels. That means you can make about 20 pretzels for the price of one mall pretzel!

These will last a day or so, but obviously taste best fresh from the oven. Store in a paper bag at room temperature and reheat in the oven for a few minutes or in the microwave for 15-20 seconds.

Eat them alone, or dip in mustard or marinara!

Soft Pretzels

You can make soft pretzels at home without spending the time making the dough - just buy store-bought pizza dough! Feel free to customize with other toppings such as sesame seeds, poppy seeds, "everything bagel" topping, or cinnamon sugar.

Course Snack
Prep Time 20 minutes
Cook Time 30 minutes
Total Time 50 minutes

Ingredients

  • 16 ounces refrigerated store-bought wheat pizza dough
  • 2 tablespoons baking soda
  • 1 teaspoon coarse salt
  • 1 egg optional

Instructions

  1. Unwrap dough, place on a lightly floured surface, and let sit out at room temperature for 20 minutes.

  2. Preheat oven to 425°F. Line a baking sheet with parchment paper.

  3. Divide dough into 8 equal pieces. Roll the dough into a long strand about ½ inch thick. Form a U, then cross the two ends over each other and twist, then push the ends down into the top of the U to form a pretzel shape. You can also create other shapes, such as a knot or a nugget. Repeat until all dough is used.

  4. In a large high-walled skillet, bring 4 cups of water to a simmer over medium-high heat. Add 2 tablespoons baking soda. If you don't have a skillet large enough, or if you double this recipe, use a stock pot but double the water (8 cups) and baking soda (1/4 cup). Either way, make sure the water goes no higher than halfway up the pan/pot - the baking soda will foam a lot.

  5. Using a slotted spoon, lower a few pretzels into the simmering baking soda bath. Only add enough to form a single layer in the pot. Simmer for 1 minute, using the spoon to flip them if they float to the top. Remove from bath and drain, then place onto the prepared baking sheet. Sprinkle with kosher salt.

  6. Repeat with all pretzels. Sprinkle with kosher salt before they drain or brush with water, then sprinkle with salt. The other option is to whisk 1 egg with 1 tablespoon of water and brush on top of pretzels, then sprinkle with salt, which will make them shiny and brown a little darker.

  7. Bake about 20-30 minutes or until well browned on top.

After boiling, before baking
After baking