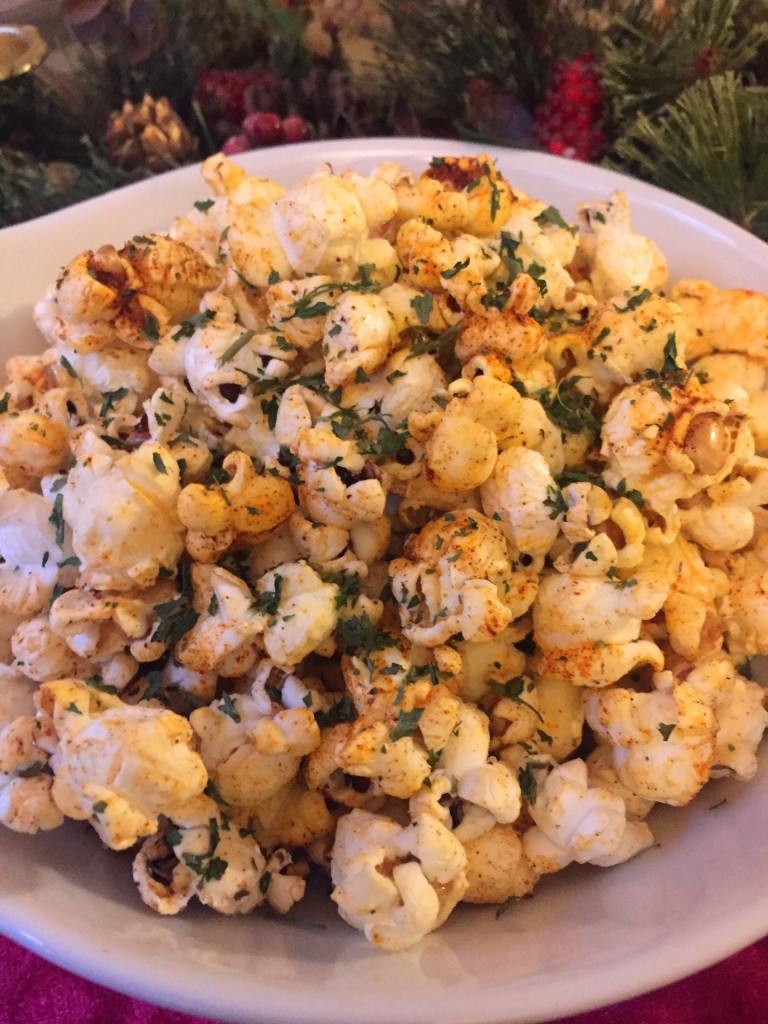
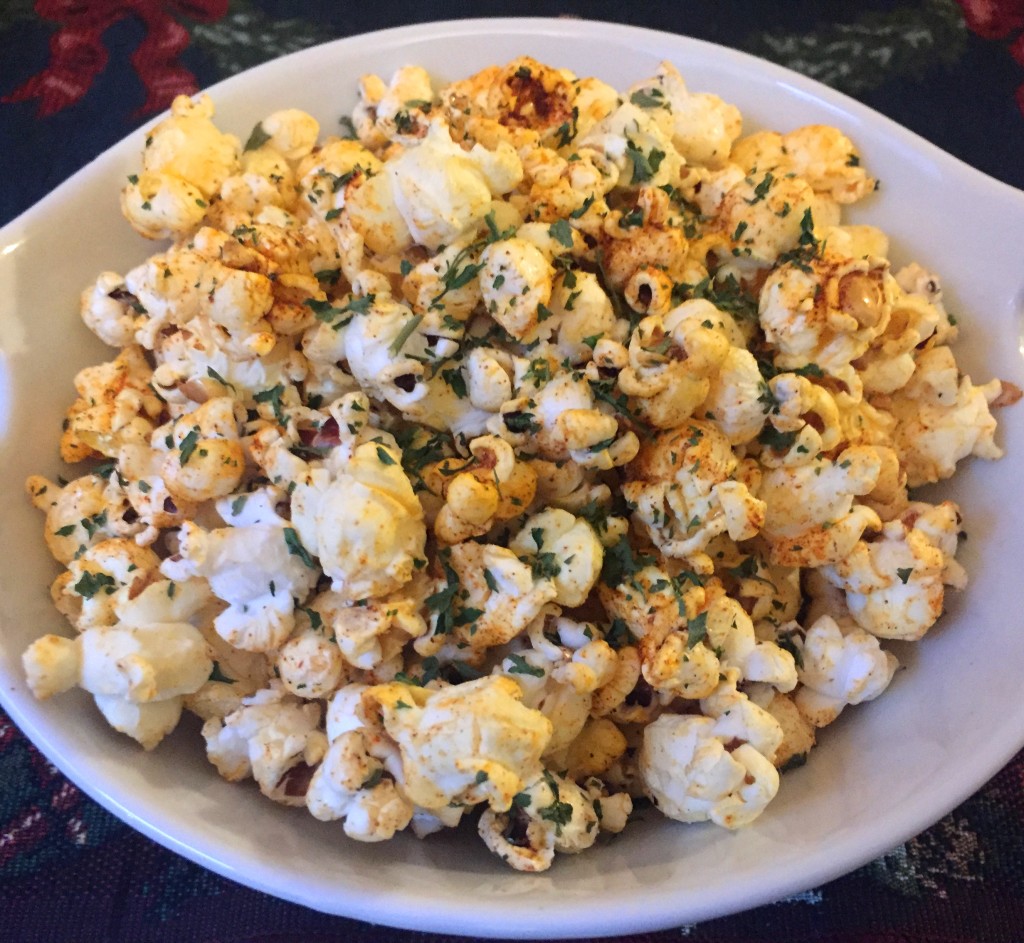
Make your own healthier microwave popcorn with just popcorn kernels and a paper bag! This allows you to control the ingredients and avoid potentially harmful chemicals in prepackaged microwave popcorn.
Microwave Popcorn
 Print recipe
| Serves | 1-2 |
| Prep time | 1 minute |
| Cook time | 3 minutes |
| Total time | 4 minutes |
| Dietary | Gluten Free, Vegan, Vegetarian |
| Meal type | Appetizer, Snack |
| Misc | Child Friendly |
Making microwave popcorn using just a paper bag and some kernels is fun, affordable, and can be healthier when you control the ingredients. Microwave popcorn bags can be lined with questionable additives, so it's better to play it safe and use a plain bag.
Ingredients
- 1/4 cup popcorn kernels
Directions
| Step 1 | |
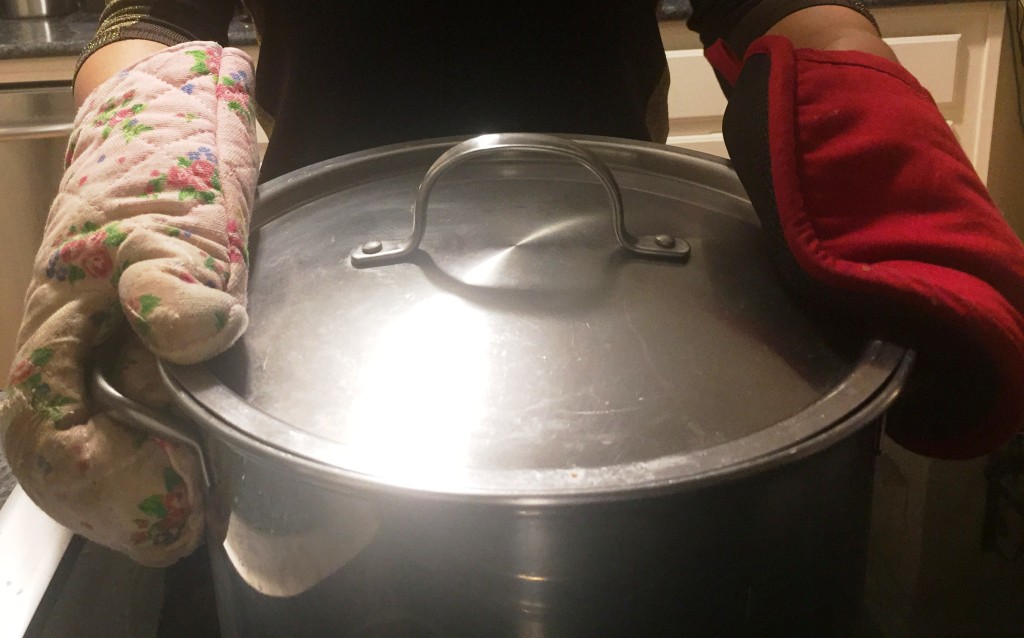
| Pour about 1/4 cup popcorn kernels into a lunch-bag sized paper bag. It doesn't have to be exact. Fold the bag over 2-3 times to loosely close it. | |
| Step 2 | |
| Microwave the bag on high for 3 minutes. Be careful to watch the microwave - don't get distracted and walk away. The chances are slim but since you are heating paper, there is a chance it could burn or catch on fire. Once popping slows to 2-3 seconds between pops, turn the microwave off. Allow to finish popping, then remove from microwave. | |
| Step 3 | |
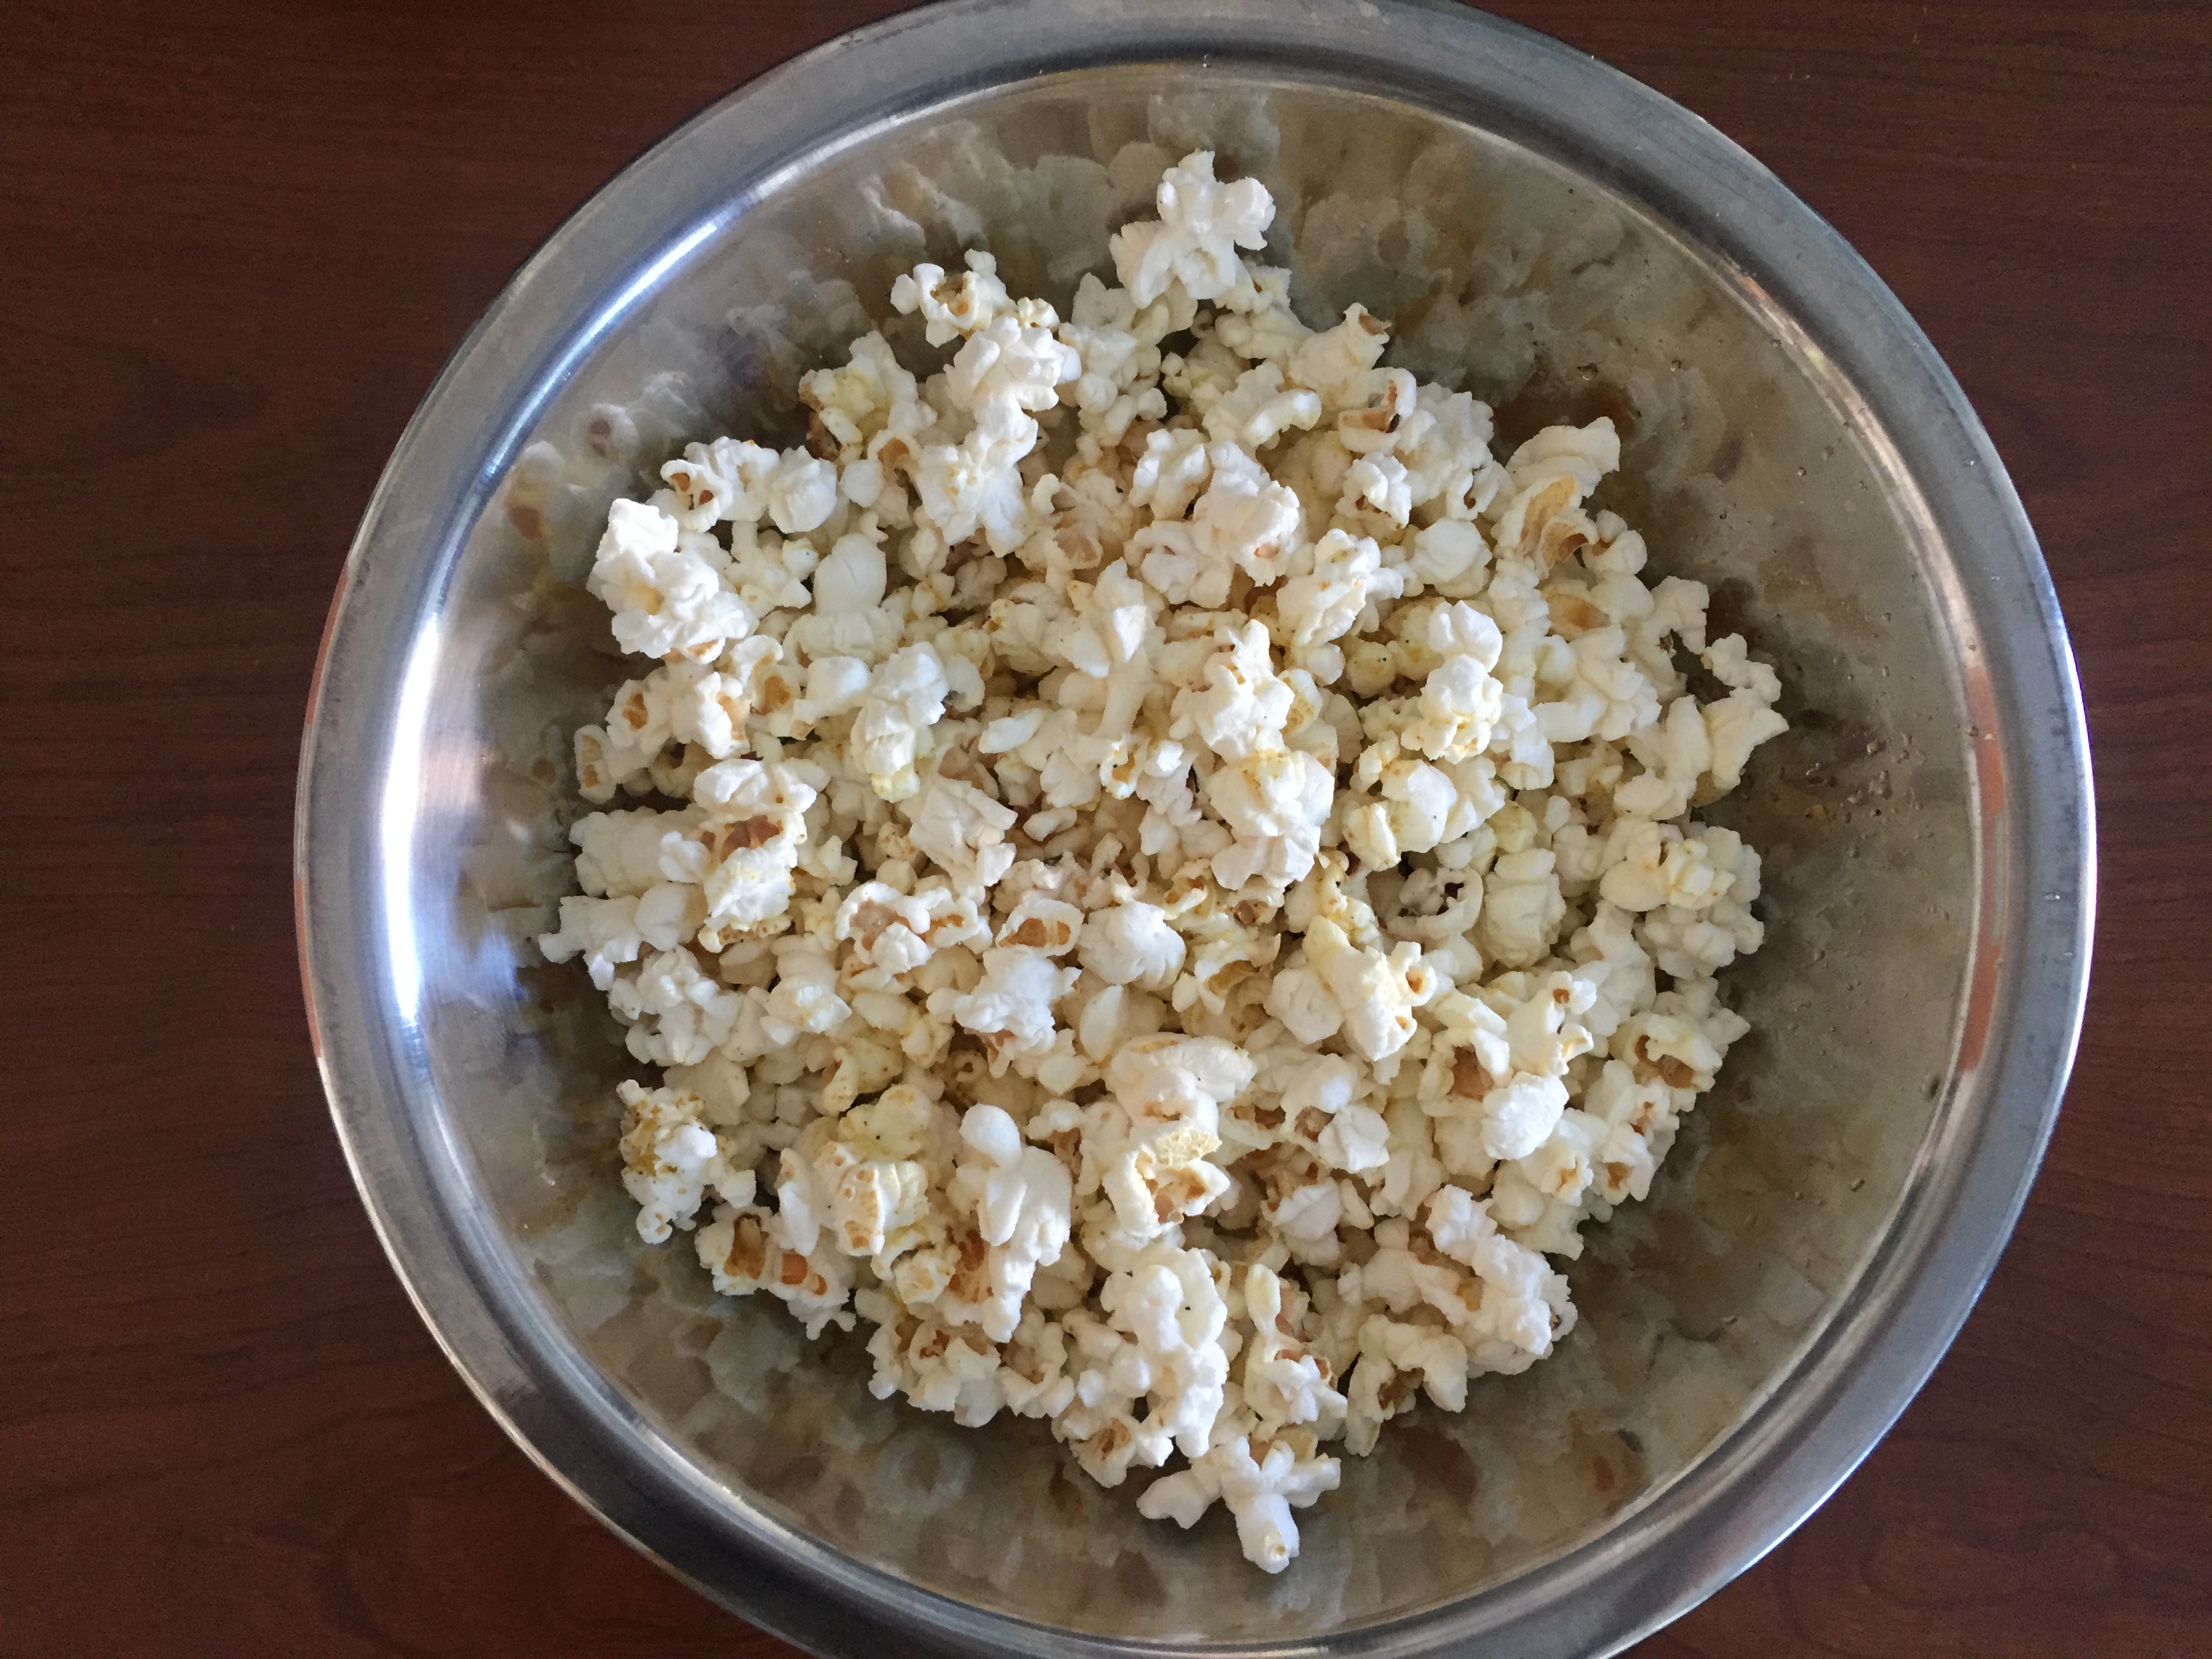
| Top with optional toppings - a drizzle of extra virgin olive oil and some seasoning salt is divine! You can also use other oils and other seasonings such as chili lime seasoning, or a mixture of nutritional yeast, salt, and garlic powder. | |
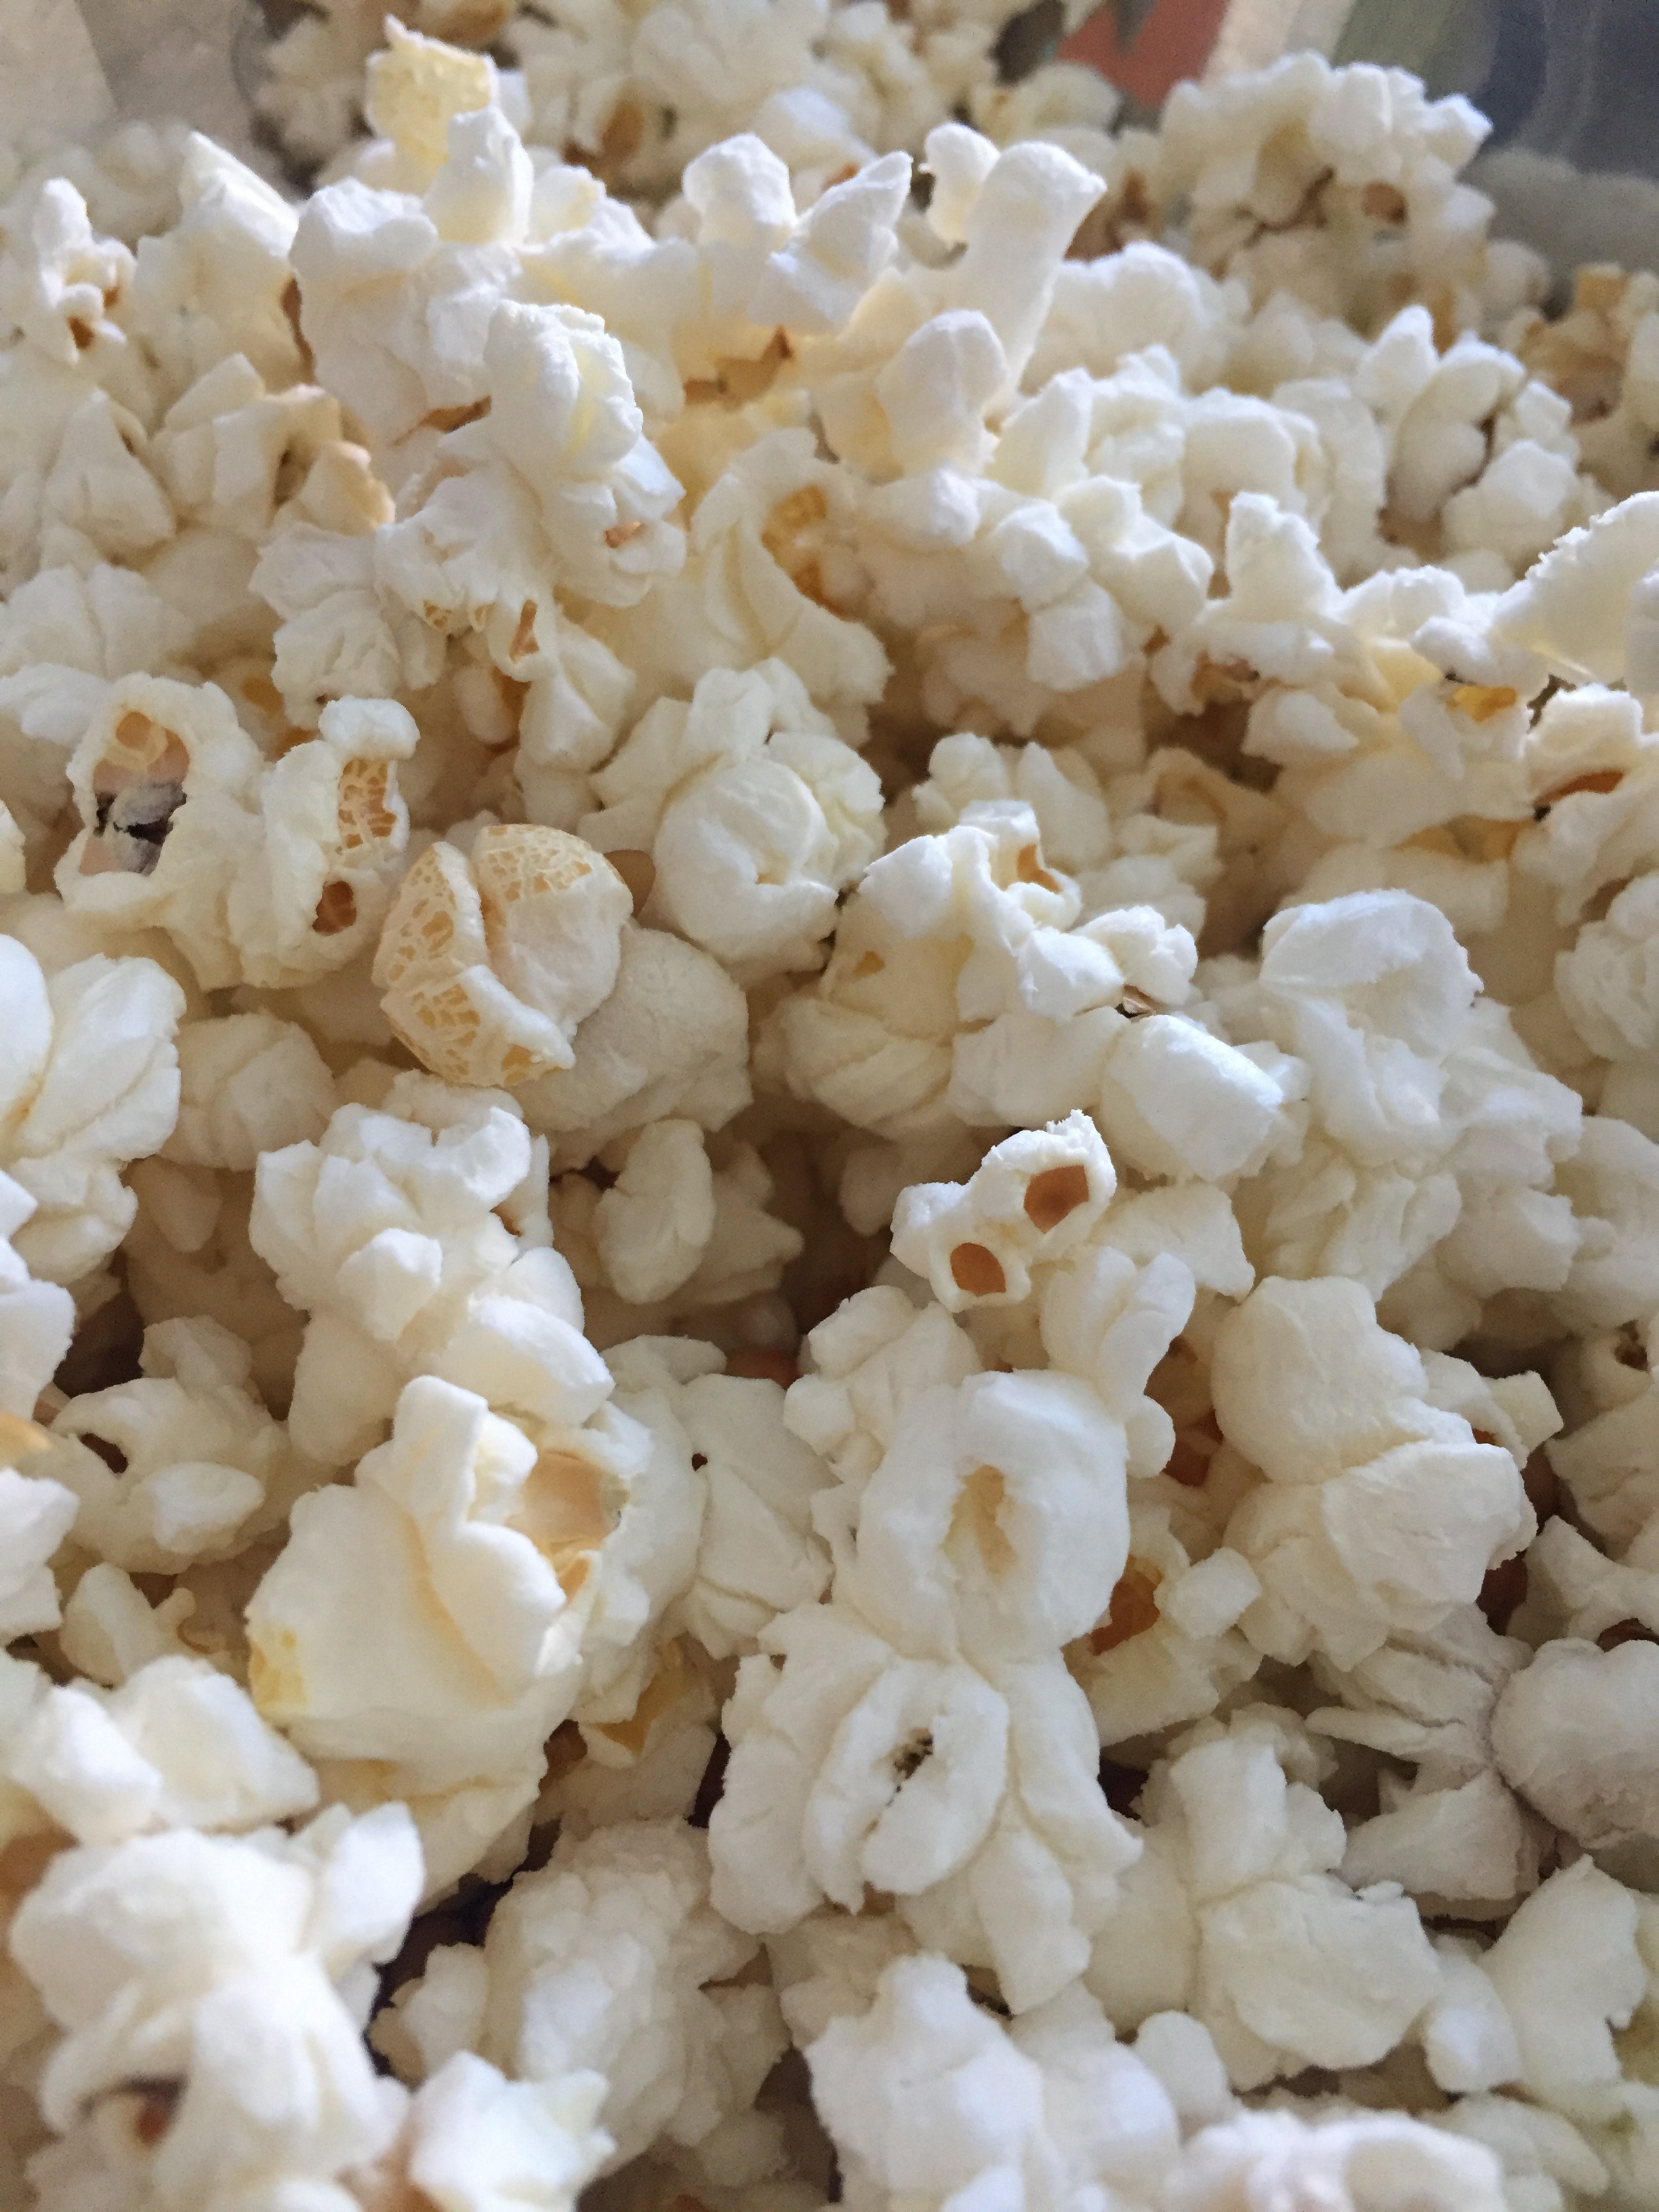
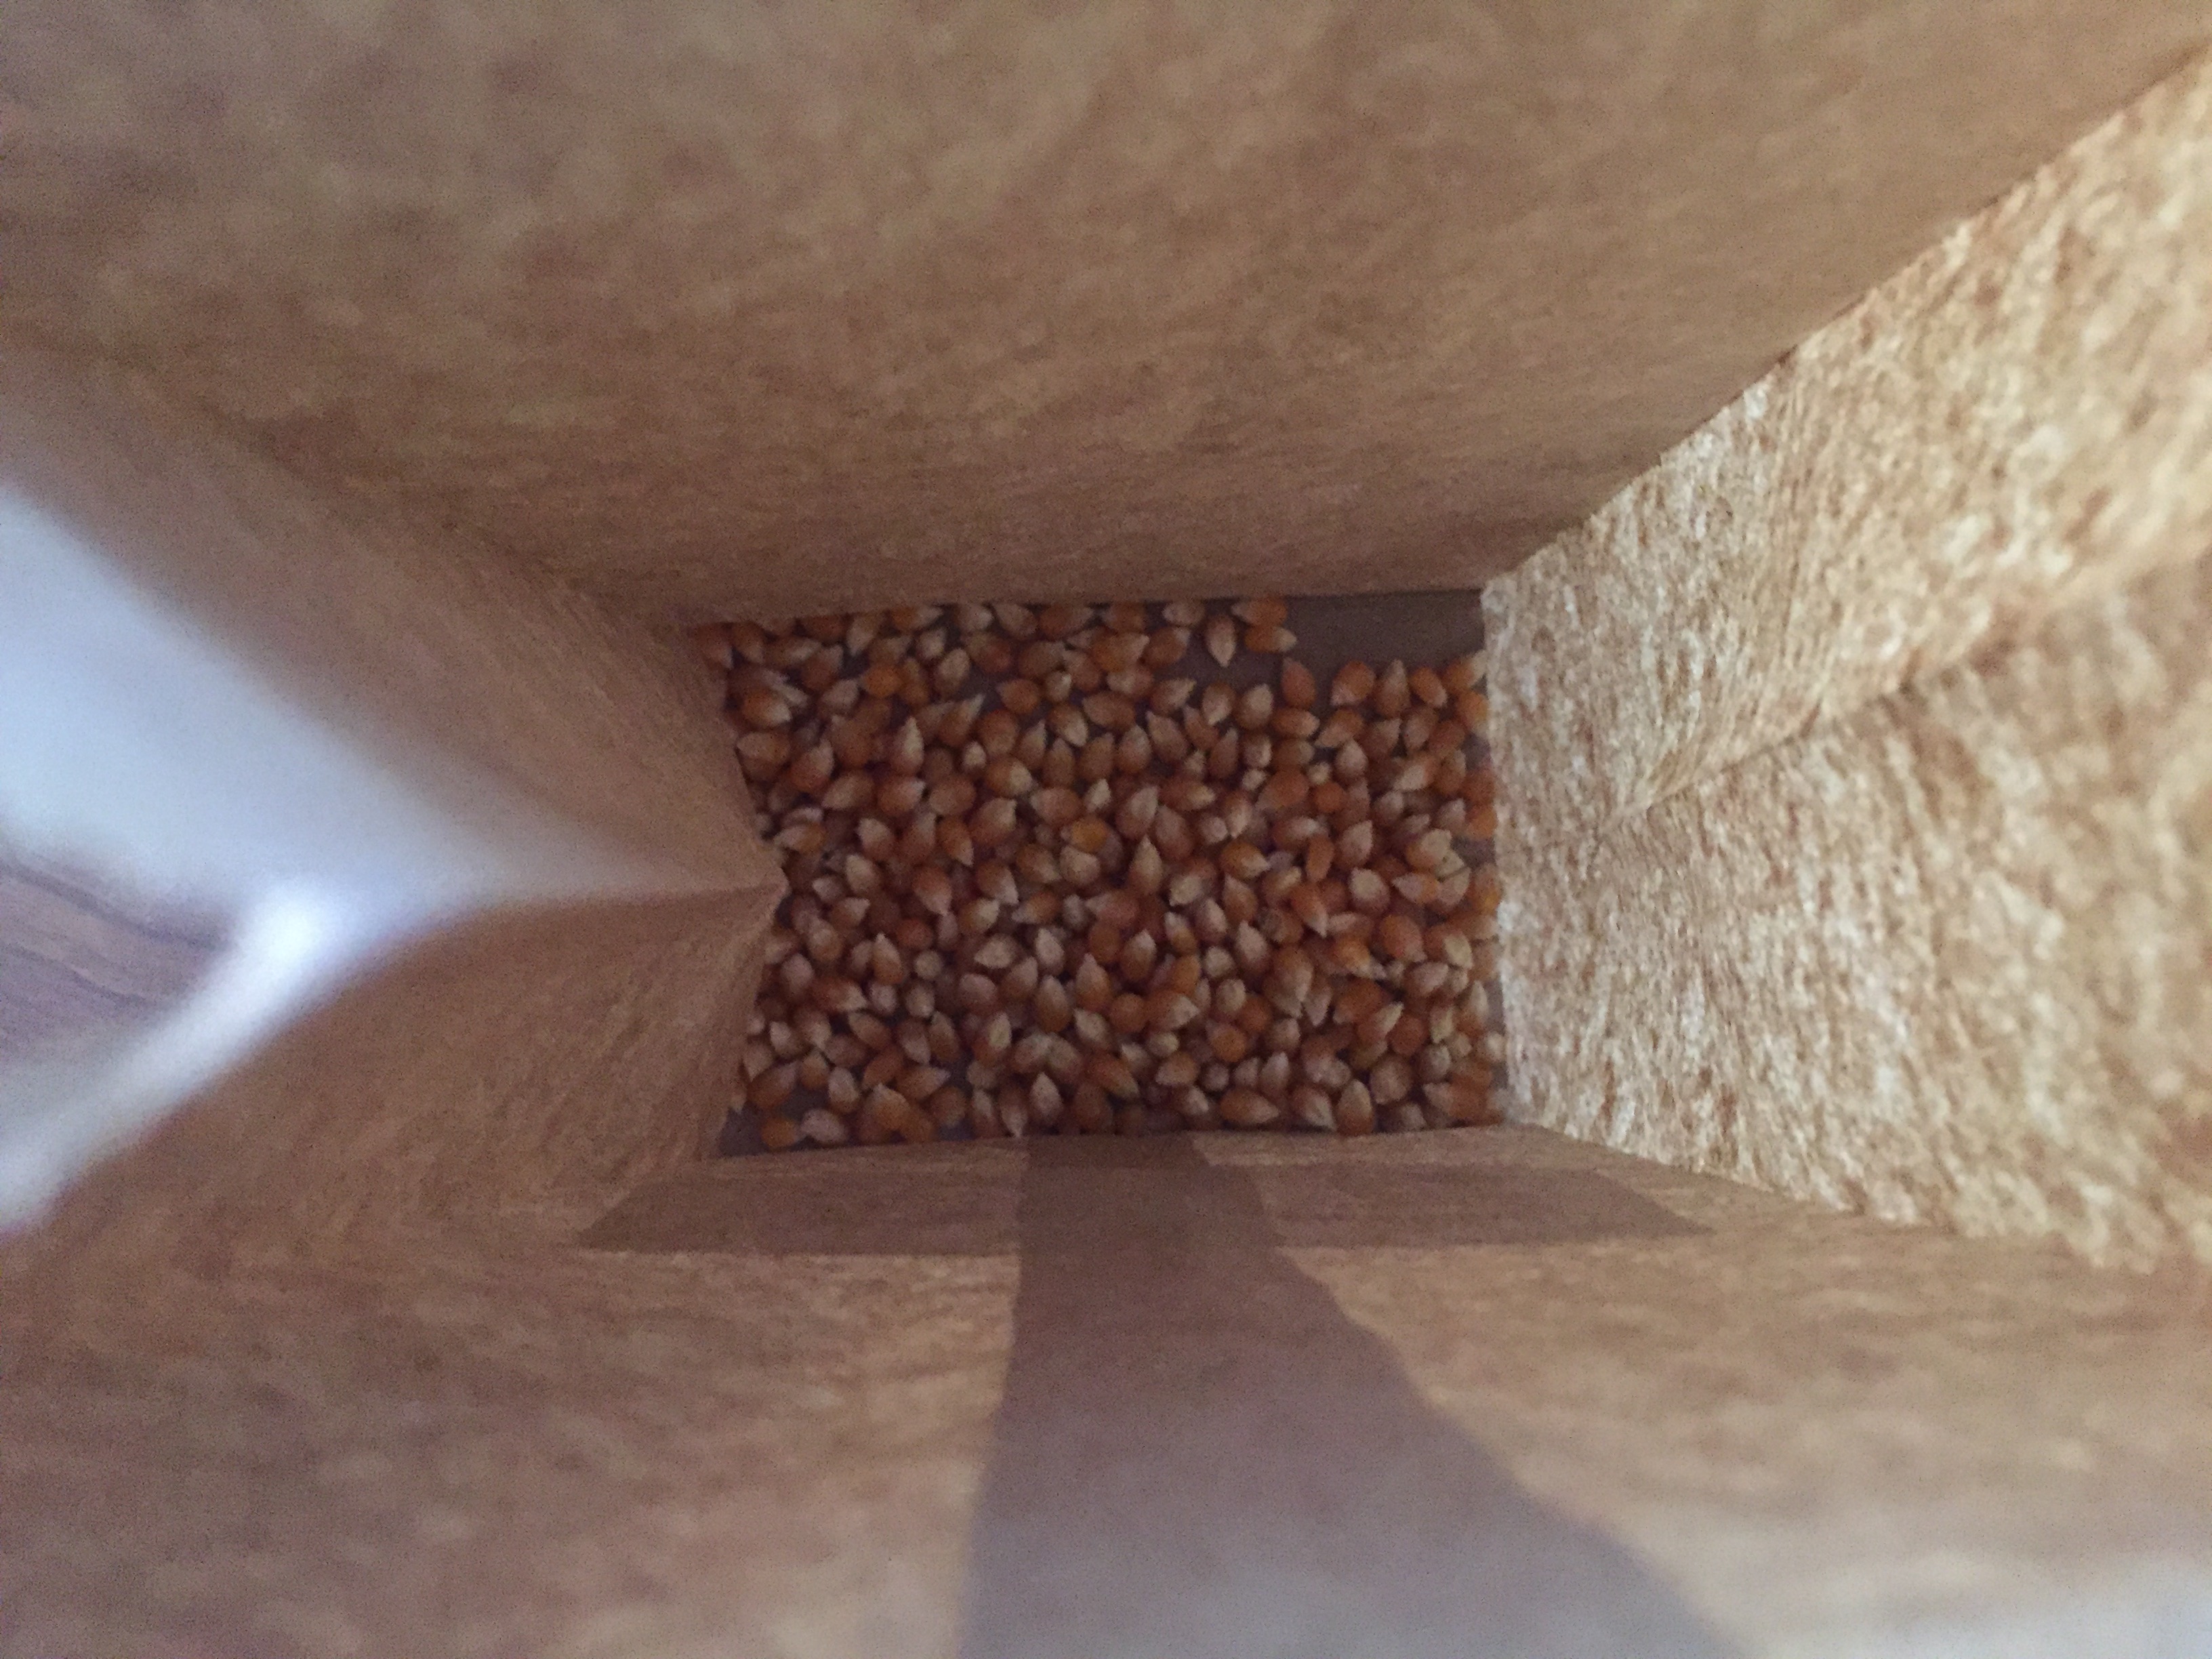
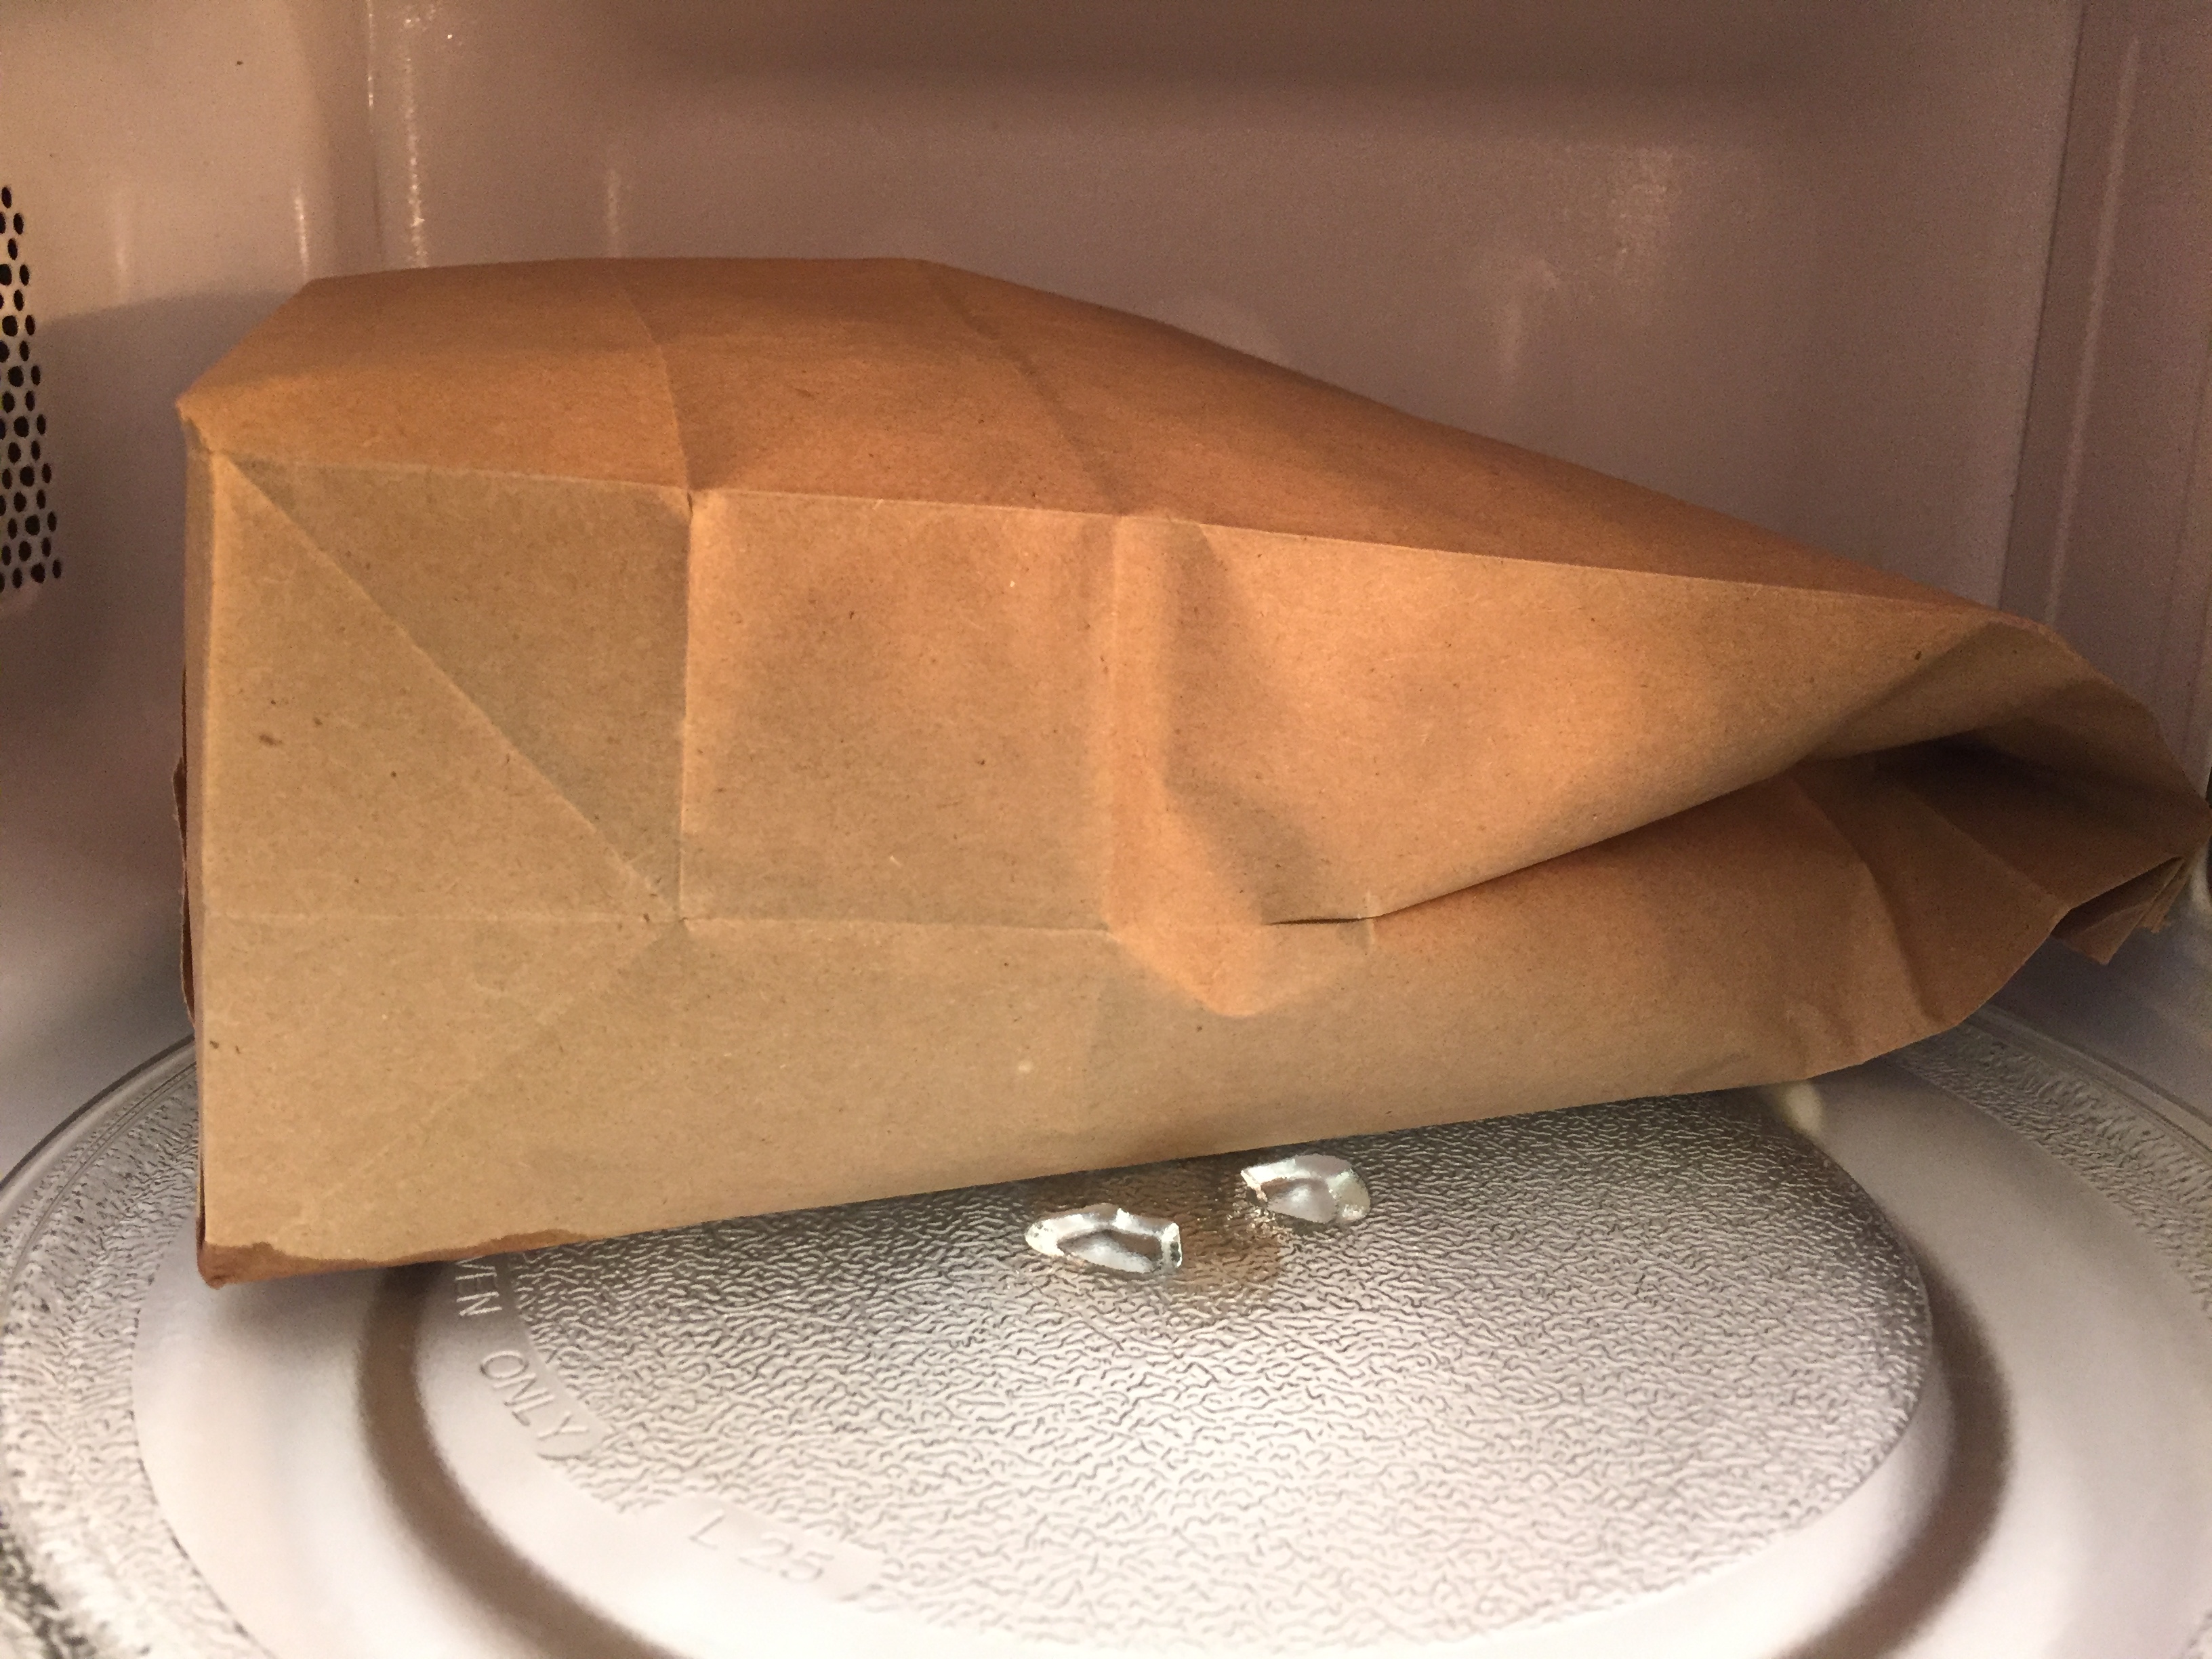

 Photo credit: Peter Ma
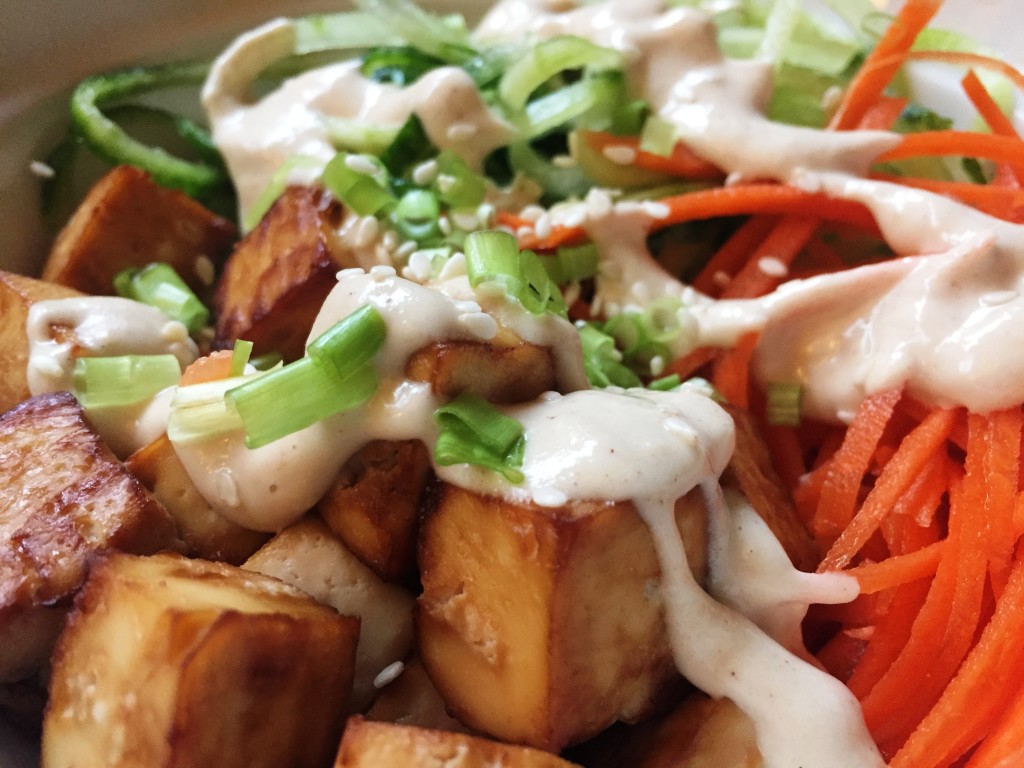

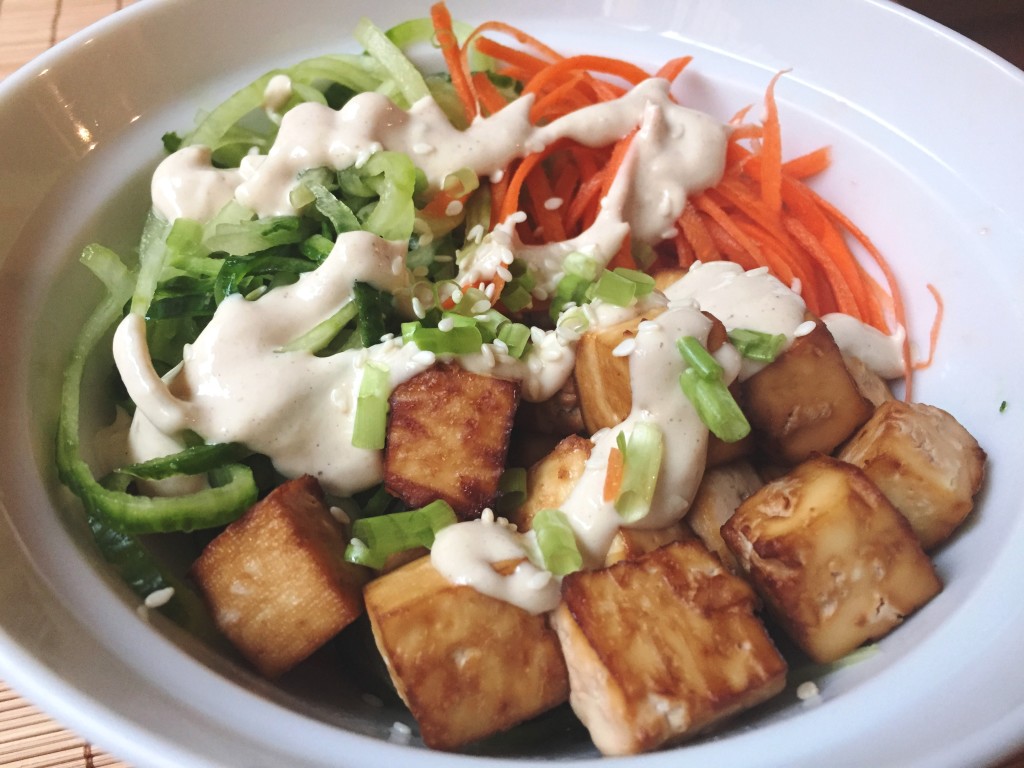
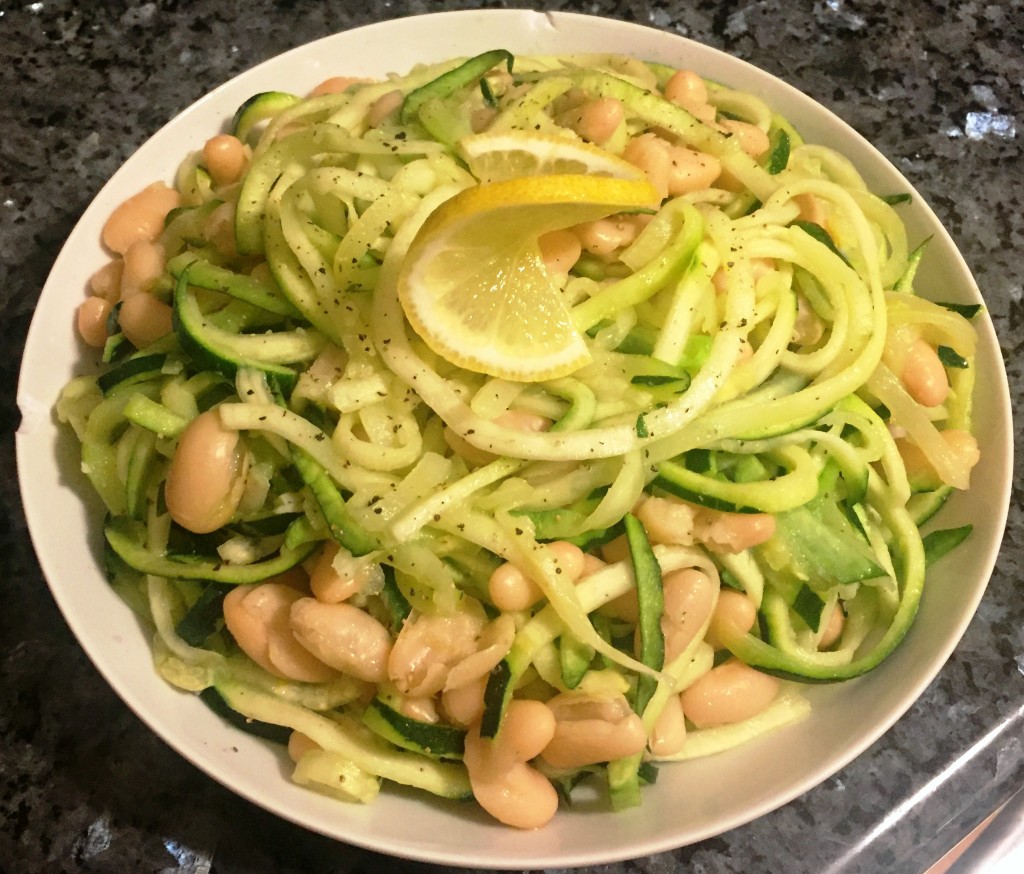 This quick meal can be whipped up in about 15 minutes. Other than a spiral slicer, you could also use a julienne peeler or the grater attachment on a food processor. This recipe is completely plant-based without any animal products, but the combination of vegetables, beans and healthy fat will satisfy your appetite.