Tag Archives: holidays

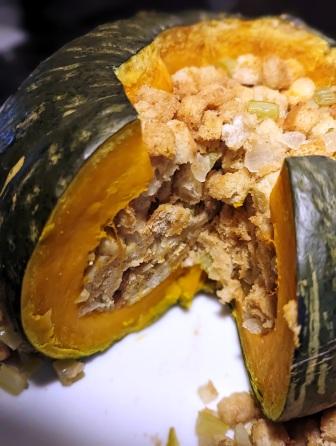
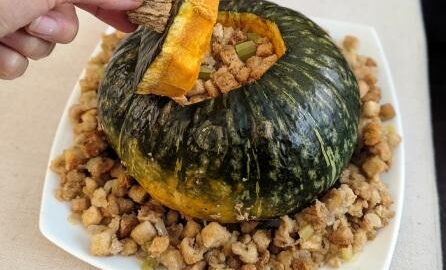
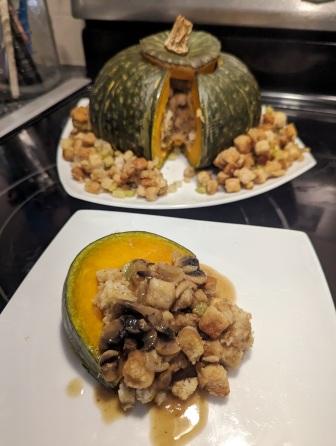
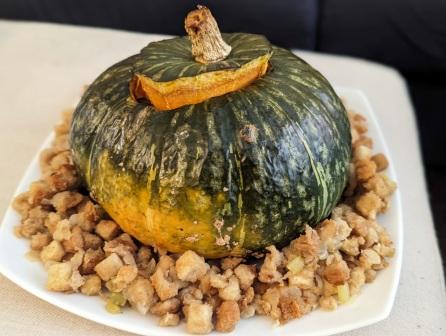
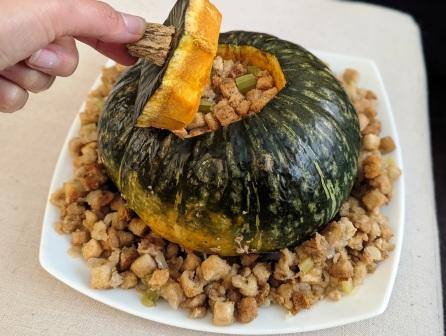
Stuffing Stuffed Pumpkin

For a fun way to serve stuffing, stuff it into a pumpkin! Feel free to use another stuffing recipe of your choice. Serve with gravy.
Stuffing Stuffed Pumpkin

Course Side Dish
Cuisine American
Keyword Fall, holidays, pumpkin, Stuffing, Thanksgiving, vegan, vegetarian
Total Time 1 hour 30 minutes
Servings 8

Ingredients

  • 1 medium kabocha squash 3-4 pounds
  • 1/2 teaspoon salt
  • 12 ounces seasoned stuffing mix
  • 1/4 cup vegan butter or use regular butter if you prefer
  • 1 medium yellow onion, finely diced about 1 cup
  • 2 stalks celery, finely diced about 1 cup
  • 2 tablespoons corn starch
  • 2 1/2 cups vegetable broth
  • 1 tablespoon olive oil

Instructions

  1. Preheat the oven to 350°F.

  2. Wash the outside of the pumpkin. Cut a round opening in the top of the pumpkin by using a sharp knife to make incisions that eventually connect to create an opening. If necessary, use a butter knife to gently pry the top loose. Scoop the seeds and stringy parts of the pumpkin out. Sprinkle salt on the inside.

  3. Place the pumpkin and the lid on a baking sheet and bake for 30 minutes. Remove from oven and let cool. Reserve the baking sheet.

  4. In a Dutch oven or stock pot, heat butter over medium heat. Add onion and celery and cook for 5 minutes or until tender-crisp, stirring occasionally.

  5. Add the stuffing mix to the pot and stir.

  6. In a medium bowl, mix the broth and cornstarch well. Slowly drizzle over the stuffing mixture and toss. Continue adding more broth slowly until the bread is just barely soaked through.

  7. With the pumpkin on the reserved baking sheet, fill it with stuffing, pressing down gently to fill the space. Place the pumpkin lid on the baking sheet. Grease a loaf pan with olive oil (or butter) and fill with any remaining stuffing. Cover loaf pan with foil.

  8. Bake the stuffed pumpkin, lid, and extra stuffing for 30 minutes. Remove foil and pumpkin lid, setting aside, then continue baking for 10 minutes or until top of stuffing is lightly crisp.

  9. Move pumpkin to serving plate and put lid on top. Serve extra stuffing on the side or surround the pumpkin with it on the serving plate. Place the pumpkin lid on top.

  10. Serve by cutting pumpkin into slices and serve with an extra scoop or two of stuffing. Serving suggestion: top with gravy once sliced.

Recipe Notes

  • Serve with gravy. 
  • Substitute another stuffing recipe if you’d like. 
  • You can fully cook the pumpkin and the stuffing separately if you prefer to have more control and make it a little easier to tell when the pumpkin is fully cooked. Spoon the stuffing into the pumpkin once cooked, gently pressing down to fill any gaps.
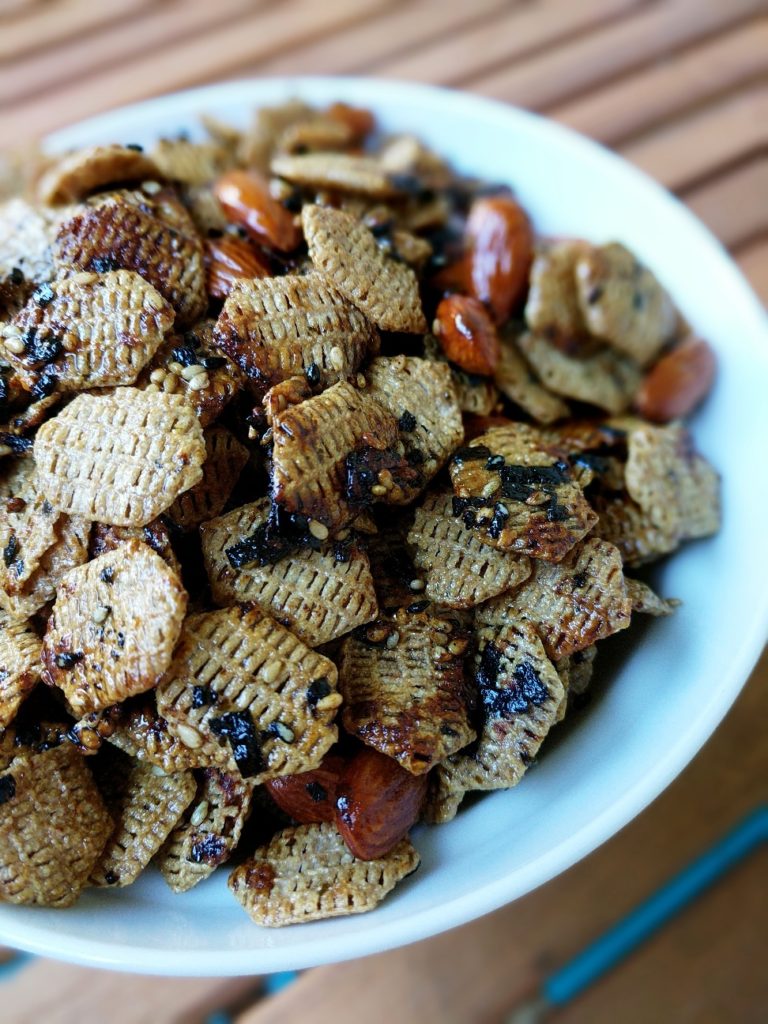
Furikake Snack Mix

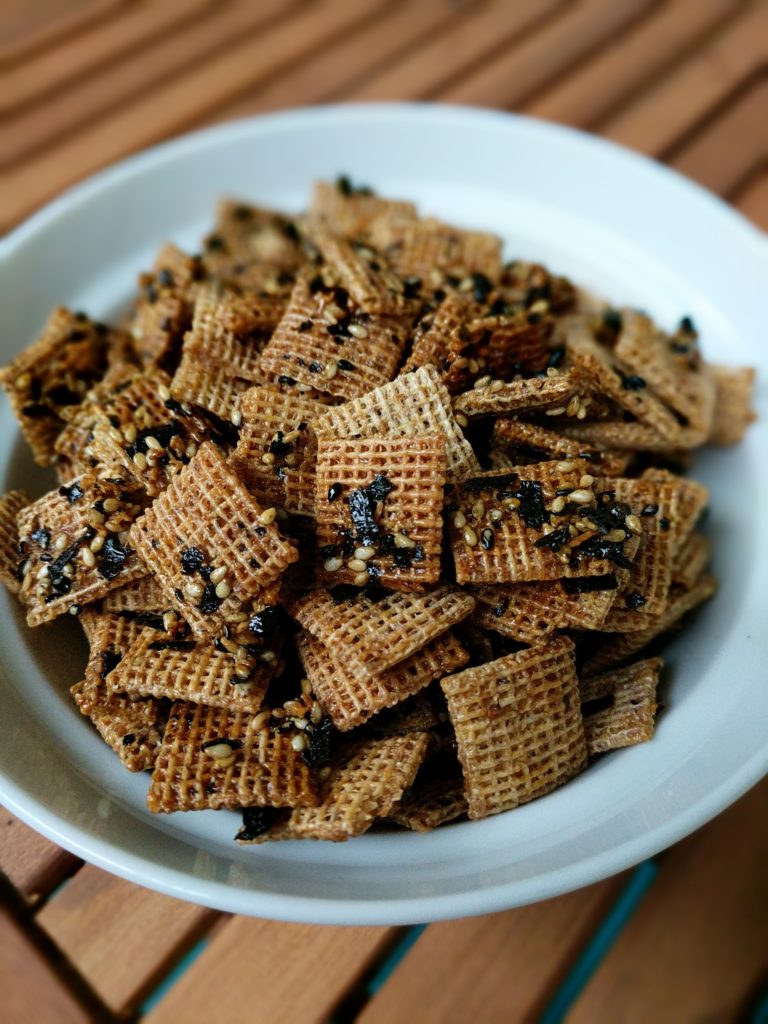
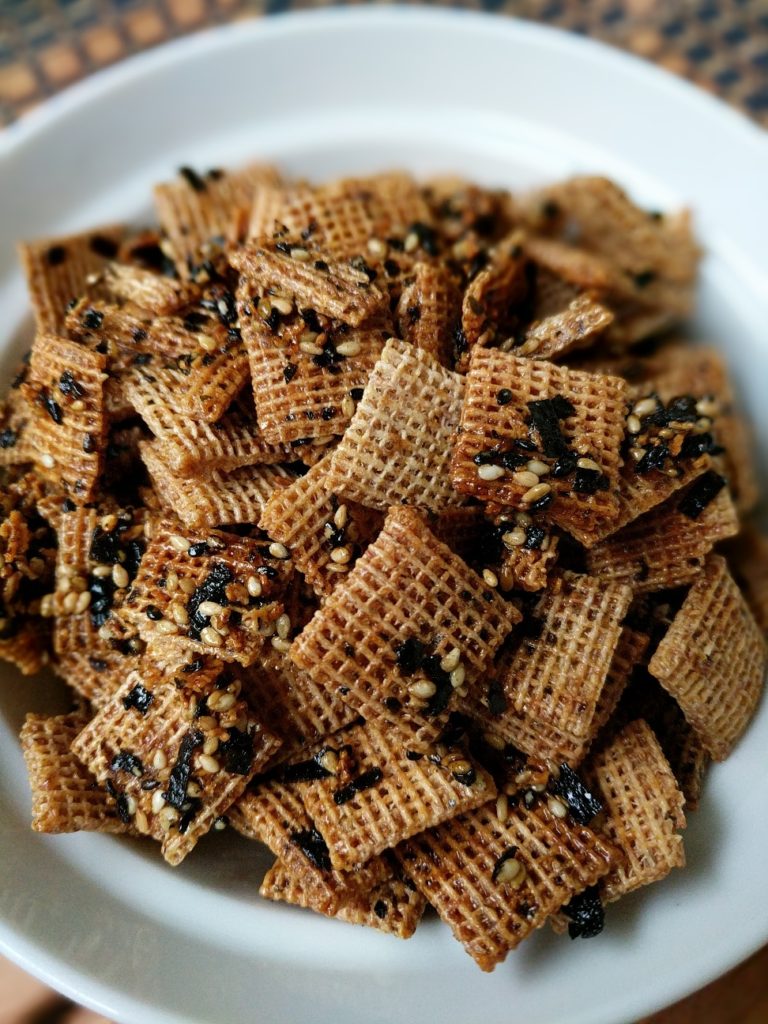
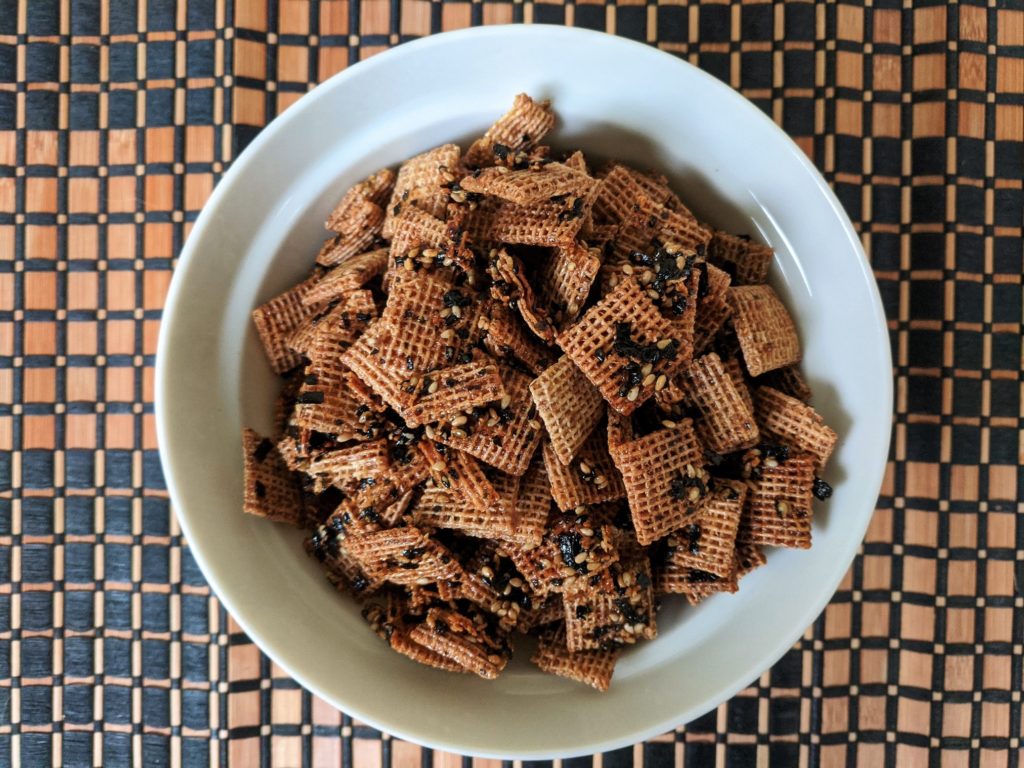
furikake snack mix

There are many variations of this snack mix, and this version is made with whole grains and healthy fats! It’s more savory than some of the sweeter versions. It can also be made dairy-free and/or vegan. Please note that furikake often contains fish, so look for a vegetarian version if necessary. You can also make your own furikake, which is a mix of dried seaweed, sesame seeds, sugar, salt, and sometimes other ingredients (like fish, which you could leave out).

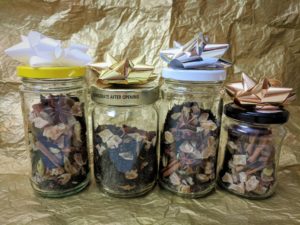
Make up a batch or two for homemade holiday gifts! Save glass jars and remove the labels to package it.

You can swap ingredients as you’d like. For example:
-Omit almonds and replace with 1 cup of cereal
-Replace 1-2 cups of cereal with 1-2 cups of other ingredients like pretzels, crackers, or another type of cereal
-Add 1/4 cup granulated sugar to the syrup mixture if you prefer a sweeter mix

Furikake Snack Mix

Course Snack
Prep Time 15 minutes
Cook Time 1 hour
Servings 12

Ingredients

  • ¼ cup agave syrup
  • ¼ cup canola oil
  • ¼ cup vegan butter
  • 2 teaspoons reduced sodium tamari or soy sauce
  • 5 cups whole grain squares cereal about 1 box
  • 1 cup raw almonds
  • ½ cup furikake use a vegan/fish-free version if necessary
  • 1 tablespoon sesame seeds

Instructions

  1. Preheat oven to 250°F.
  2. Bring syrup, oil, butter, and tamari or soy sauce to a boil in a saucepan.

  3. Put cereal and almonds on a baking sheet, pour sugar mixture over, sprinkle with furikake and sesame seeds, and stir to combine.

  4. Bake for one hour, stirring every 15 minutes. It will look wet when you first remove it from the oven, but it will dry as it cools.

Beeswax Wraps

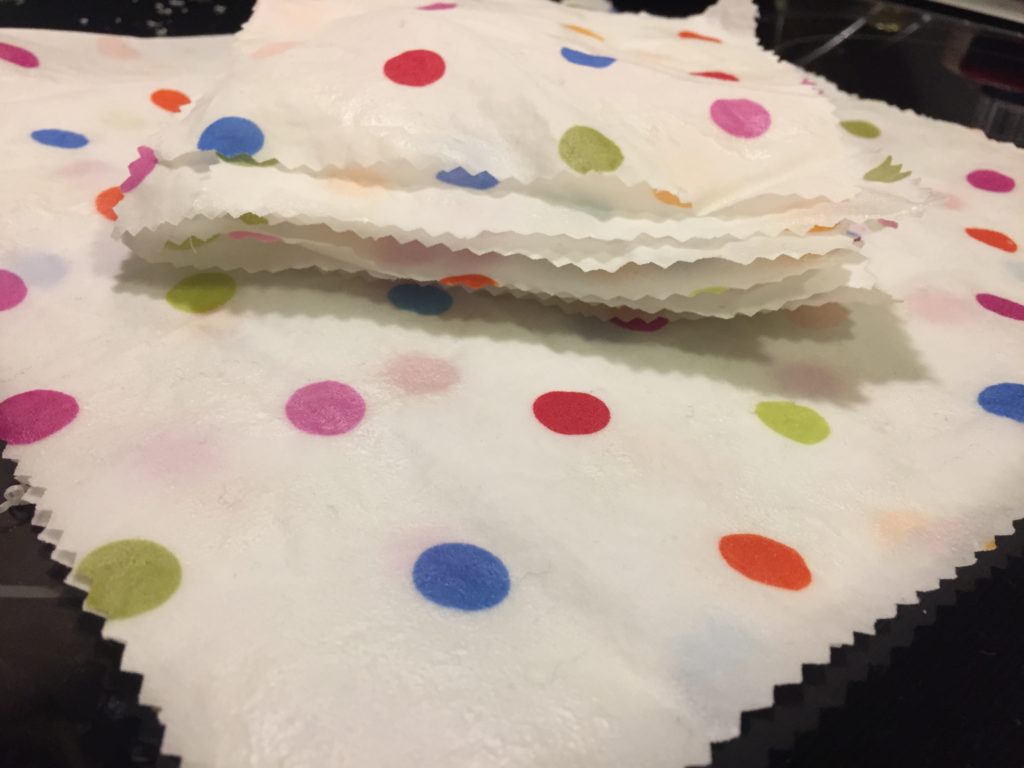
Beeswax wraps are not edible, but they are an eco-friendly alternative to plastic wrap. These wraps sell in some stores for around $18 for a 3-pack. You can make many more wraps for the same cost or less, plus you can choose other fabric designs and shapes. Use these wraps to cover bowls or cups, wrap up a sandwich, or store leftover cut produce (such as a cucumber) or cheese. Use a string or rubber band to hold it together, or sew a button and thread onto one end so that the string can wrap around the button to hold it closed.

When cared for properly, they can last up to a year. Once they are worn out, you can either re-wax them, or cut them up and compost them.

Care Instructions:

  • Only wash with cold water and mild soap (such as castile soap). Hot water will melt the wax.
  • Do not use for raw meat since they cannot be washed with hot water
  • Store rolled rather than folded – folding creates more cracks

Materials Tips:

  • Fabric – You can reuse old fabric such as a t-shirt, bed sheets, or curtains, but the fabric must be thin and natural, such as cotton or linen, rather than thick or synthetic, such as polyester or canvas. Just make sure you wash it with soap and very hot water first.
  • Beeswax – You may be able to find local beeswax in a block, or you may find it at a craft store in beads.

Alternative Method:

  • You can also use an iron instead of an oven, but you may have to designate the iron and ironing board for wax projects only. If the wax sticks to the iron or ironing board, it will stick to your clothes and will not come off!
  • To use this method – place the fabric and beeswax between two sheets of parchment paper. Iron over it on low heat, moving the iron constantly, until wax melts, or about 1 minute.


5 from 1 vote
Print

Homemade Beeswax Wraps

This recipe is NOT edible - it is a plastic wrap alternative that you can make at home and reuse countless times! It makes a great gift.

Ingredients

  • Beeswax
  • Clean fabric
  • Pine rosin (optional)
  • Jojoba oil (optional)

Instructions

  1. Preheat oven to its lowest setting, or 200°F. Optional: line a baking sheet with foil to ensure that no wax sticks to it.

  2. Grate beeswax using grater unless you bought it in beads. A cheese grater with large holes works best.

  3. Use pinking sheers to cut fabric into desired shape and size – this will reduce fraying. Try 8” or 11” squares that but make sure they fit on the baking sheet.

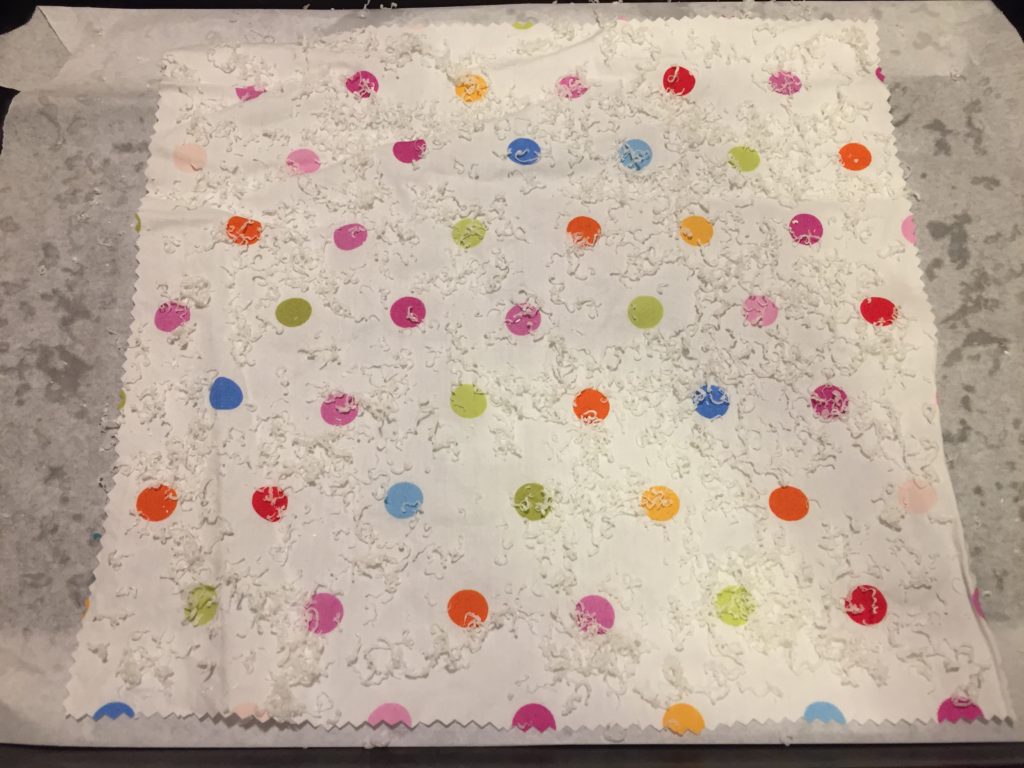
  4. Cover the baking sheet with parchment paper. Place a piece of fabric on top and sprinkle with grated beeswax. Start with a light sprinkling, about 2 teaspoons – you can always add more. If using, add a very light sprinkling (1/4 teaspoon) pine rosin and a few drops of jojoba oil.

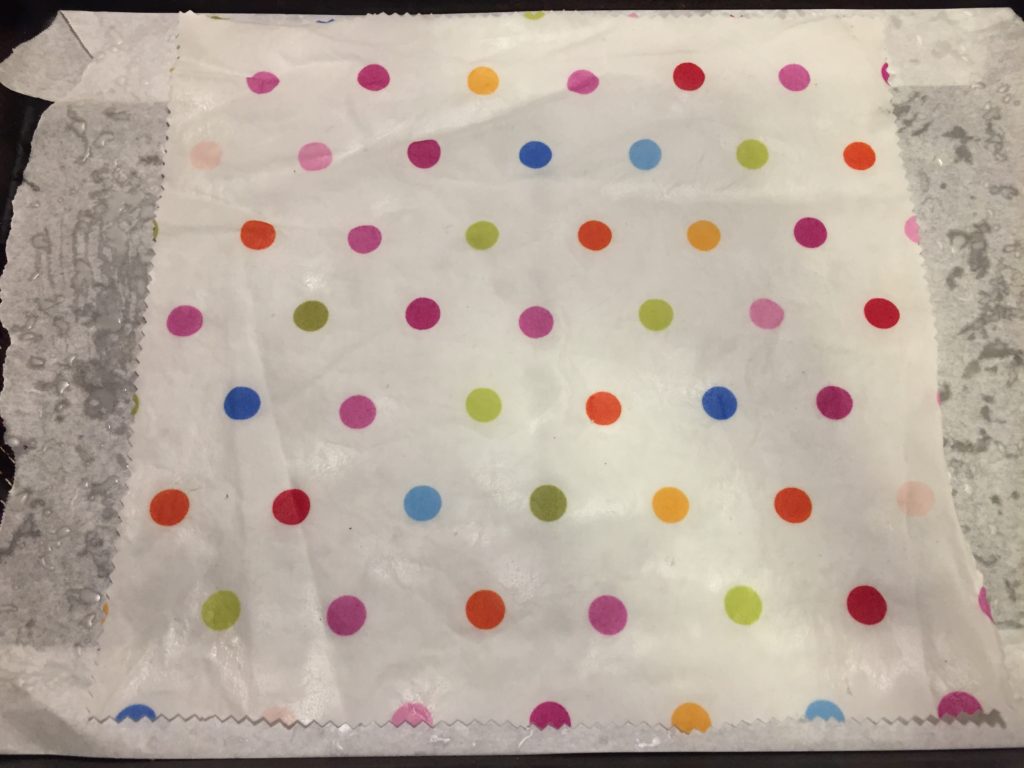
  5. Place in the oven and let it melt for 5-10 minutes. One the wax has melted, use the brush to cover the fabric evenly. If there are any spots that aren't covered (the fabric will appear lighter in color), add more wax and repeat this step.

  6. Let fabric cool for a minute, then peel it off the parchment paper. Wave it around for a few seconds and the wax will harden. Set aside to allow to fully dry.

  7. Repeat with remaining fabric.

  8. When finished, tear up parchment paper and compost it. Dip grater into a pot of boiling water to soften wax that is stuck to it, then wipe down.

Source of information: Ecology Center

Before wax is melted

After wax is melted


Soft Pretzels

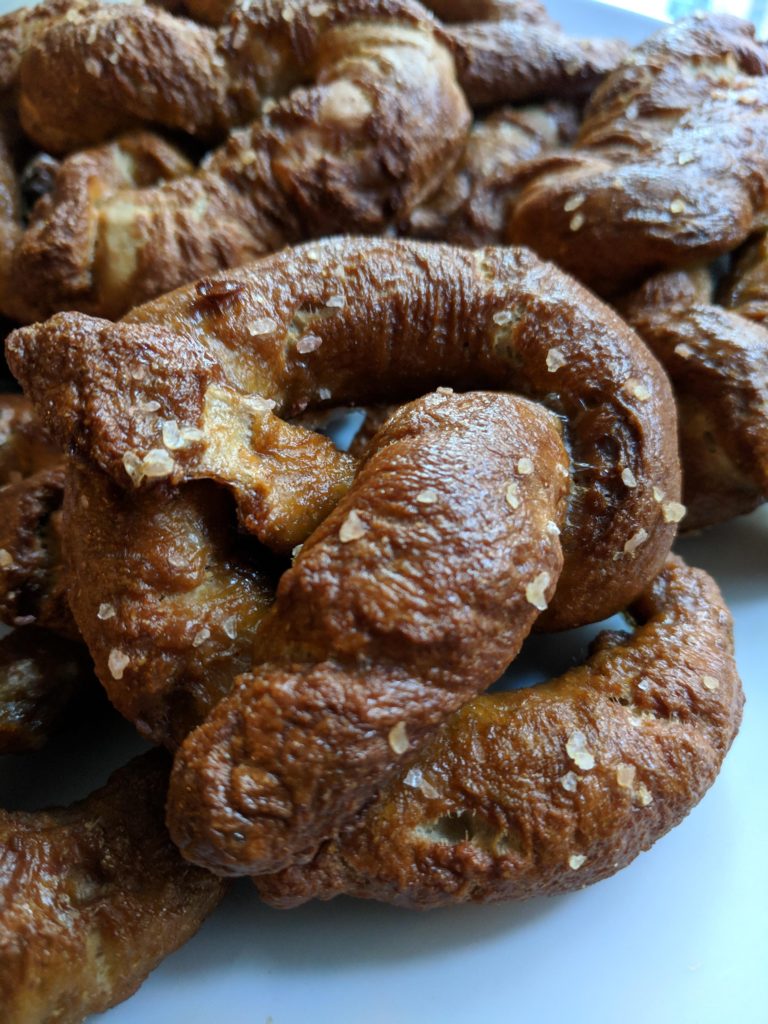
Soft pretzels are delicious, chewy, and hearty, and hard to resist when you walk by a pretzel shop in the mall. Now you can make your own at home for a fraction of the cost, and without having to spend a lot of time and energy making the dough. Just use store-bought pizza dough!

Making pretzels at home is affordable, allows you more control over the ingredients, and is a fun activity for the holidays, for kids, or for anyone, any time of year! Some stores (Trader Joe’s) sells pizza dough for as little as $1.19 for a pound, enough to make 6 pretzels. That means you can make about 20 pretzels for the price of one mall pretzel!

These will last a day or so, but obviously taste best fresh from the oven. Store in a paper bag at room temperature and reheat in the oven for a few minutes or in the microwave for 15-20 seconds.

Eat them alone, or dip in mustard or marinara!

Soft Pretzels

You can make soft pretzels at home without spending the time making the dough - just buy store-bought pizza dough! Feel free to customize with other toppings such as sesame seeds, poppy seeds, "everything bagel" topping, or cinnamon sugar.

Course Snack
Prep Time 20 minutes
Cook Time 30 minutes
Total Time 50 minutes

Ingredients

  • 16 ounces refrigerated store-bought wheat pizza dough
  • 2 tablespoons baking soda
  • 1 teaspoon coarse salt
  • 1 egg optional

Instructions

  1. Unwrap dough, place on a lightly floured surface, and let sit out at room temperature for 20 minutes.

  2. Preheat oven to 425°F. Line a baking sheet with parchment paper.

  3. Divide dough into 8 equal pieces. Roll the dough into a long strand about ½ inch thick. Form a U, then cross the two ends over each other and twist, then push the ends down into the top of the U to form a pretzel shape. You can also create other shapes, such as a knot or a nugget. Repeat until all dough is used.

  4. In a large high-walled skillet, bring 4 cups of water to a simmer over medium-high heat. Add 2 tablespoons baking soda. If you don't have a skillet large enough, or if you double this recipe, use a stock pot but double the water (8 cups) and baking soda (1/4 cup). Either way, make sure the water goes no higher than halfway up the pan/pot - the baking soda will foam a lot.

  5. Using a slotted spoon, lower a few pretzels into the simmering baking soda bath. Only add enough to form a single layer in the pot. Simmer for 1 minute, using the spoon to flip them if they float to the top. Remove from bath and drain, then place onto the prepared baking sheet. Sprinkle with kosher salt.

  6. Repeat with all pretzels. Sprinkle with kosher salt before they drain or brush with water, then sprinkle with salt. The other option is to whisk 1 egg with 1 tablespoon of water and brush on top of pretzels, then sprinkle with salt, which will make them shiny and brown a little darker.

  7. Bake about 20-30 minutes or until well browned on top.

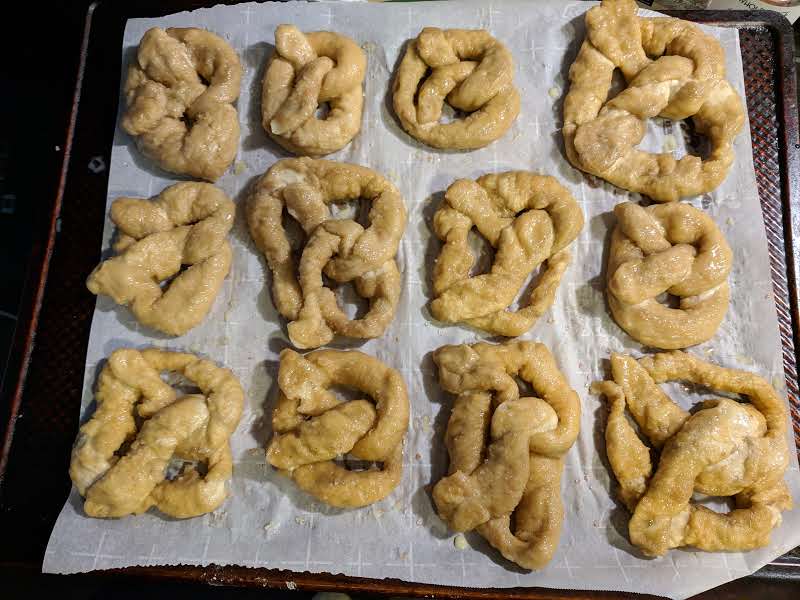
After boiling, before baking

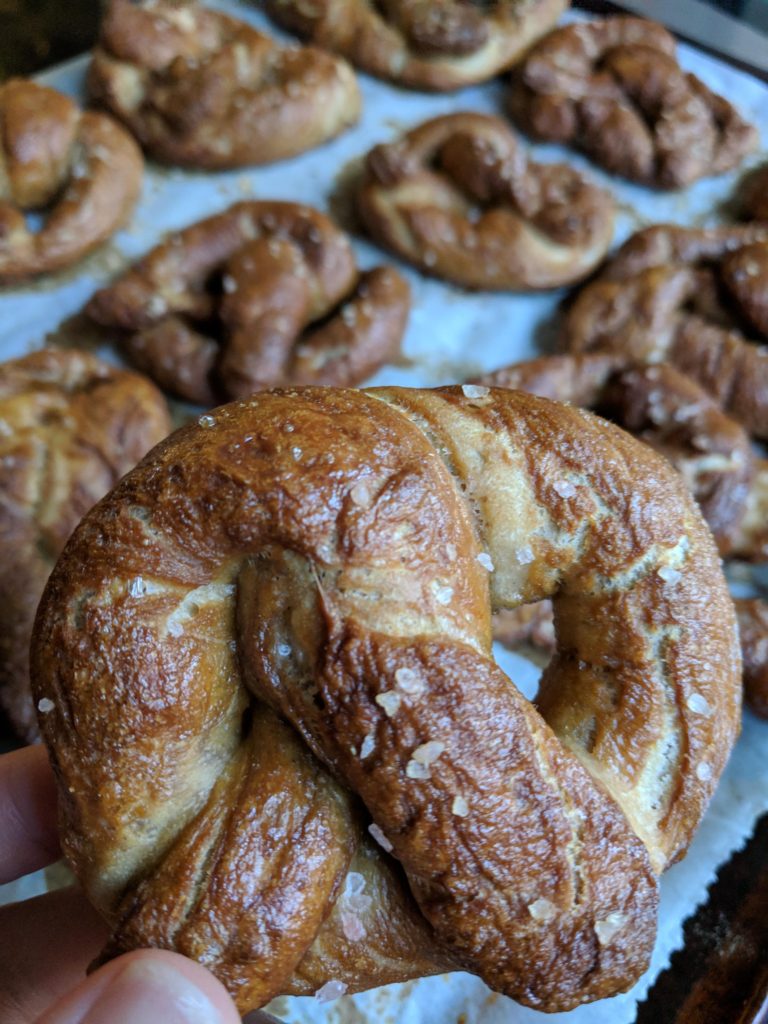
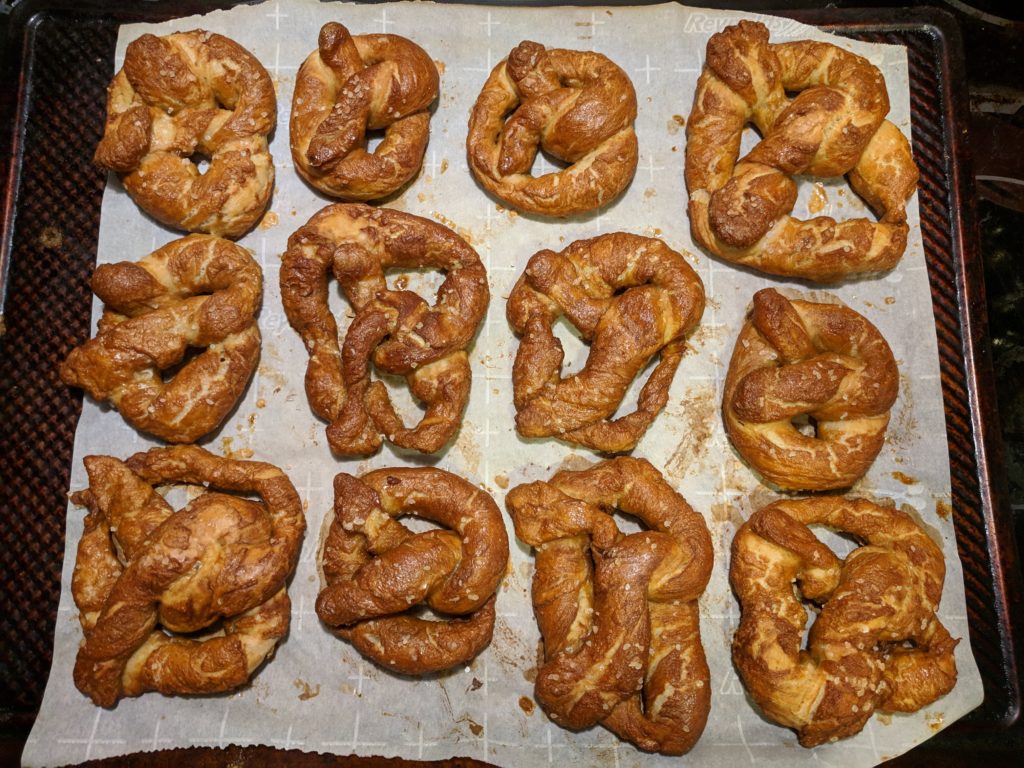
After baking


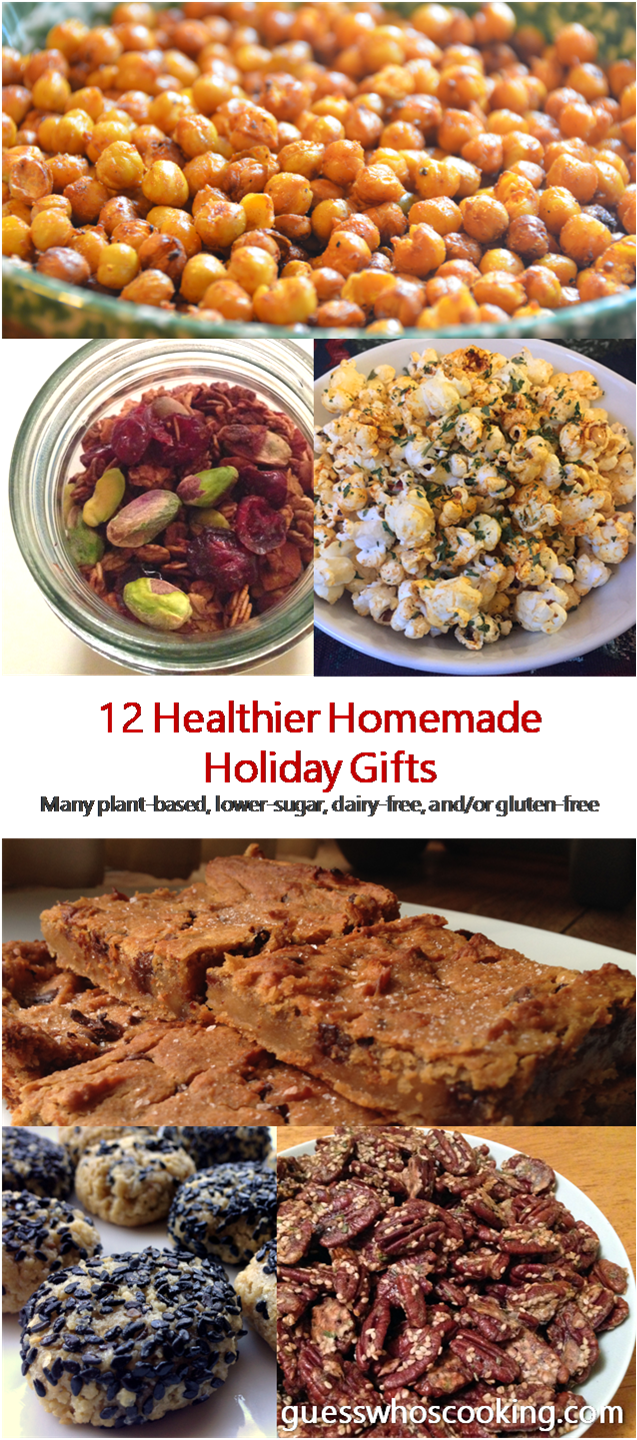
12 Healthier Homemade Holiday Treats

Healthier Homemade Holiday Gifts | many plant-based, lower-sugar, dairy-free, gluten-free | guesswhoscooking.com

Updated: December 2018


Savory

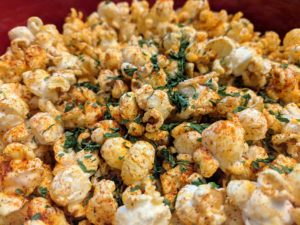
Holiday Paprika Popcorn


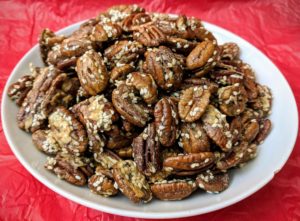
Rosemary Sesame Pecans


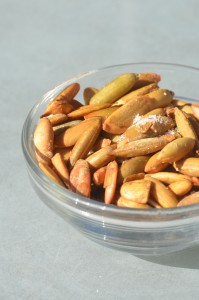
Salt and Vinegar Pumpkin Seeds

Salt & Vinegar Pumpkin Seeds


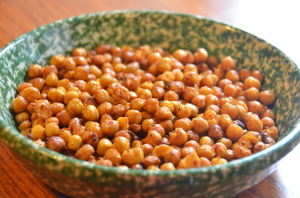
Savory Roasted Chickpeas

Savory Roasted Chickpeas


Sweet

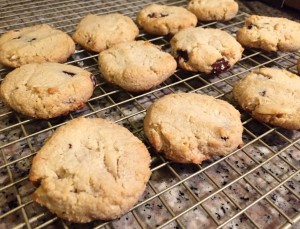
Almond Chocolate Chip Cookies | Guess Who's Cooking | Healthier, vegetarian, low sugar, gluten free, flourless, egg free, paleo, and can be made vegan and dairy free

Almond Chocolate Chip Cookies


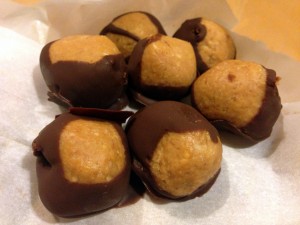
Buckeyes

Buckeyes


Chai Tea Mix


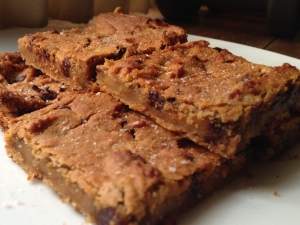
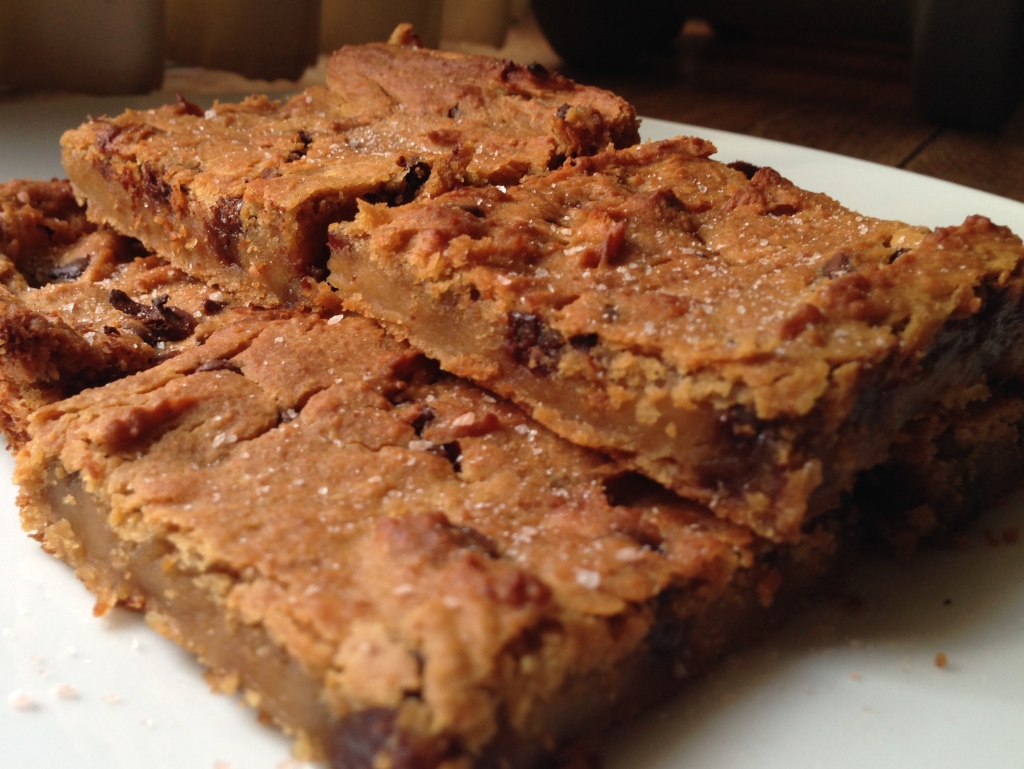
Chickpea Blondies - healthier, vegan, grain free, gluten free, dairy free. Guesswhoscooking.com

Chickpea Blondies


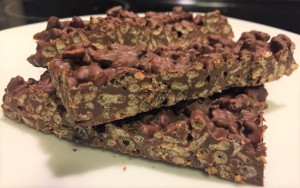
Crispy Rice Bars – just 2 ingredients!


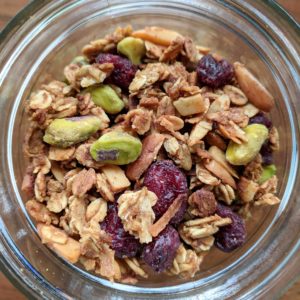
Gingerbread Granola


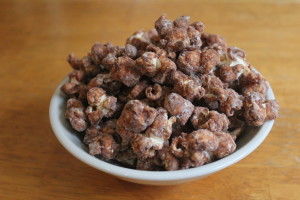
Poppy Chow

Poppy Chow


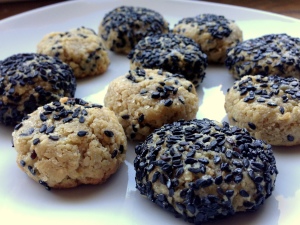
Triple Sesame Cookies

Triple Sesame Cookies


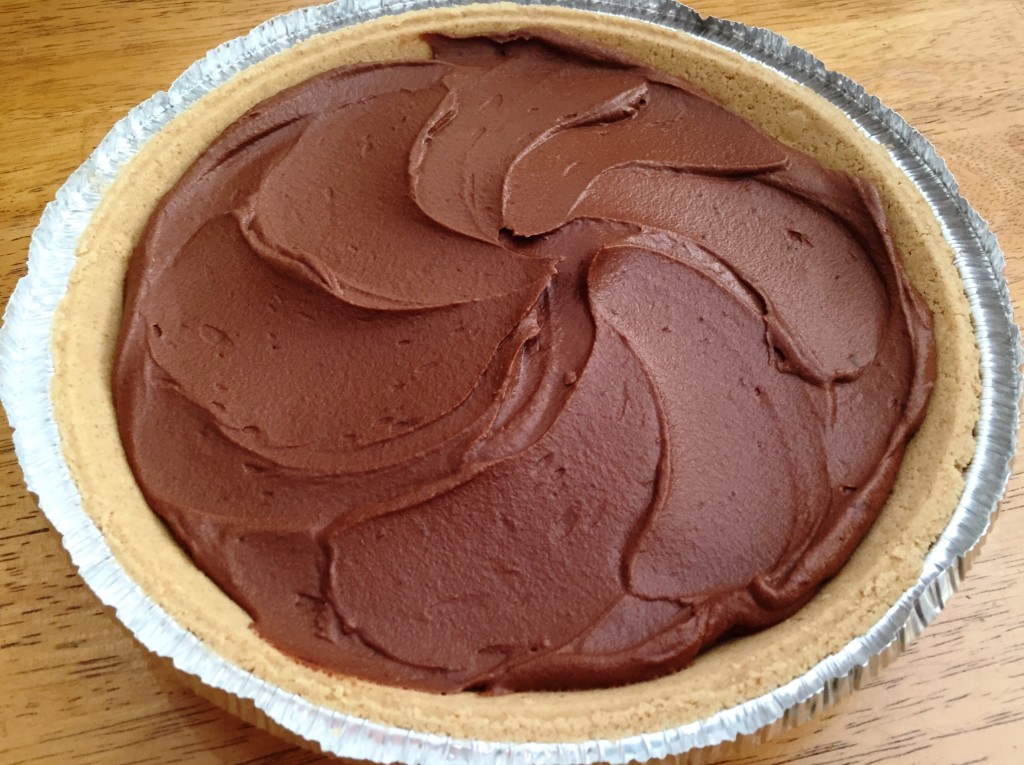
Chocolate Pumpkin Pie (no bake)

I wanted to share this recipe from Chocolate Covered Katie, a healthier dessert blog. It is very easy to make, and quick because there is no baking involved. It tastes like a rich chocolate cream pie, but is made with a vegetable (pumpkin) instead of cream, making this recipe lower in saturated fat, higher in beneficial nutrients, and can also be made vegan/dairy-free! This recipe can be made gluten-free if you skip the pie crust, making it into more of a mousse, or making your own pie crust with a nut base. I found that the mixture has a stronger pumpkin taste at first, but tastes more just like a chocolate pie after chilling for one day.

If you’re highly motivated, you can make this pie with fresh, homemade pumpkin puree. If not, use canned. You may find that certain brands, especially organic brands, have a different taste from the canned pumpkin with which you are more familiar. That is because canned pumpkin can be made with different blends of pumpkin and other squash. This may be off-putting, but again, this pie seems to lose the strong pumpkin flavor after one day.

You may find pumpkin in an aseptic carton (brand name Tetra Pak) rather than a can. Please note that these cartons are not recyclable in all areas, so check here to find out if these shelf-stable cartons can be recycled where you live.

Chocolate Pumpkin Pie Recipe – from ChocolateCoveredKatie.com

Chocolate Pumpkin Pie (no bake) | GuessWhosCooking.com | Healthy, easy, dairy free, egg free, vegan, vegetarian, low carb, less sugar added, can be made gluten-free

Shown in a whole grain pie crust, which you may be lucky enough to find at your grocery store!


Chickpea Blondies

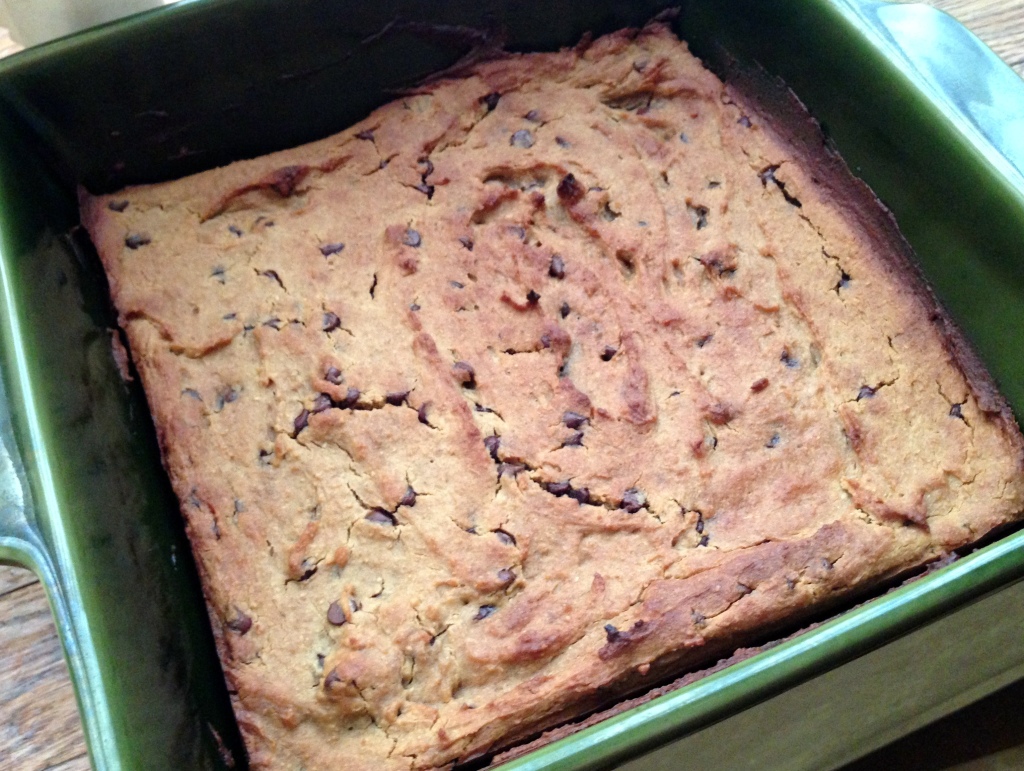
These blondies are made with pureed chickpeas and contain no flour. They are vegan, dairy-free, grain-free, and gluten-free, assuming you don’t use honey or chocolate chips with dairy. These blondies are moist and delicious, and no one will know that they are made from chickpeas! They would make an excellent healthier holiday gift.
Chickpea Blondies - healthier, vegan, grain free, gluten free, dairy free. Guesswhoscooking.com

Chickpea Blondies

Serves 9
Prep time 10 minutes
Cook time 30 minutes
Total time 40 minutes
Meal type Dessert, Snack
These chickpea blondies are flour-less, gluten-free, dairy-free, and can be made 100% vegan.

Ingredients

  • 1/2 tablespoon virgin coconut oil (for greasing)
  • 1 can chickpeas (rinsed and drained)
  • 1/2 cup natural peanut butter
  • 1/3 cup maple syrup or agave (or honey, if not vegan)
  • 2 teaspoons vanilla extract
  • 1/4 teaspoon baking soda
  • 1/4 teaspoon baking powder
  • 1/3 cup mini dark chocolate chips (look for vegan chocolate if you want 100% vegan or dairy-free blondies)
  • coarse sea salt or Himalayan salt (for sprinkling)

Directions

Step 1
Preheat oven to 350 degrees F. Grease a 8x8 baking pan with coconut oil.
Step 2
In a food processor, puree all remaining ingredients except for chocolate chips and salt. Blend until completely smooth. Stir in chocolate chips, then spoon batter into prepared baking pan.
Step 3
Bake for 25-30 minutes, until lightly golden brown on top and a toothpick inserted into the middle comes out clean. Let cool, then cut into squares and sprinkle lightly with salt.

Chickpea Blondies - healthier, vegan, grain free, gluten free, dairy free. Guesswhoscooking.com