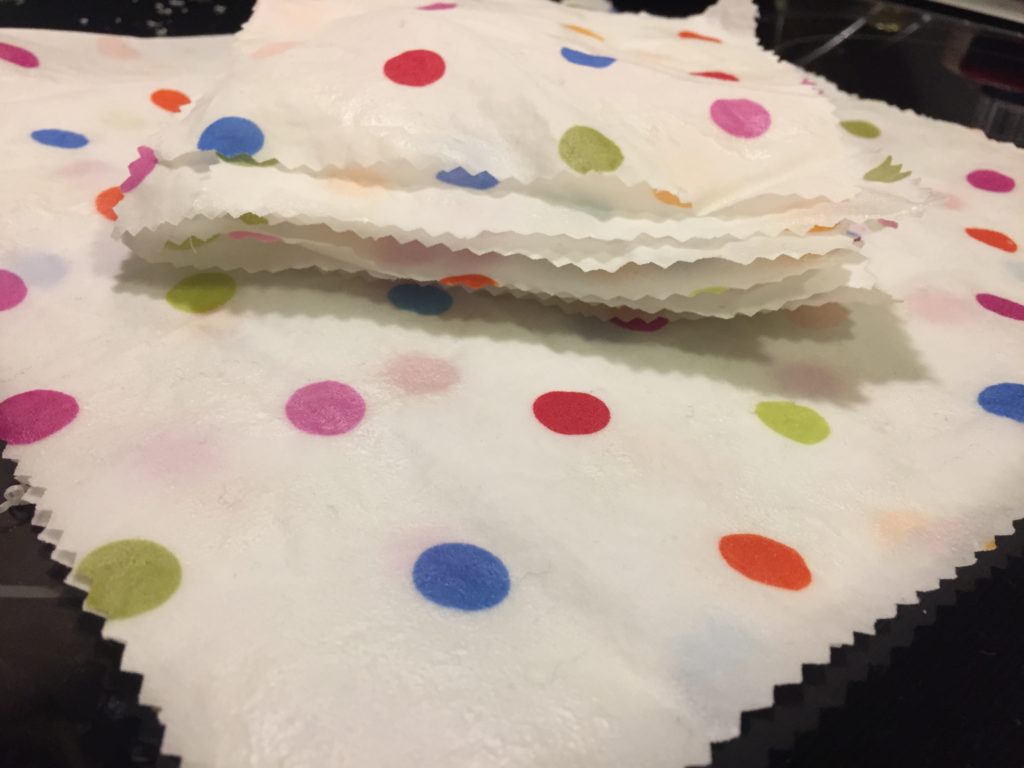
Beeswax wraps are not edible, but they are an eco-friendly alternative to plastic wrap. These wraps sell in some stores for around $18 for a 3-pack. You can make many more wraps for the same cost or less, plus you can choose other fabric designs and shapes. Use these wraps to cover bowls or cups, wrap up a sandwich, or store leftover cut produce (such as a cucumber) or cheese. Use a string or rubber band to hold it together, or sew a button and thread onto one end so that the string can wrap around the button to hold it closed.
When cared for properly, they can last up to a year. Once they are worn out, you can either re-wax them, or cut them up and compost them.
Care Instructions:
- Only wash with cold water and mild soap (such as castile soap). Hot water will melt the wax.
- Do not use for raw meat since they cannot be washed with hot water
- Store rolled rather than folded – folding creates more cracks
Materials Tips:
- Fabric – You can reuse old fabric such as a t-shirt, bed sheets, or curtains, but the fabric must be thin and natural, such as cotton or linen, rather than thick or synthetic, such as polyester or canvas. Just make sure you wash it with soap and very hot water first.
- Beeswax – You may be able to find local beeswax in a block, or you may find it at a craft store in beads.
Alternative Method:
- You can also use an iron instead of an oven, but you may have to designate the iron and ironing board for wax projects only. If the wax sticks to the iron or ironing board, it will stick to your clothes and will not come off!
- To use this method – place the fabric and beeswax between two sheets of parchment paper. Iron over it on low heat, moving the iron constantly, until wax melts, or about 1 minute.

Homemade Beeswax Wraps
This recipe is NOT edible - it is a plastic wrap alternative that you can make at home and reuse countless times! It makes a great gift.
Ingredients
- Beeswax
- Clean fabric
- Pine rosin (optional)
- Jojoba oil (optional)
Instructions
-
Preheat oven to its lowest setting, or 200°F. Optional: line a baking sheet with foil to ensure that no wax sticks to it.
-
Grate beeswax using grater unless you bought it in beads. A cheese grater with large holes works best.
-
Use pinking sheers to cut fabric into desired shape and size – this will reduce fraying. Try 8” or 11” squares that but make sure they fit on the baking sheet.
-
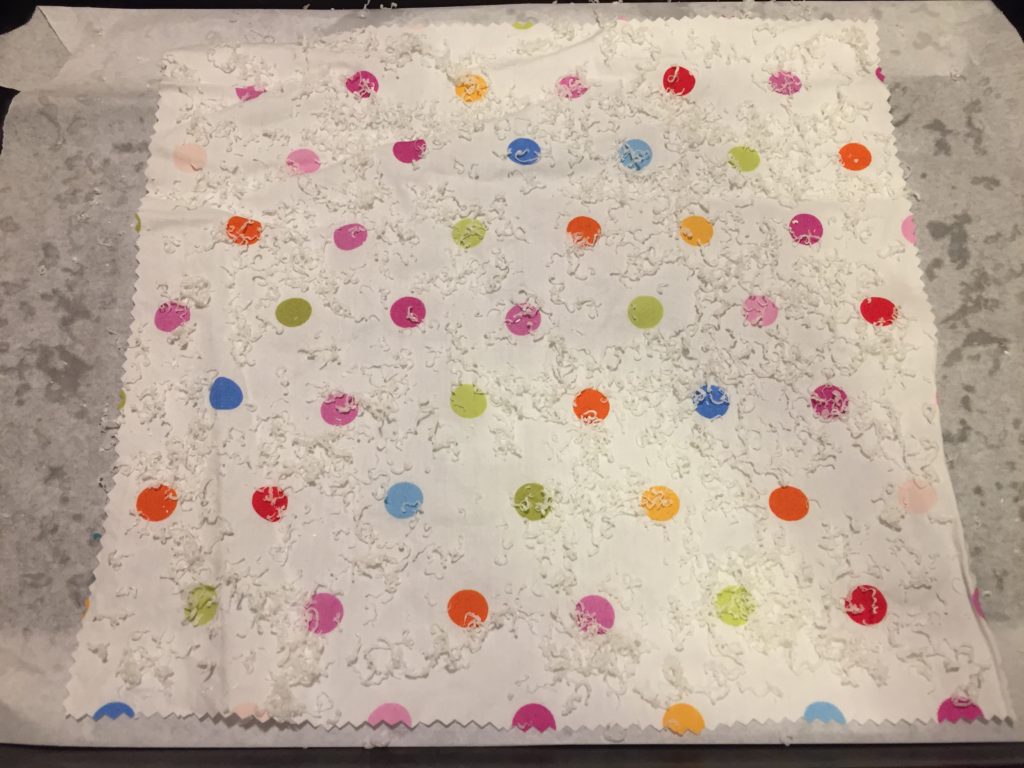
Cover the baking sheet with parchment paper. Place a piece of fabric on top and sprinkle with grated beeswax. Start with a light sprinkling, about 2 teaspoons – you can always add more. If using, add a very light sprinkling (1/4 teaspoon) pine rosin and a few drops of jojoba oil.
-
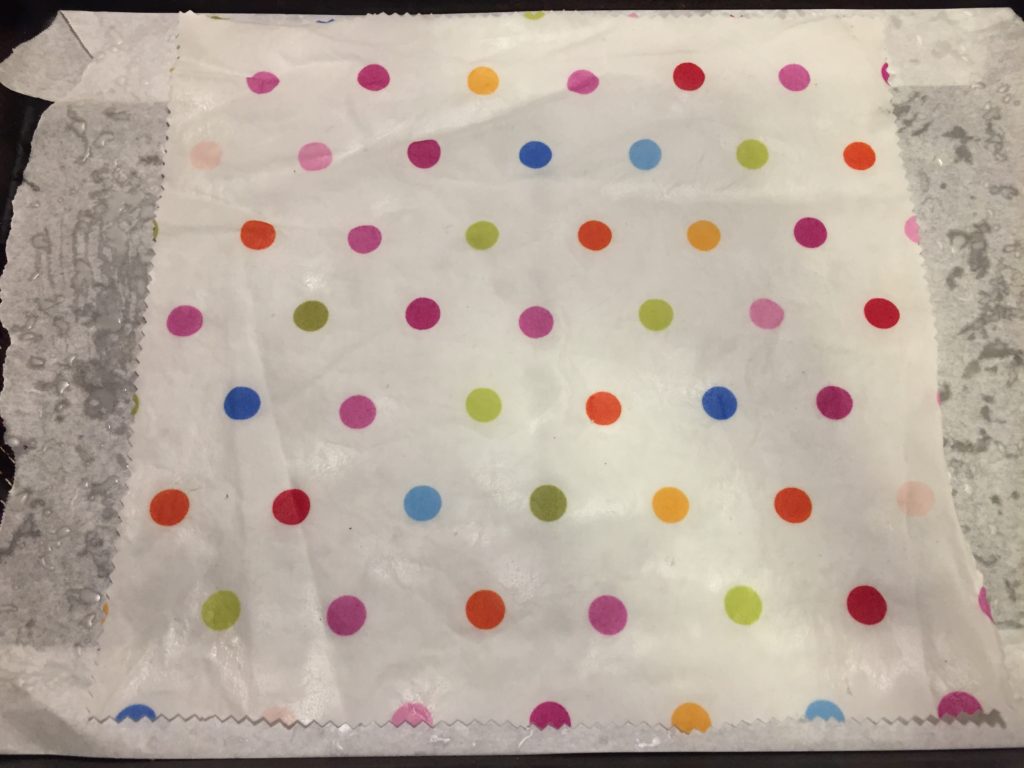
Place in the oven and let it melt for 5-10 minutes. One the wax has melted, use the brush to cover the fabric evenly. If there are any spots that aren't covered (the fabric will appear lighter in color), add more wax and repeat this step.
-
Let fabric cool for a minute, then peel it off the parchment paper. Wave it around for a few seconds and the wax will harden. Set aside to allow to fully dry.
-
Repeat with remaining fabric.
-
When finished, tear up parchment paper and compost it. Dip grater into a pot of boiling water to soften wax that is stuck to it, then wipe down.
Source of information: Ecology Center

