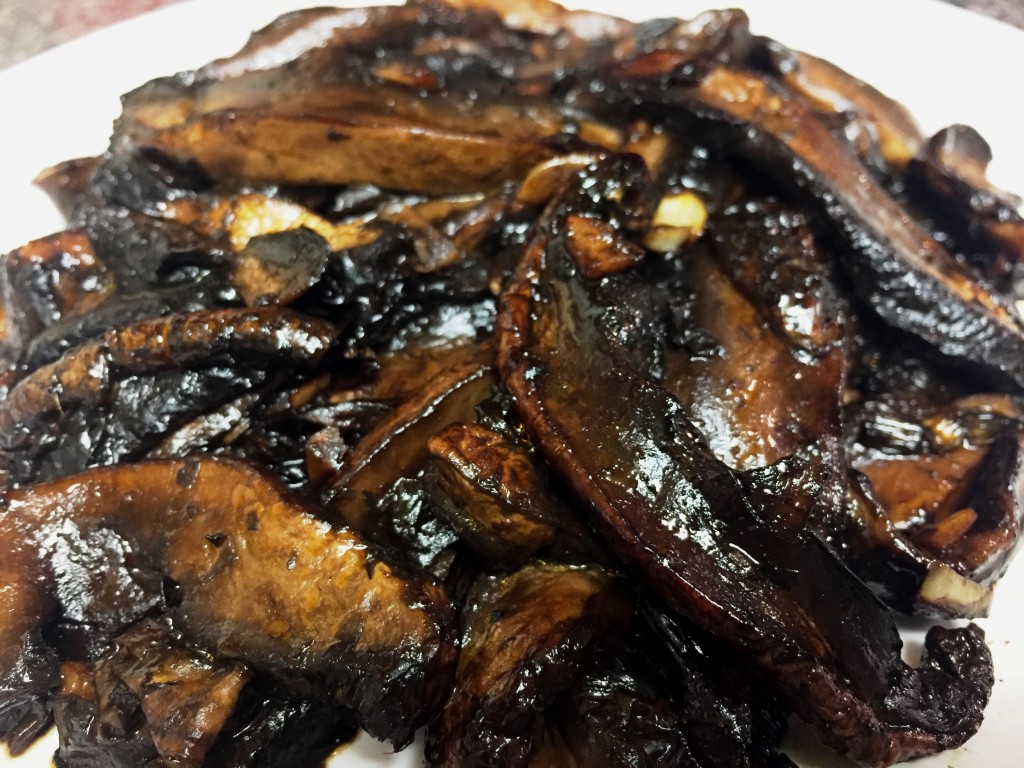
This is a simple roasted vegetable recipe that doesn’t really need a recipe, but you can use this as guidance on cooking time. You can roast many vegetables following this general format – Brussels sprouts, broccoli, carrots, cauliflower, green beans, kale, and much more. Denser vegetables just take longer to cook, but in general, if you can pierce them fairly easily with a fork and they are somewhat browned on the outside, they are ready and will be delicious.
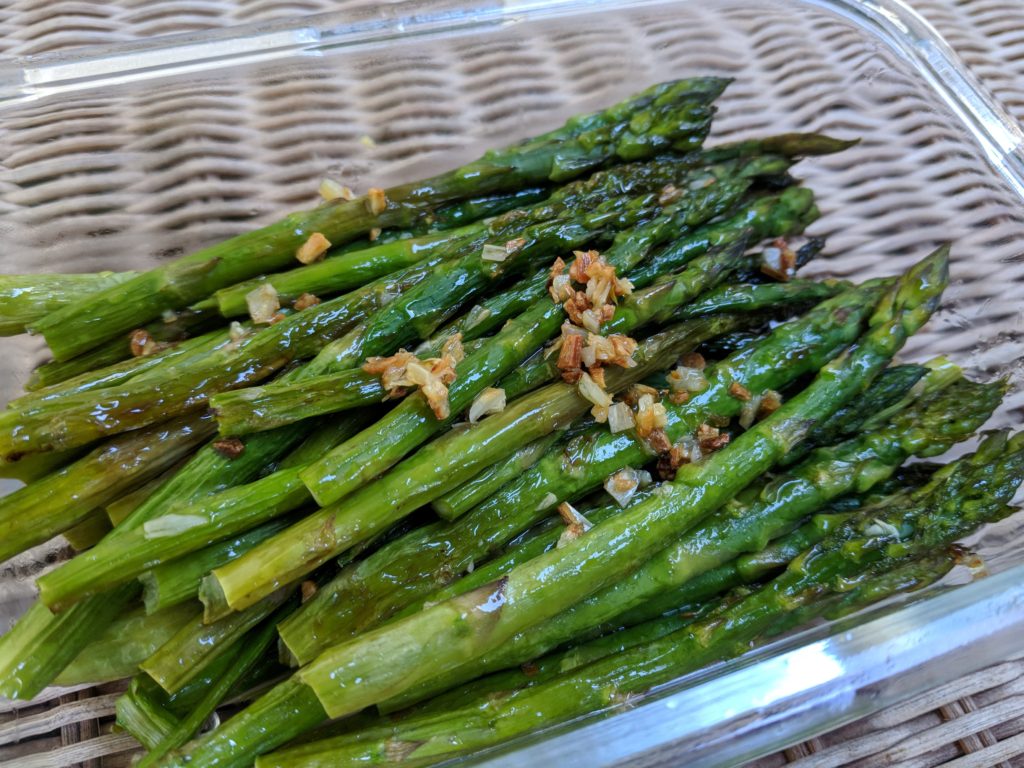
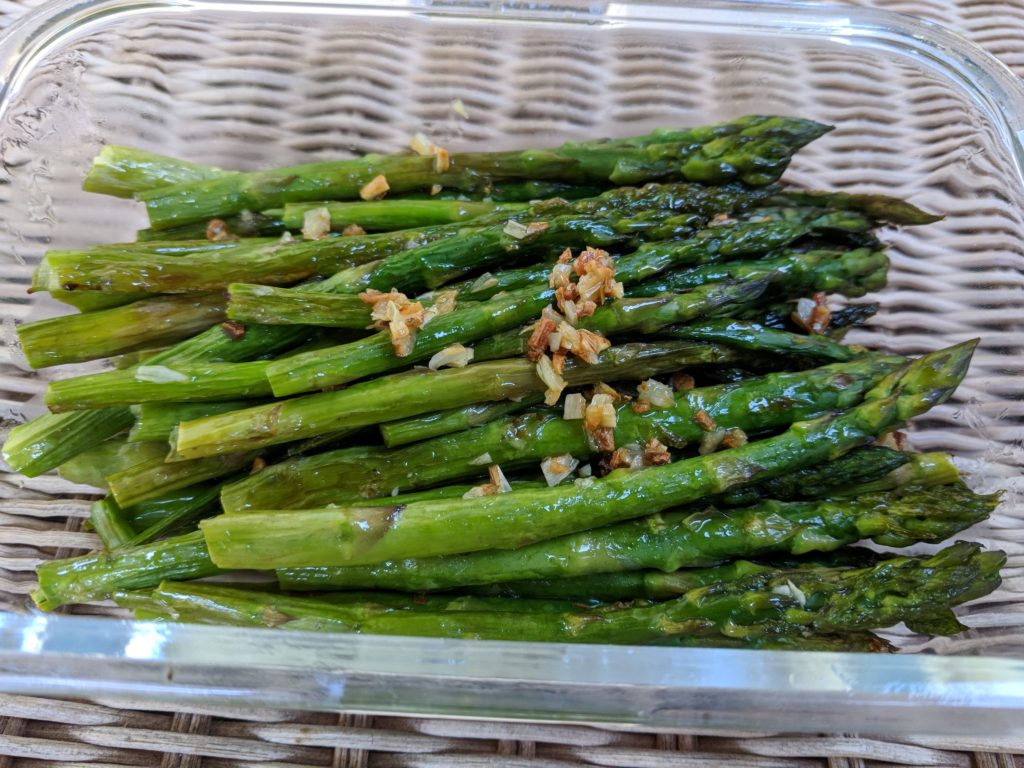
For a punch of flavor and to reduce bitter flavors, squeeze lemon over the asparagus after it is cooked. This also works well with broccoli, as well as kale – but add the lemon juice before cooking if you want to make crisp kale chips.
Garlic Roasted Asparagus
Ingredients
- 2 bunches asparagus woody ends snapped off
- 2 tablespoons extra virgin olive oil
- 4 cloves garlic minced
- salt to taste
Instructions
-
Preheat oven to 425°F.
-
Toss asparagus with olive oil, garlic, and a pinch or two of salt. Spread in an even layer on a baking sheet, ideally a flat cookie sheet without rims (reduces steam and makes the asparagus crisper).
-
Bake 10-15 minutes until tender and lightly crisped, slightly shriveled, and very lightly browned on the outside. Cooking time will depend on thickness.
-
Transfer asparagus to serving dish and use a flat spatula to scrape off any garlic that is stuck to the pan and sprinkle it on top as a delicious garnish.
Recipe Notes
 Print recipe
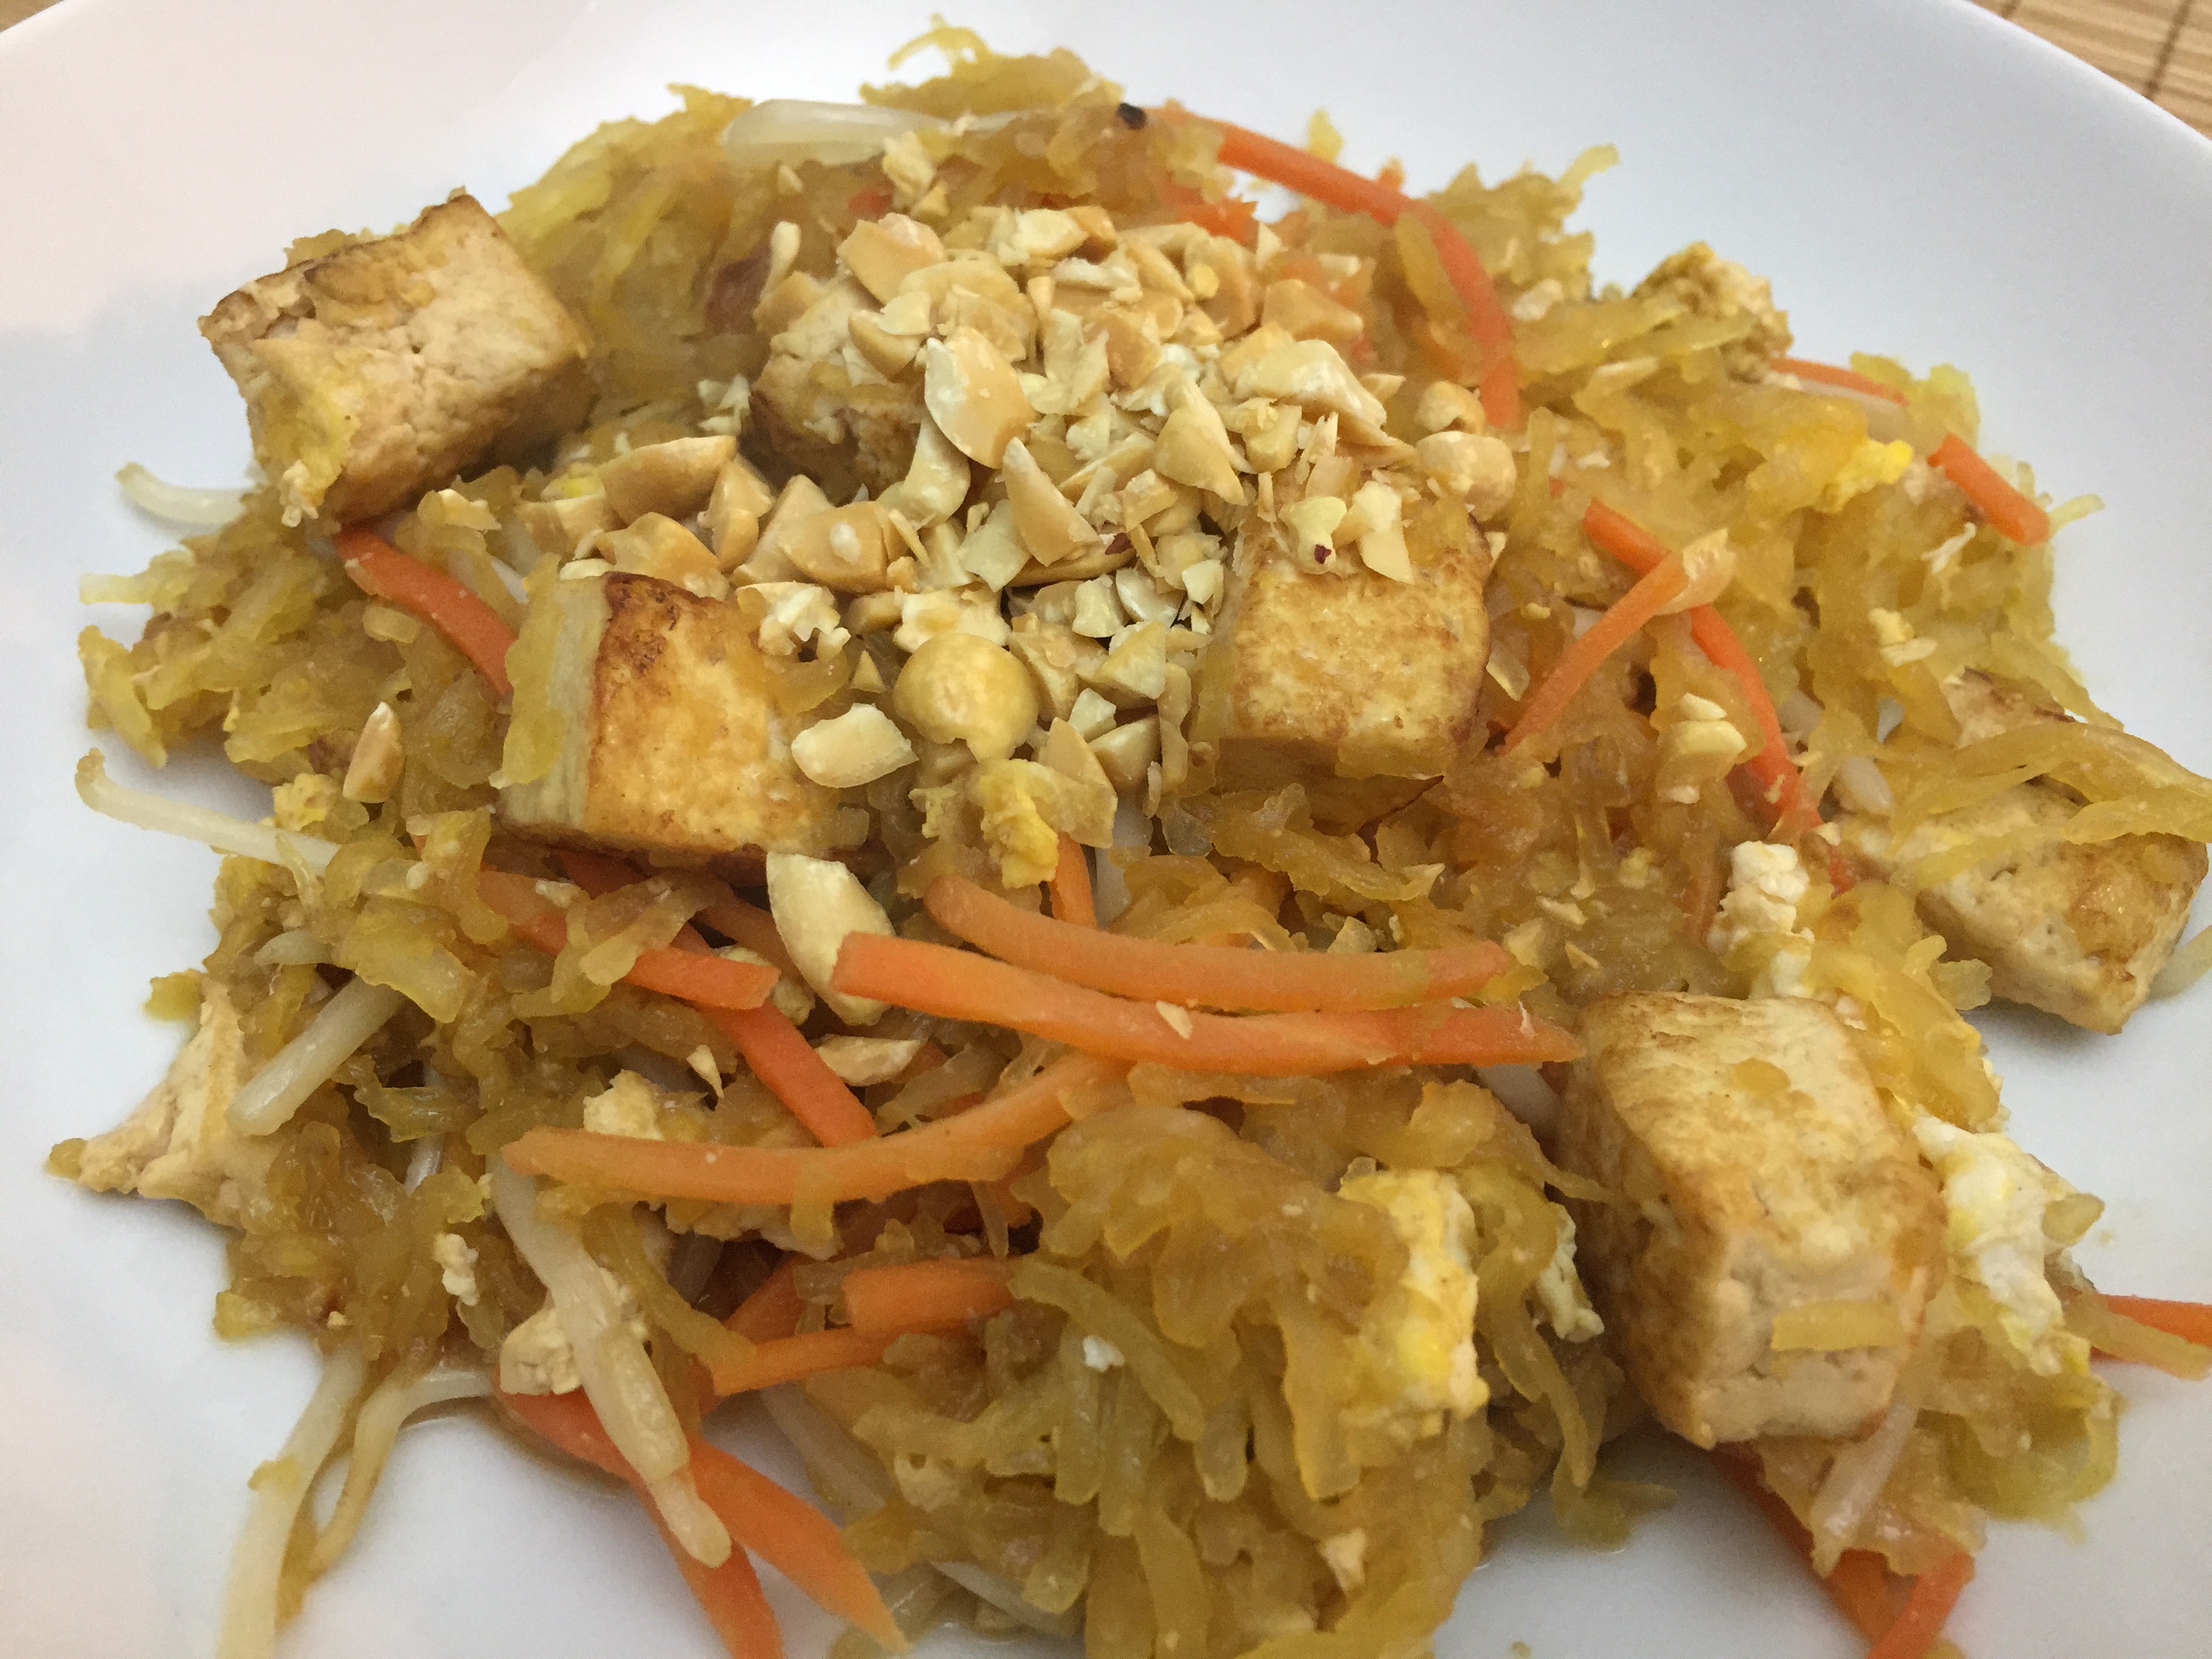
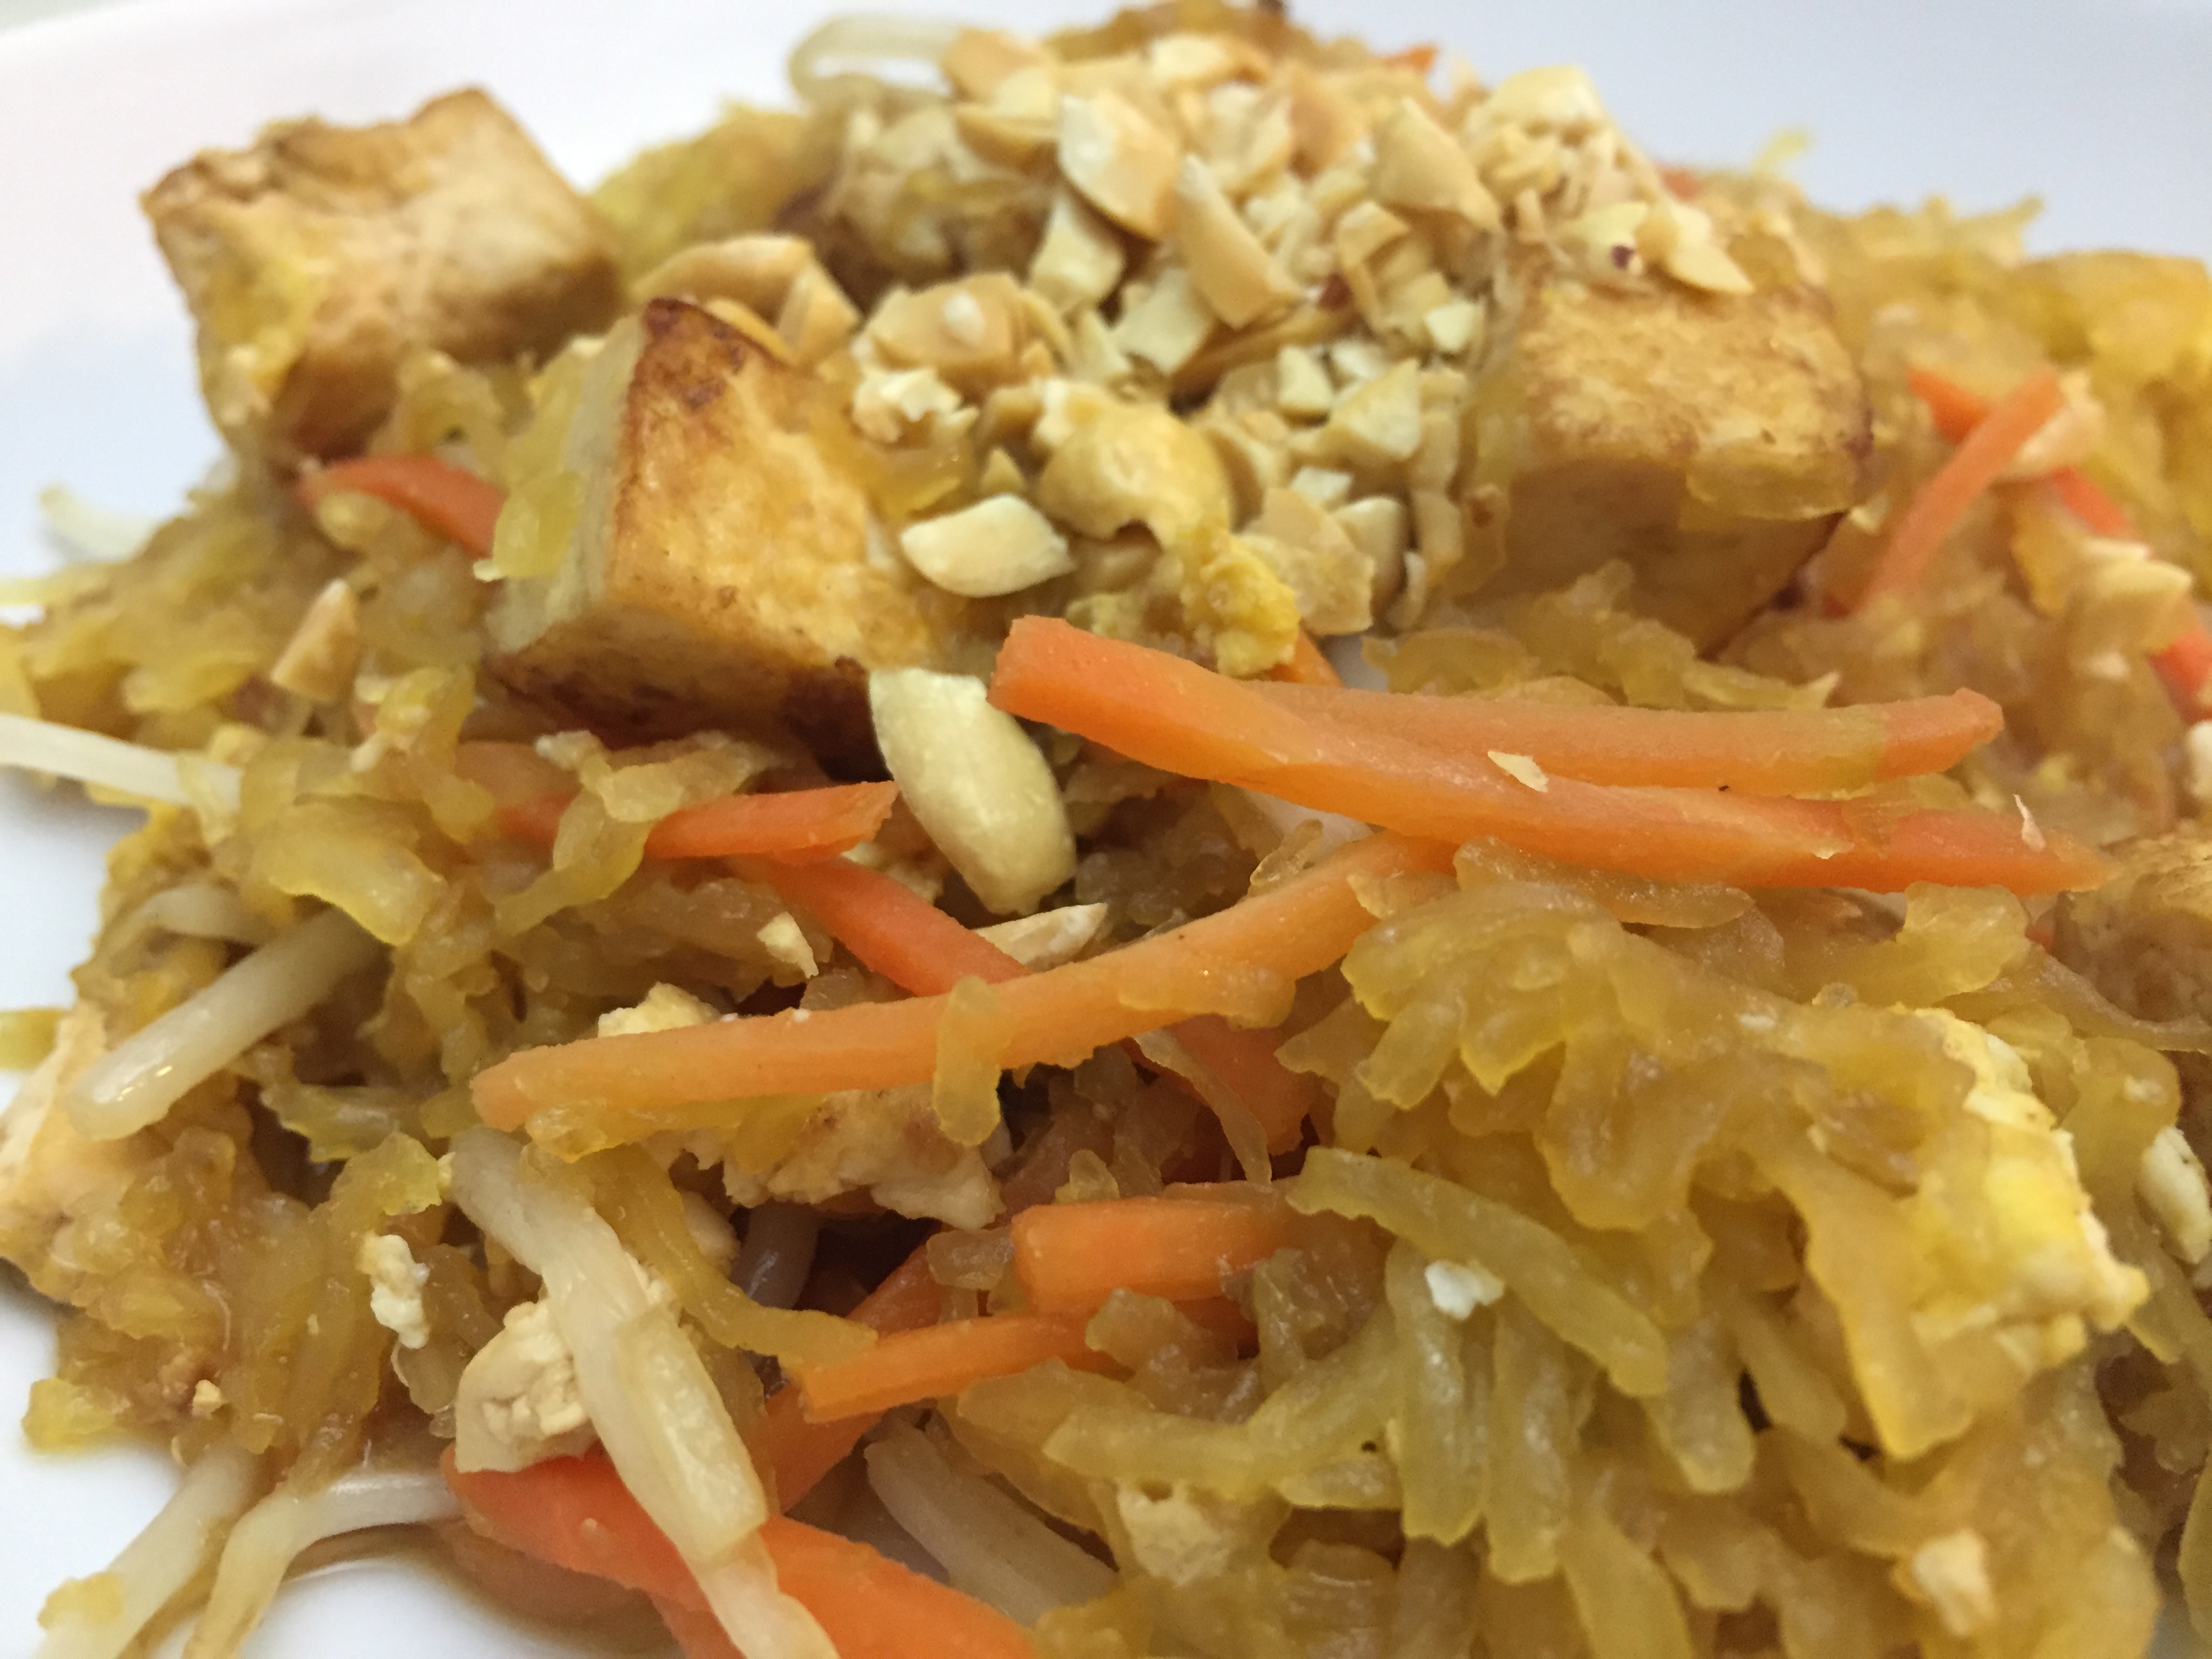
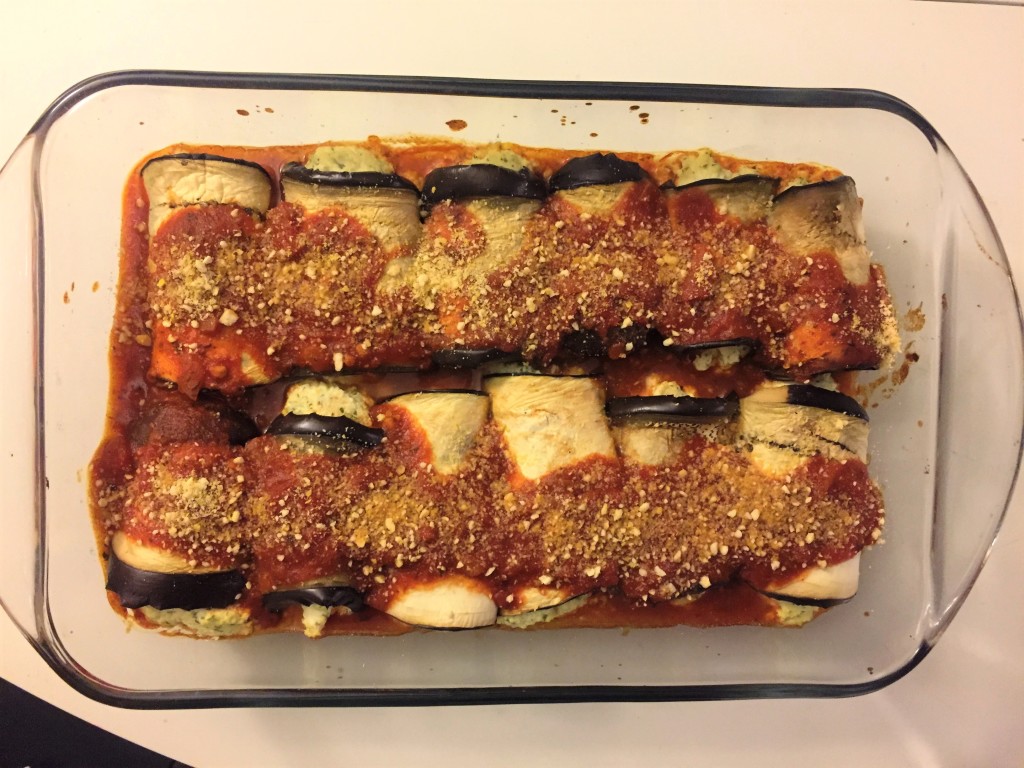
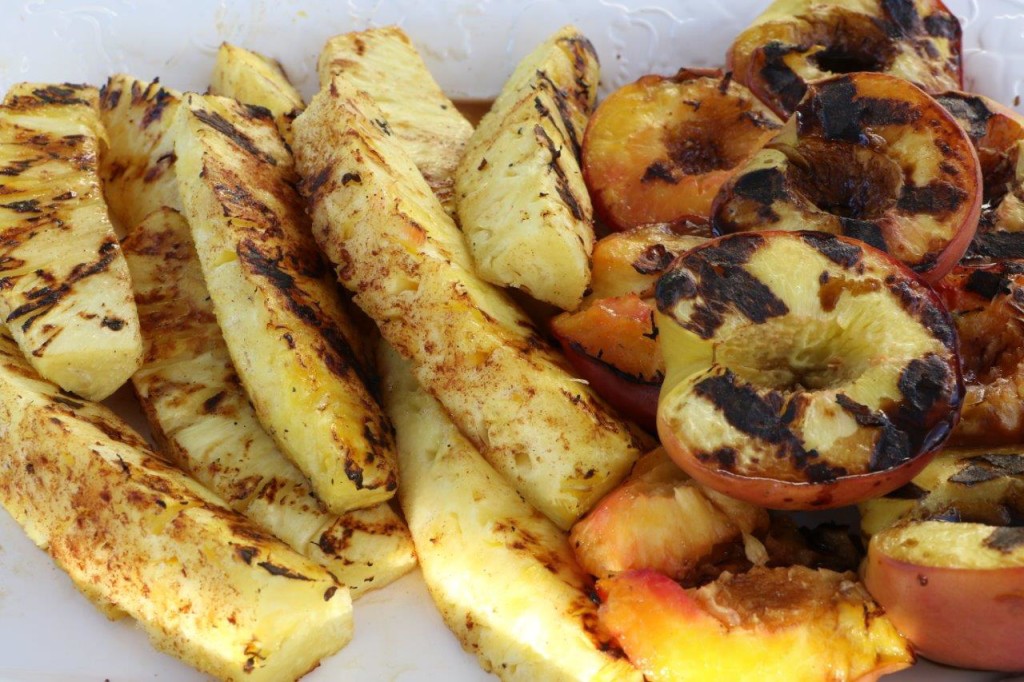 Photo credit: Peter Ma
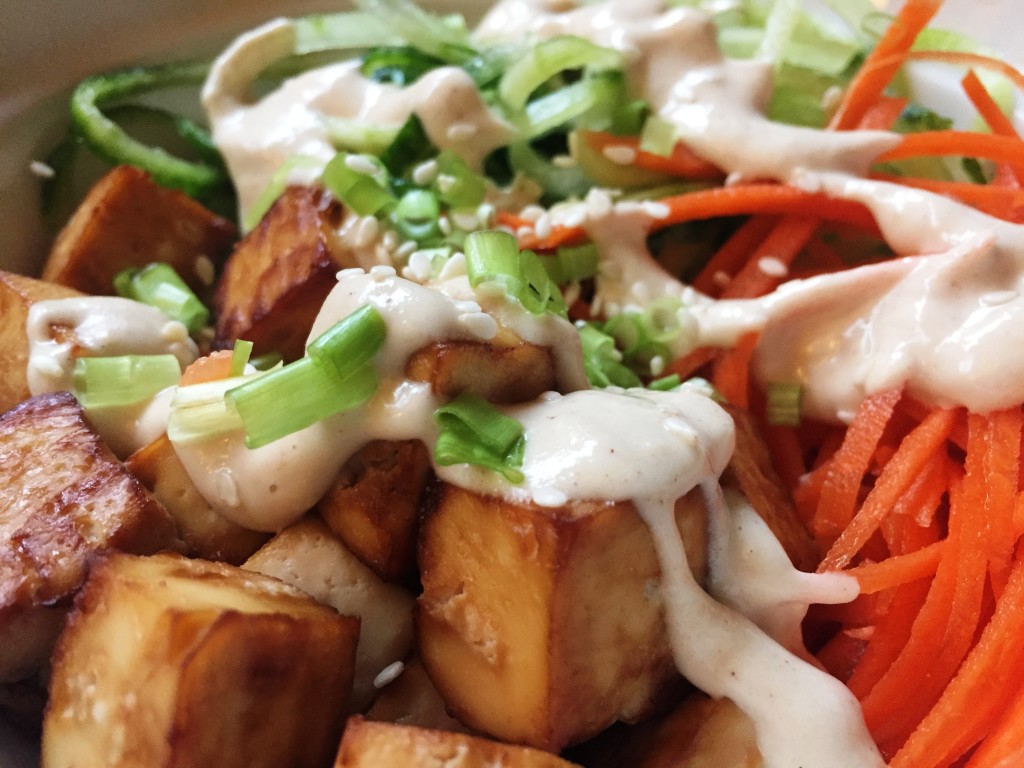

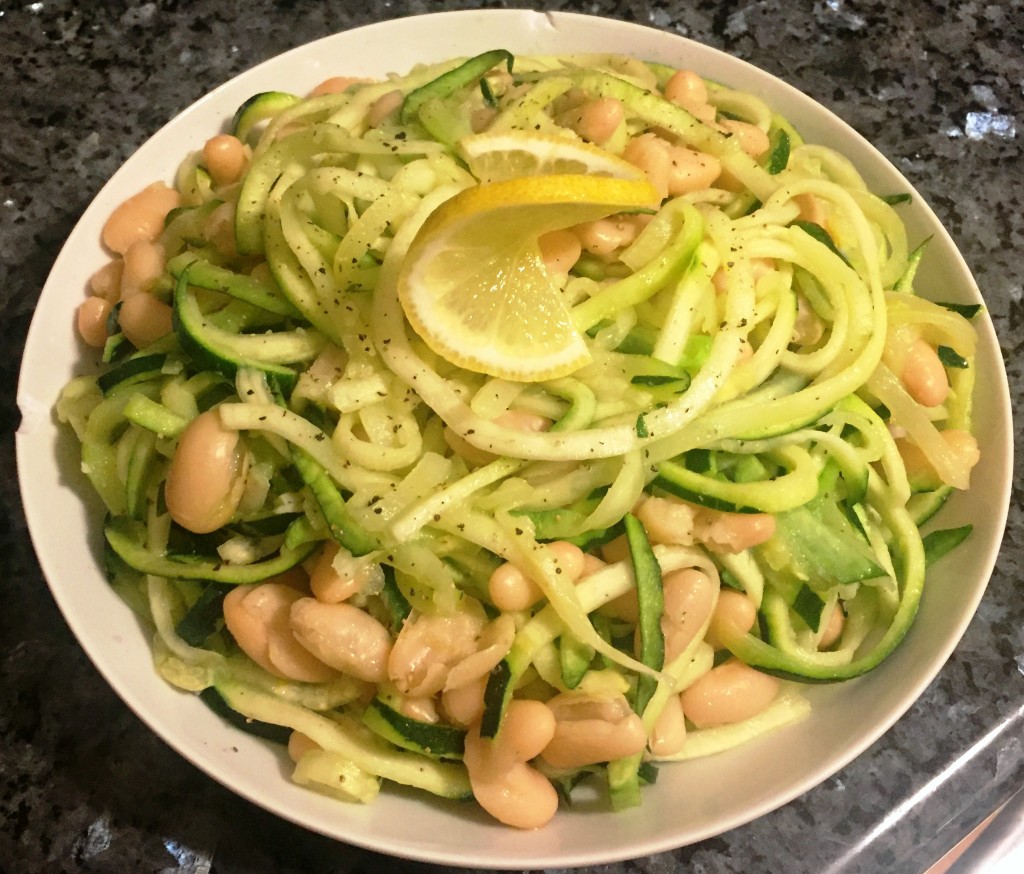 This quick meal can be whipped up in about 15 minutes. Other than a spiral slicer, you could also use a julienne peeler or the grater attachment on a food processor. This recipe is completely plant-based without any animal products, but the combination of vegetables, beans and healthy fat will satisfy your appetite.