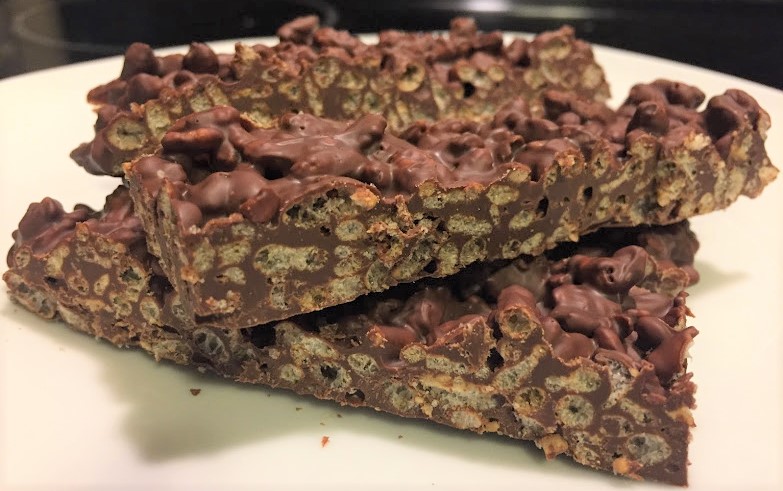
These bars make a fun and healthi-er gift. They are very easy to make – all you have to do is melt chocolate and stir in cereal. They can be made vegan and/or gluten-free if you check the ingredients on the chocolate and cereal. If these need to be made gluten-free, be extra careful to check the cereal as some rice cereal is sweetened with malt syrup, which is made from barley, a gluten-containing grain.
2-Ingredient Crispy Rice Bars
 Print recipe
| Serves | 12 - 14 |
| Prep time | 5 minutes |
| Cook time | 5 minutes |
| Total time | 10 minutes |
| Dietary | Gluten Free, Vegan |
| Meal type | Dessert |
| Misc | Child Friendly, Freezable |
Ingredients
- 1 1/2 cup dark chocolate chips
- 1 1/2 cup crisped brown rice cereal
Directions
| Step 1 | |
| Line a baking sheet with parchment paper and set aside. | |
| Step 2 | |
| Melt the chocolate in a double boiler, stirring constantly until melted. Alternatively, heat the chocolate in a microwave-safe bowl in 30 seconds increments, stir, and repeat until melted. | |
| Step 3 | |
| Gently stir in cereal and mix until all of the cereal is coated. | |
| Step 4 | |
| Pour the cereal mixture onto the prepared baking sheet and spread into a square in an even layer. Chill in the refrigerator for at least 30 minutes or until firm. | |
| Step 5 | |
| Place the parchment paper and bars on a cutting board. Cut the square in half and then cut into smaller bars. Store in an airtight container at room temperature. | |
There are many options for ingredients that you may use, but if you’d like to know the exact brands used in these photos, see below.
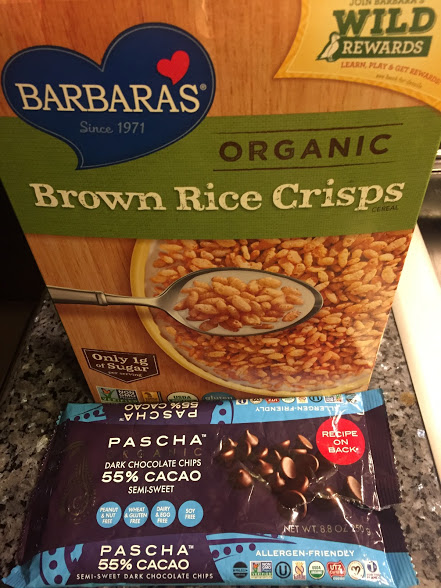
I used Barbara’s Organic Brown Rice Crisps cereal, which was labelled vegan and gluten free (“Verified to contain less than 20 ppm gluten”) at the time I bought it. It contained 1g sugar per 1 cup serving and was sweetened with organic fruit juice concentrate (pear or apple).
For the chocolate, I used Pascha Organic Dark Chocolate Chips, 55% Cacao, Semi-Sweet. It was “allergen-friendly,” vegan, and gluten-free.
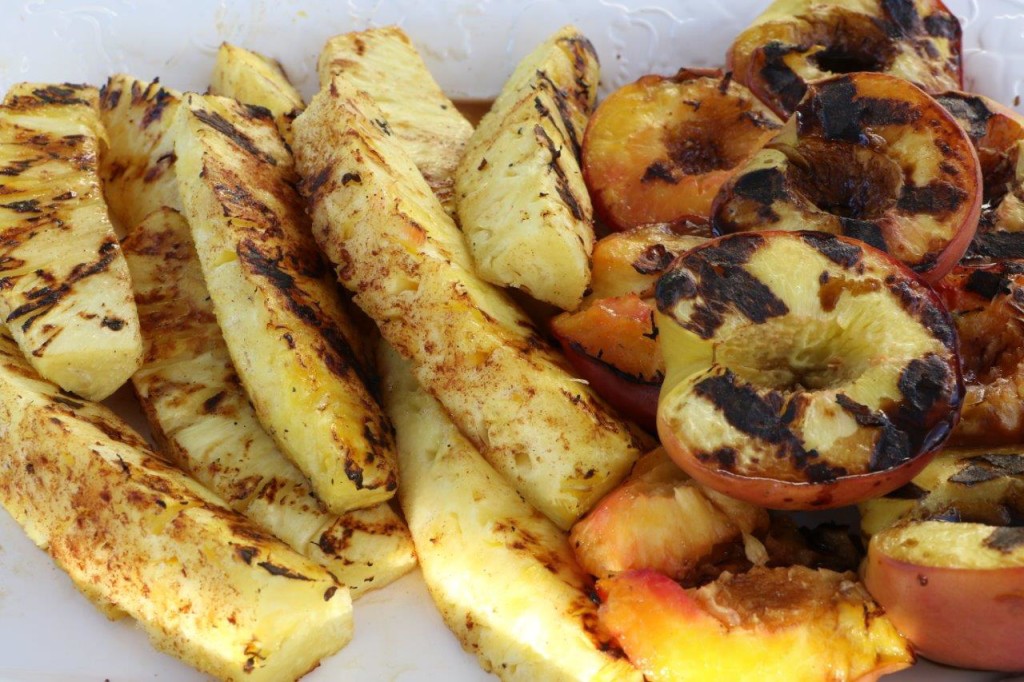 Photo credit: Peter Ma


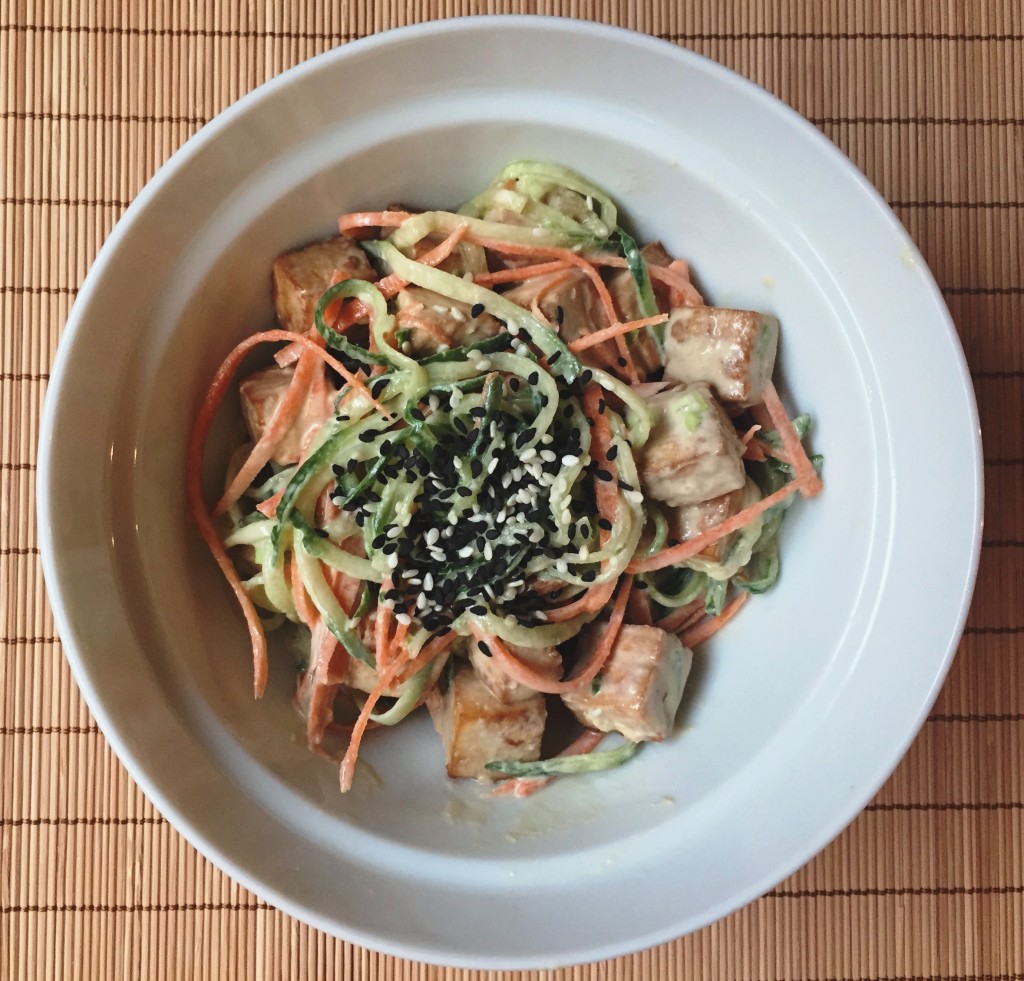
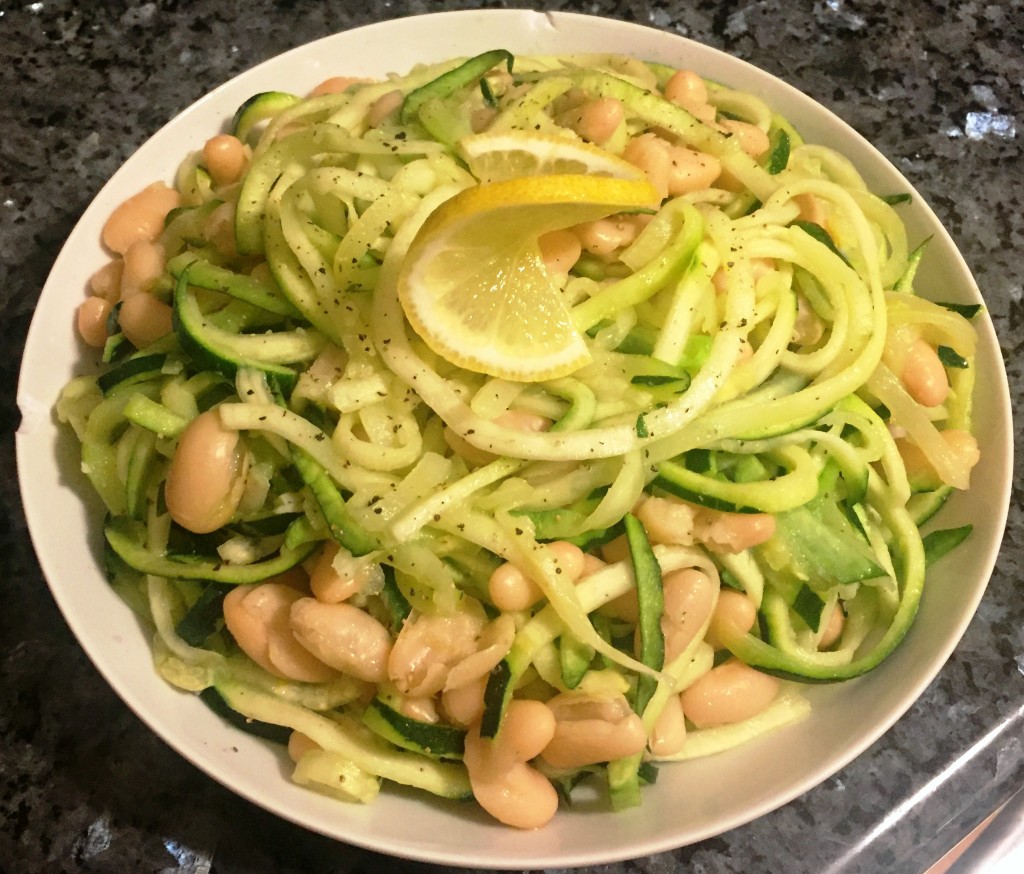 This quick meal can be whipped up in about 15 minutes. Other than a spiral slicer, you could also use a julienne peeler or the grater attachment on a food processor. This recipe is completely plant-based without any animal products, but the combination of vegetables, beans and healthy fat will satisfy your appetite.